Topics > DataPlus ECi Accounting Integration > DataPlus 3.0 Digital Quote Manager > FAQ ID # 8

FAQ ID # 8
Last Update : 2018/10/18
Print this FAQ

Question / Issue
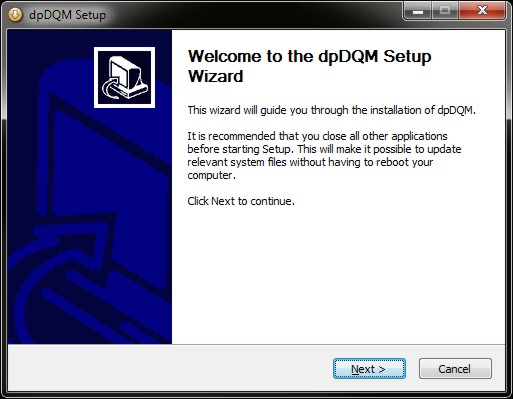
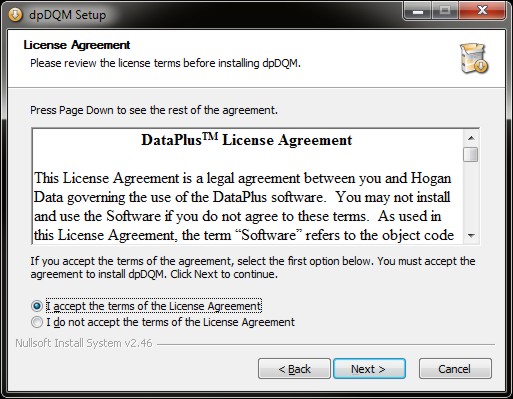
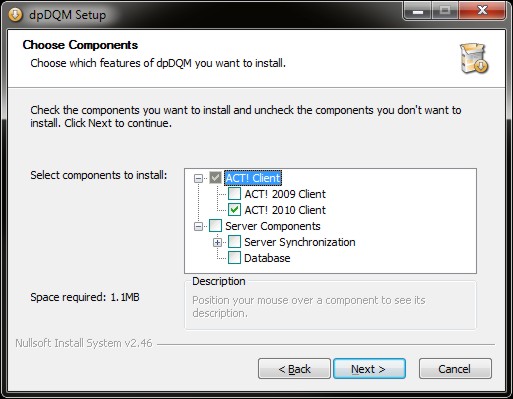
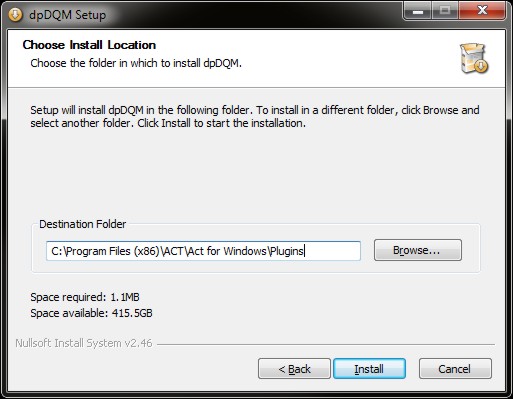
DataPlus DQM - Client Installation

Answer / Solution
What you need prior to installation.
  1. Sage ACT! Premium
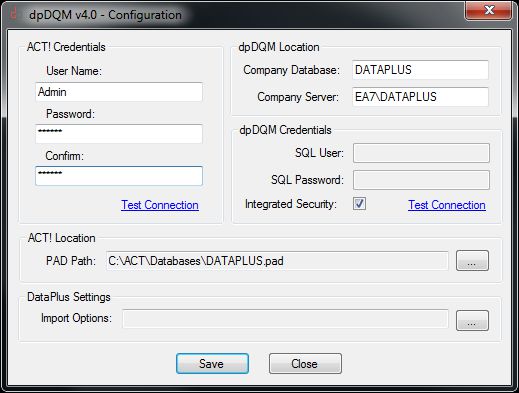
  2. SQL Permission to DataPlus SQL database
What you need for installation.
  1. FILE: dpDQM-install.exe
  2. The follow ACT! fields must be present in ACT!
    - eAgentID - Type field = [Number]
    - eCustomerID - Type field = [Number]
    - eLocationID - Type field = [Number]
    - eProspectID - Type field = [Number]
  3. Security for the above fields should be set to default "Read Only" and "Full Access" for ACT! Administrators.
Approximant Time Table
  • 5 minutes - Documentation Review
  • 2 minutes - Approximant Time for Client Installation
  • 2 minutes - Approximant Time for Client Configuration
  • 9 minutes - Total Approximent Time for Client Installation & Configuration
dpDQM Installation
    Welcome Screen
  1. Double click 'dpDQM-install.exe'
  2. Click on Next >
    License Agreement
  1. If you agree, click on "I accept the terms in the license agreement"
  2. Click on Next >
    Choose Components
  1. Check 'ACT! 2010 Client' or 'ACT! 2009 Client' based on which version of ACT! you have.
  2. Click on Next >
    Choose Location
  1. Choose the folder in which to install dpDQM
  2. Click on Install
    Installation Complete
  1. Click on Next
    Client Configuration
  1. CHECK to run Client Configuration
  2. Click on Next
    Application Notice
  1. dpDQM must create the dpDQM-Setting.xml file
  2. Click on Ok
  3. Configuration manager will start and will create the dpDQM-Setting.xml file.
    Configuration

    ACT! Credentials

  1. User Name: ActUserName must be an ACT! administrator
  2. Password: ActPassword
  3. Confirm: ActPassword

    ACT! Location

  4. Database; ActDatabaseName click on [..] to browse to database
  5. Test Connection

    dpDQM Location

  6. Company Database: e-automatedbname
  7. Company Server: SERVERNAME

    dpDQM Credentials

  8. SQL User: sa
  9. SQL Password: password
  10. Check if you want integrated security
  11. Test Connection
  12. Click on Save


Direct Link to This FAQ
http://kb.hogandata.com/?f=8

Back to Top