Welcome Screen
- The following will create a DataPlus SQL database in SQL instance
- Insure that proper permissions have been given in SQL
- Right click 'DataPlus-Fishbowl-Install.exe' and "Run as administrator"
- Click on Next >
|
 |
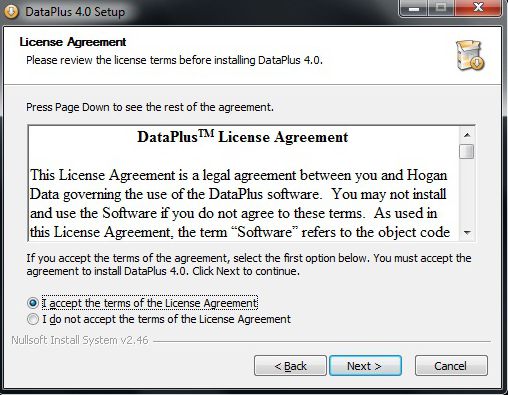
License Agreement
- If you agree, click on "I accept the terms in the license agreement"
- Click on Next >
|
 |
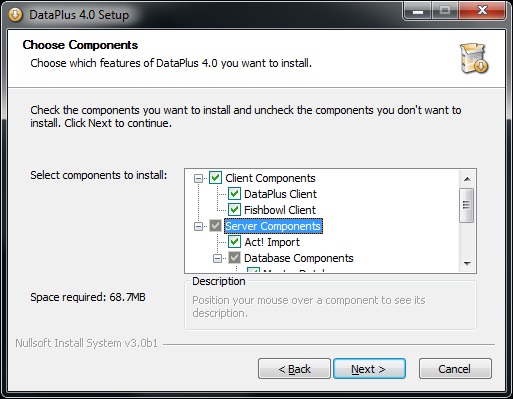
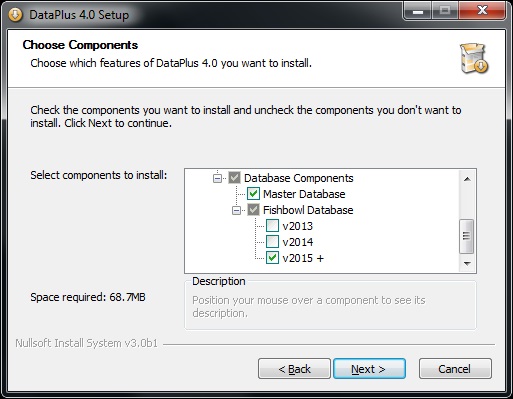
Choose Components
Where Act software is installed
- Check 'Client Components'
- DataPlus Client
- Fishbowl Client
- Check 'Server Components'
- Act Import
- Master Database
- Fishbowl Database
- Click on Next >
|
  |
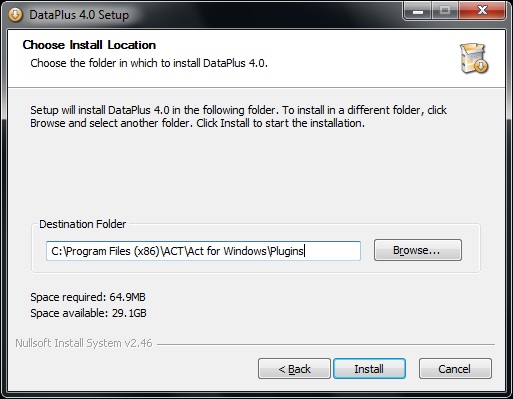
Choose Location
- Choose the folder in which to install DataPlus
- Click on Install
|
 |
|
|
 |
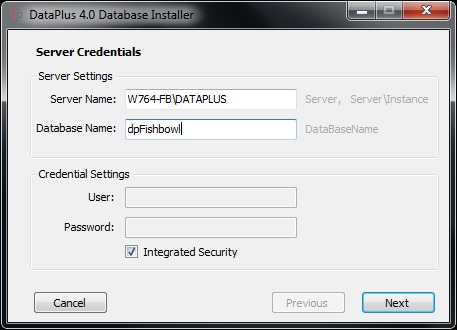
Server Credentials
Server Settings
- Server Name: ServerName\Instance SQL Instance if applicable
- Database Name: dpFishbowl database name
Credential Settings
- User: sa
- Password: password
- Check if you want integrated security
- Click on Next >
|
 |
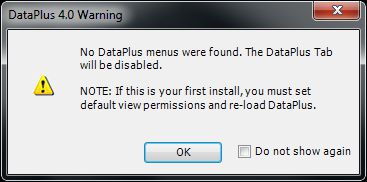
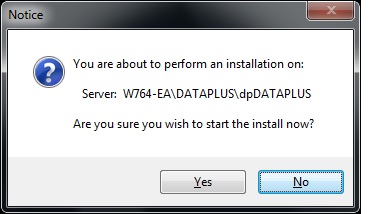
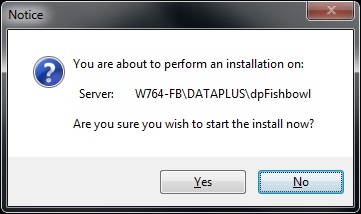
Notice of Installation
- Click on Yes
|
 |
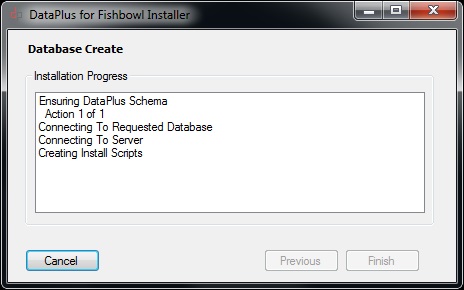
Database Create
- Click on Yes
|
 |
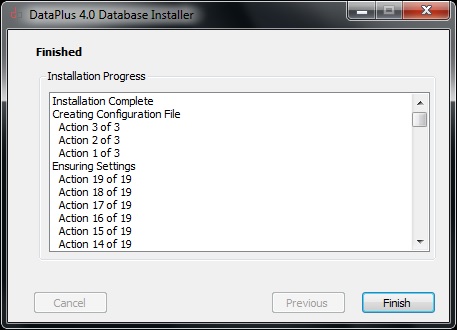
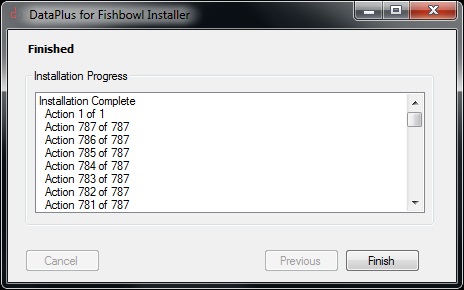
Database Create Finished
- Click on Finish
|
 |
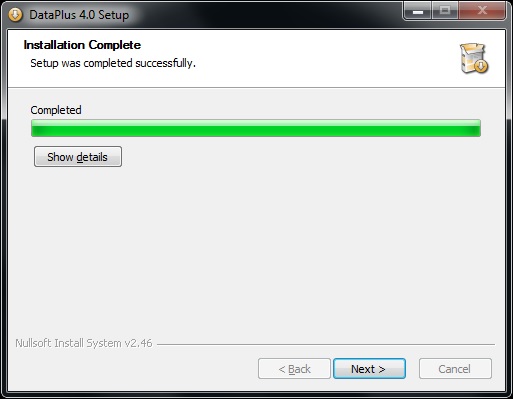
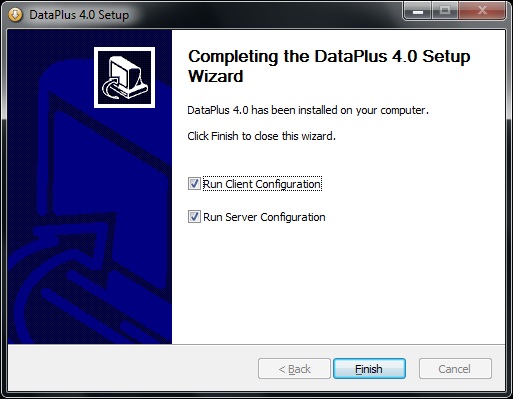
Installation Complete
- Click on Next >
|
 |
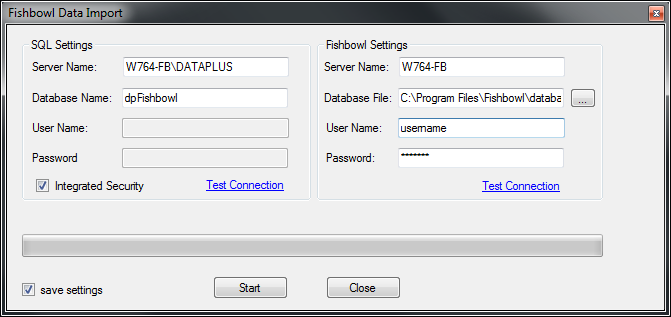
Fishbowl Data Import
SQL Settings
- Server Name: Server\Instance
- Database Name: dpFishbowl
- User Name: sa
- Password: sa-password
- Check Integrated Security if you are using Integrated Security
- Click on Test Connection
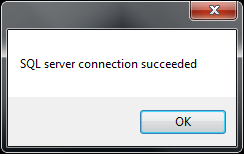
- Click on OK
Fishbowl Settings
- Server Name:
- Database File: username
- User Name: username
- Password: password
-
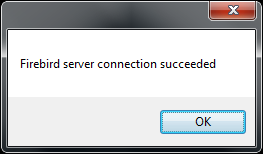
- Click on OK
- Check save settings
- Click on Start
Duration for this task is dependent on the size of your Fishbowl database. |
 |
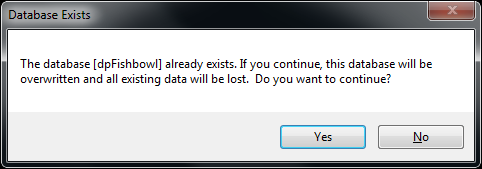
Database Exists
- Click on Yes
|
 |
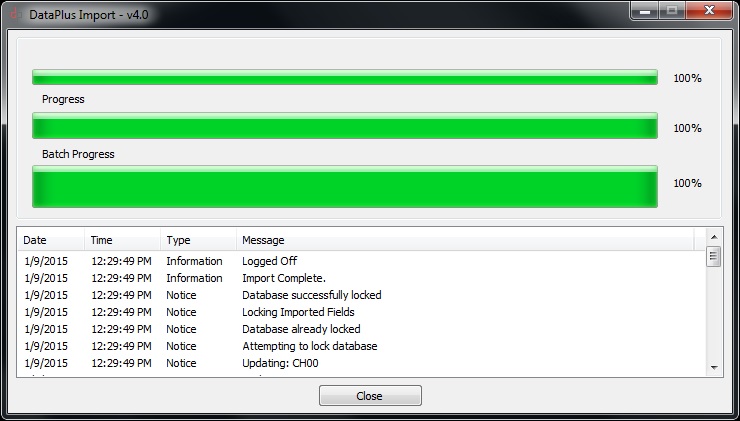
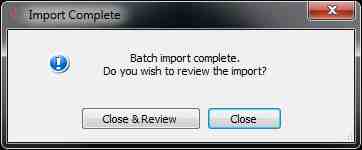
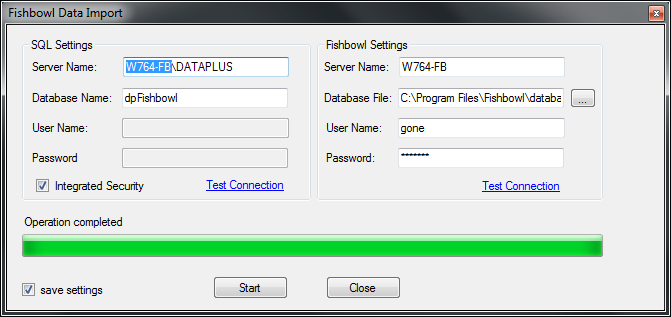
Operation Completed
- Click on Close
|
 |
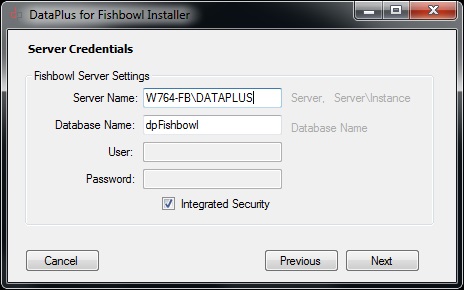
Server Credentials
Fishbowl Server Settings
- Server Name: Server\SqlInstance
- Database Name: dpFishbowl
- User Name: username
- Password: password
- Click on Next
|
 |
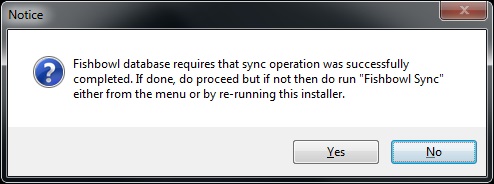
Fishbowl Sync Notice
- Click on Next if sync was successful
|
 |
|
|
 |
Database Create Notice
- Click on Yes
|
 |
Database Create Notice
- Click on Finish
|
 |
Database Create Notice
- Click on Next >
|
|
|
|
 |
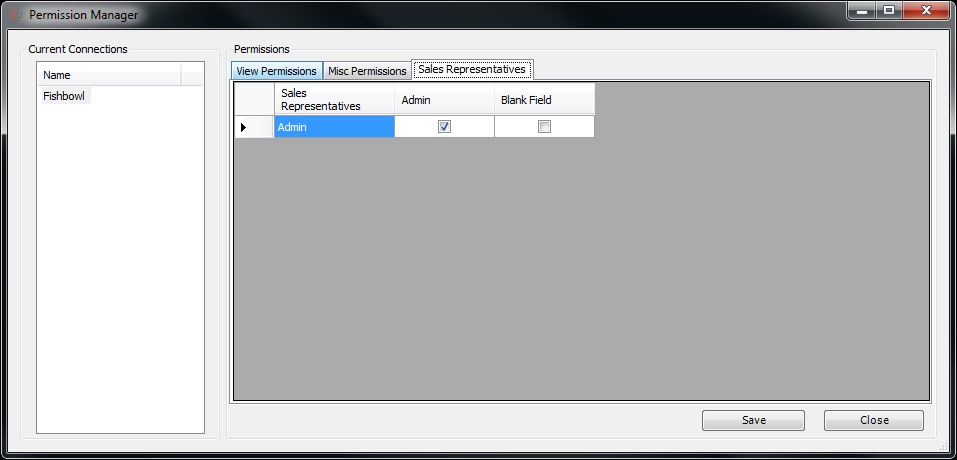
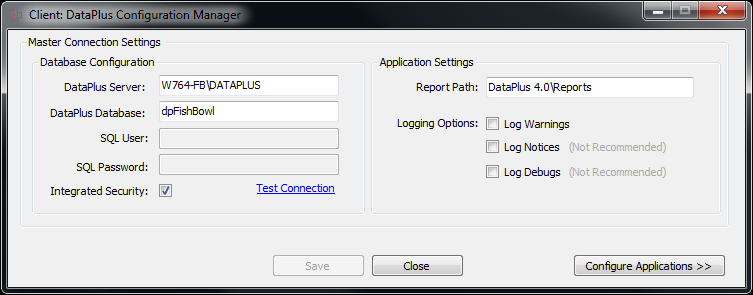
Client Configuration Manager
- Click on Close
|
 |
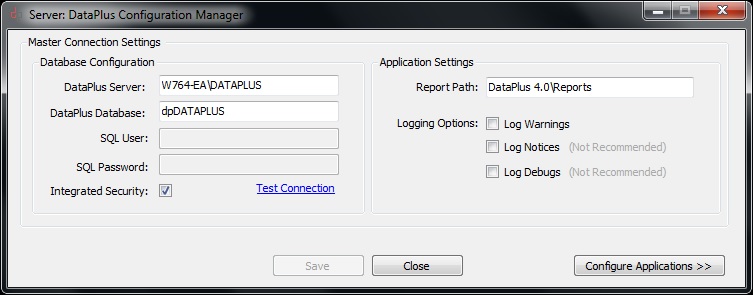
Server Configuration Manager
- Click on Configure Applications >>
|
 |
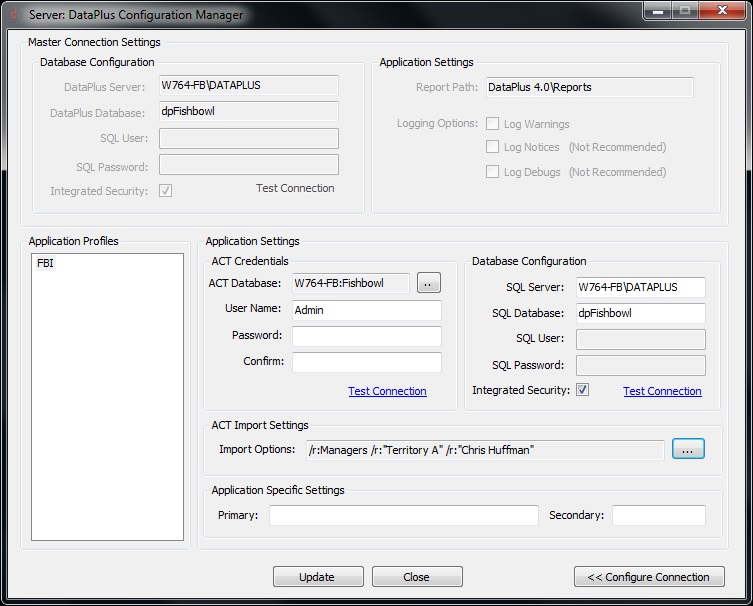
Configuration
Application Profiles
- Click on EA
Application Settings
- ACT Credentials
- Database; ActDatabaseName click on [..] to browse to database
- User Name: ActUserName must be an Act administrator
- Password: ActPassword
- Confirm: ActPassword
- Test Connection
- Click on OK
- Database Configuration
- Server: ServerName\Instance SQL Instance if applicable
- Database: dpFishbowl DataPlus database name
- - Security
- SQL User: sa
- SQL Password: password
- - Or
- Check if you want integrated security
- Test Connection
- Click on OK
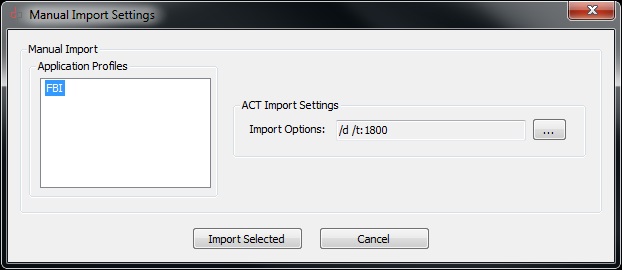
ACT Import Settings
- Import Options:Click on [...]
|
 |
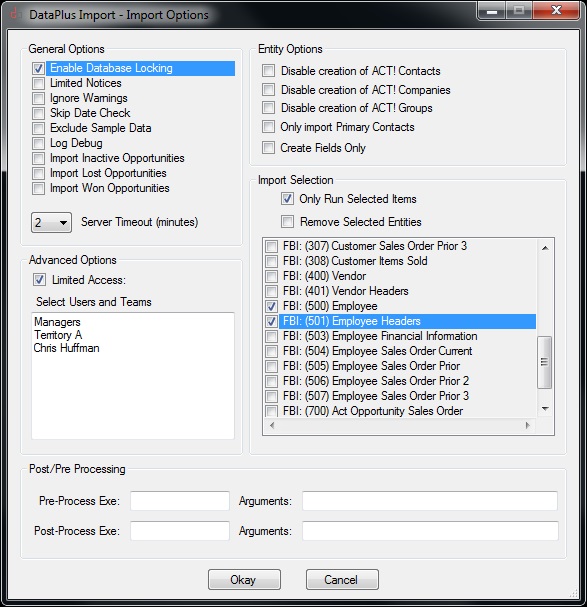
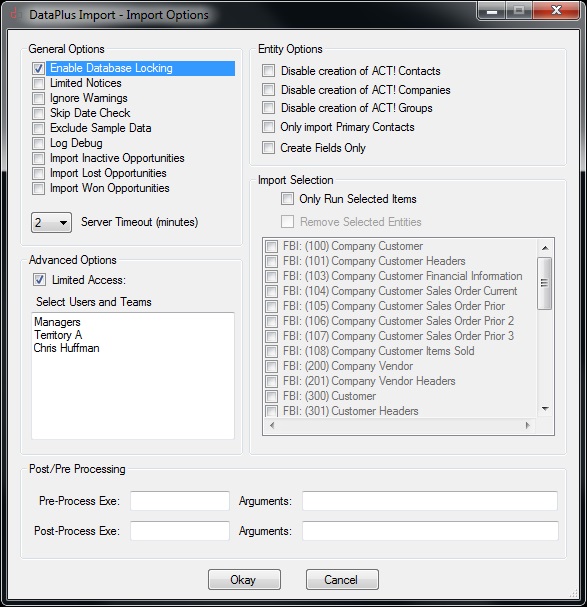
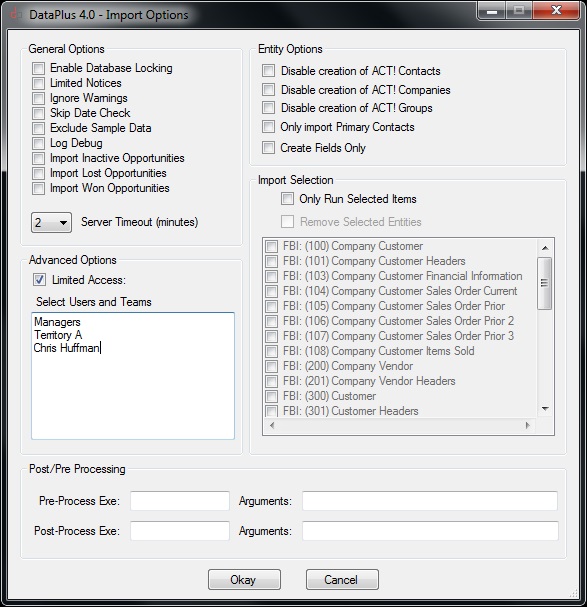
Import Options
General Options
- UnCheck Disable Database Locking
- UnCheck Limited Notices
- UnCheck Ignore Warnings
- UnCheck Skip Date Check
- Check Exclude Sample Data
- UnCheck Disable ACT time globalization
- UnCheck Disable SQL time globalization
- Set Server Timeout (minutes) (default = 2)
Entity Options
- UnCheck Disable creation of ACT! Contacts
- UnCheck Disable creation of ACT! Companies
Check "Disable creation of ACT! Companies" if you do not want to import Companies in the "Company Level" in ACT!
- UnCheck Only Import Primary Contacts
Check "Only Import Primary Contacts" if you only want to import primary contacts. Contacts that are not listed in the Fishbowl Company "Attn To" field will not import.
- UnCheck Create Fields Only
Import Selection
- UnCheck Only Run Selected Items
- UnCheck Remove Selected Items (greyed out, unless Selected Items are checked)
Advanced Options
- UnCheck If you are not using Limited Access in ACT!
- Check If you are using Limited Access in ACT!
Select Users and Teams
If you are using ACT! Limited Access, you can choose:
- Specific ACT! Team(s)
- Specific ACT! User(s)
- Click Okay
|
IMPORTANT:
- If you are not using the ACT! database provided by Hogan Data, for Fishbowl, when the first import is performed, additional fields may be required. Therefore, uncheck "Disable Database Locking" in order for the additional fields to be created.
- By default, if the "Sales Representative" in Fishbowl equals the ACT! User Name in ACT!, the Sales Representative name will populate the "Sales Representative" field in ACT!, and will also be the ACT! "Record Manager". The names have to be an exact match.
|
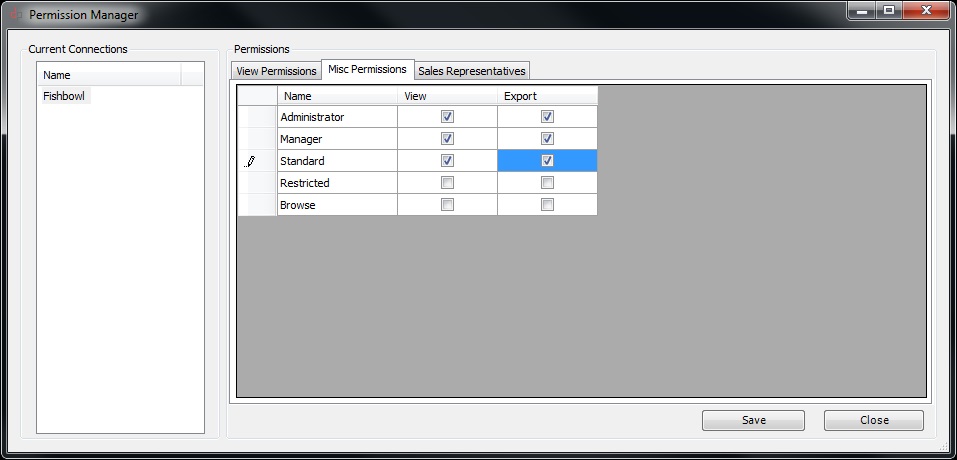
Configuration
Application Profile
- Right click EA
Your Configuration is Complete
- Click on Update
- Click on OK
- Click on Close
|
 |