| Question / Issue |
 |
| DataPlus 4.0 Sage 50 US - Client Installation |
| Answer / Solution |
|
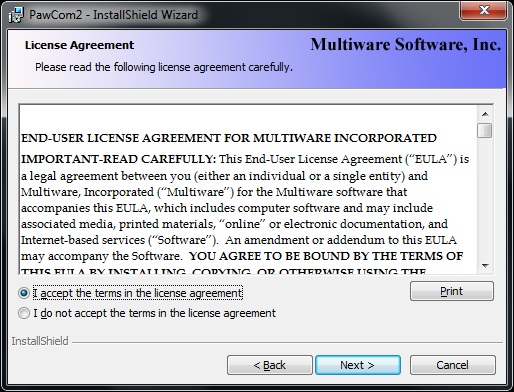
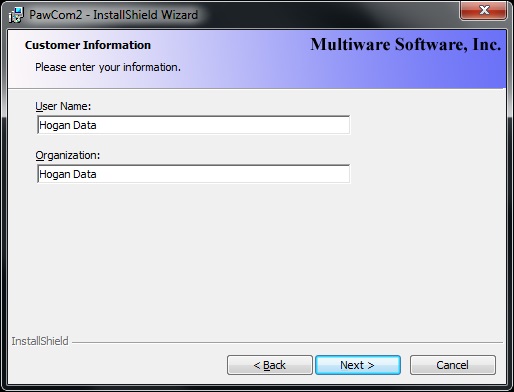
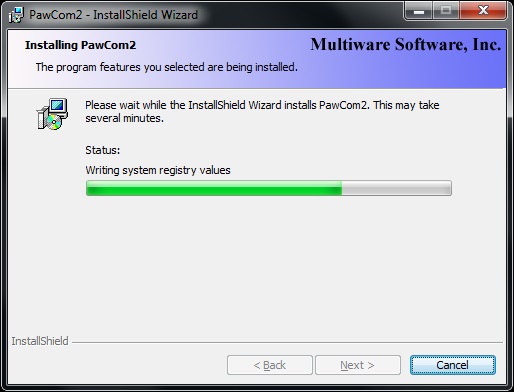
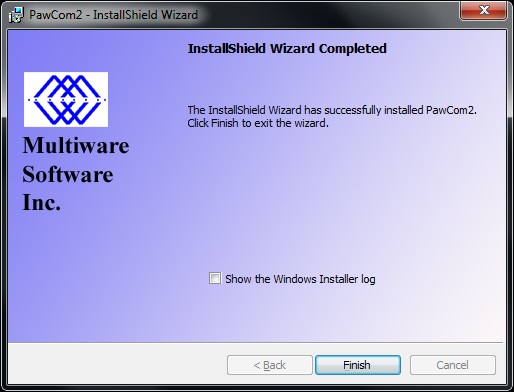
PROGRAM: DataPlus for Sage 50 US - Client Installation
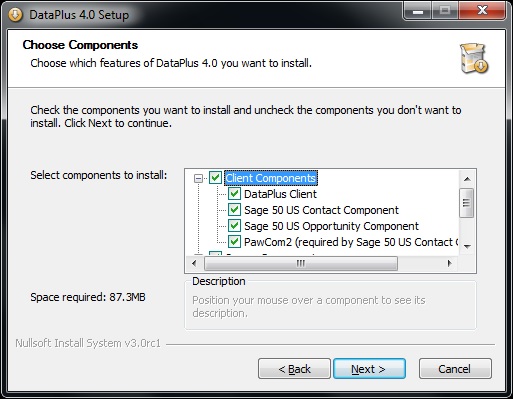
| DataPlus 4.0 Client Installation
|
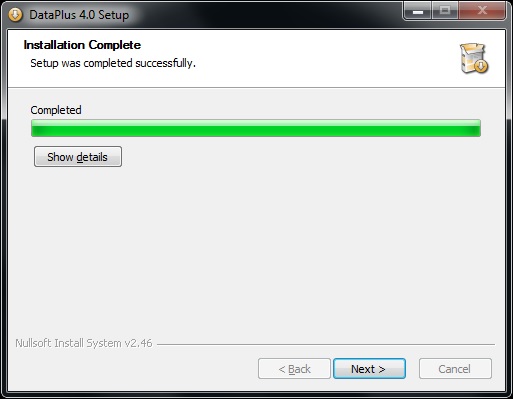
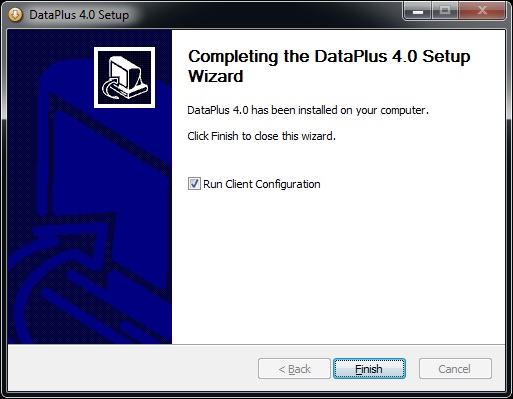
DataPlus 4.0 Client Installation
|
- Act! Premium
If push permission is enabled for current user
- Sage 50 US installed
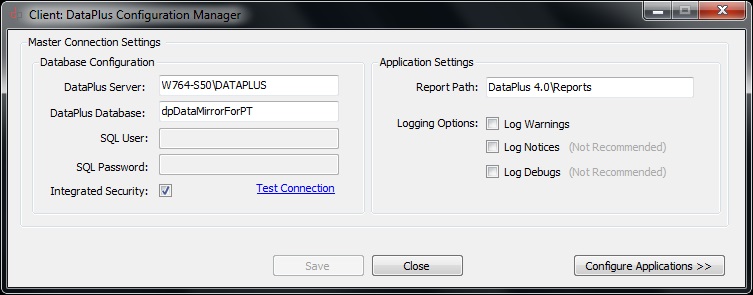
- Sage 50 US company database name and server path to database
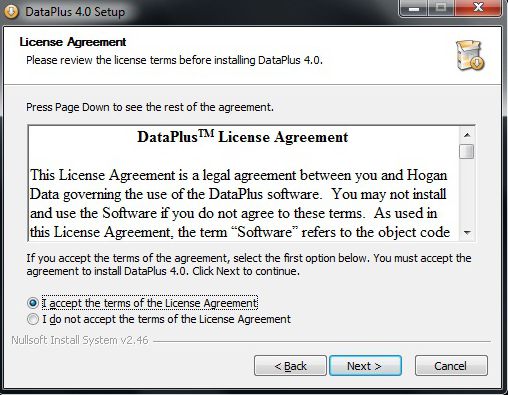
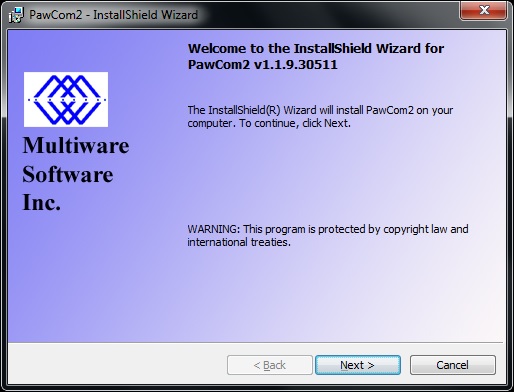
- DataPlus for Sage 50 US
- FILE: DataPlus-Sage50US-Install.exe
DataPlus Activation
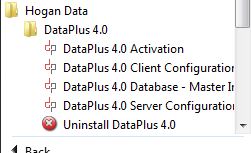
- Start
- All Programs/Hogan Data/DataPlus 4.0
- Right click DataPlus 4.0 Activation
We highly recommend activating as "Domain Administrator" or "Local Administrator". |
 |
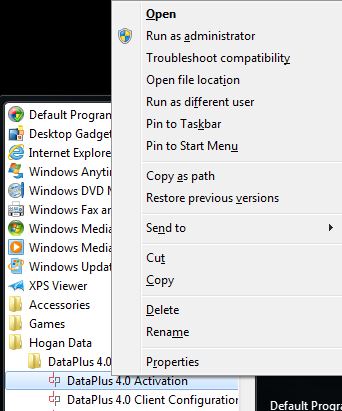
DataPlus Activation
- Run as administrator preferably the domain administrator
or
- Run as different user preferably the domain administrator
|
 |
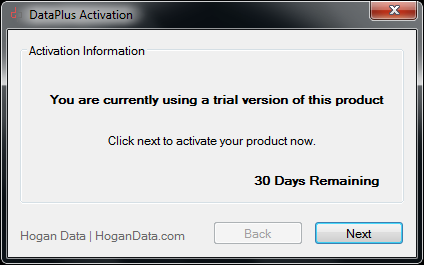
DataPlus Activation
- Click Next
|
 |
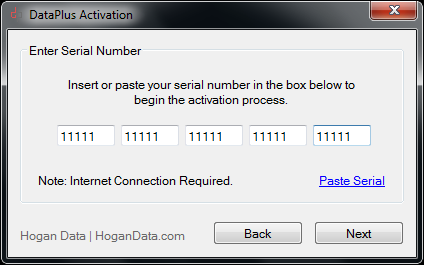
DataPlus Activation
- Copy your serial code from your "Client Portal"
- Click Paste Serial
- Click Next
|
 |
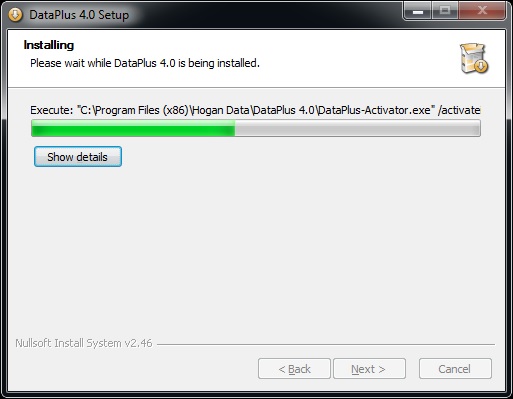
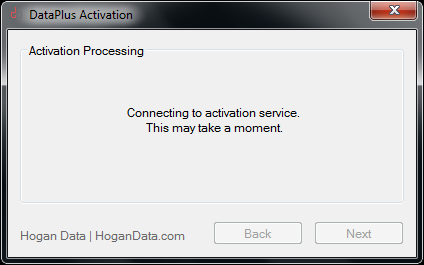
DataPlus Activation
- Connecting to the DataPlus registration service
|
 |
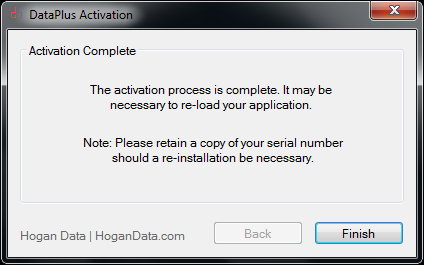
DataPlus Activation
- Click Finish
|
 |
Enable DataPlus
- Open Act!
- Act ToolBar
- Tools/DataPlus 4.0 Enable DataPlus
- Tools/DataPlus 4.0 Disable DataPlus
|
Enable DataPlus

Disable DataPlus

| |