Welcome Screen
- Right click DataPlus-Sage50US-Install.exe and "Run as administrator
- This will start the DataPlus 4.0 setup wizard.
- Click on Next >
|
 |
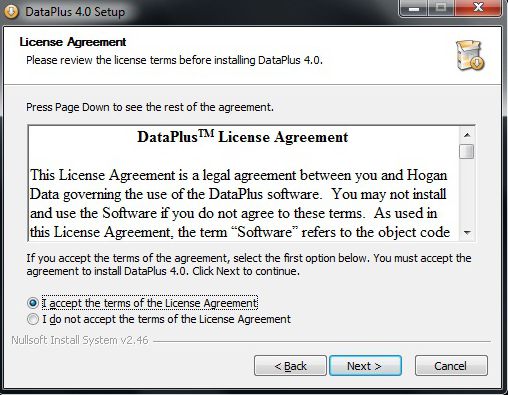
License Agreement
- License Agreement
- If you agree, click on "I accept the terms in the license agreement"
- Click on Next >
|
 |
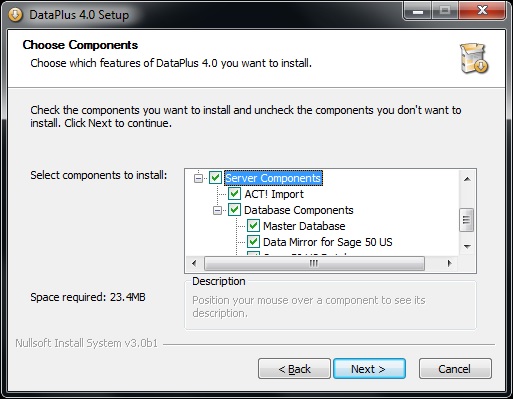
Server Components
- If you are going to install just the server component:
uncheck "Client Components"
check "Server Components"
- Server Components List
- ACT! Import
- Database Components
- Master Database
- DataMirror for Sage 50 US
- Sage 50 US Database
- Sage 50 US Bridge
Only check Bridge if you plan on pushing Customer Transactions from Act to Sage
- Click on Next >
|
|
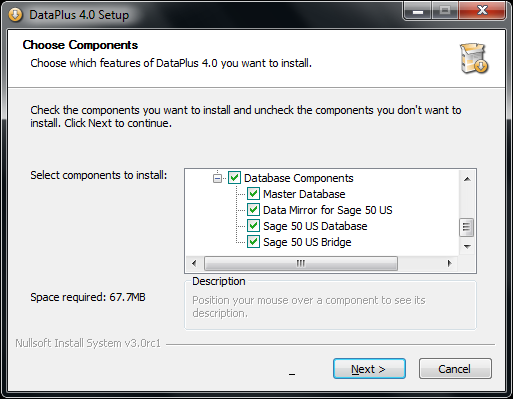
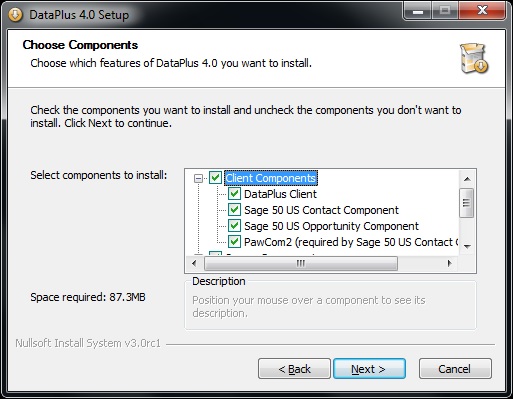
Server/Client Components
- If you are going to install server and client component, check "Server Components" and "Client Components"
- Client Components List
- DataPlus Client
- Sage 50 Contact Component
- Sage 50 Opportunity Component
- PawCom2 (required by Sage 50 Component)
- Server Components List
- ACT! Import
- Database Components
- Master Database
- DataMirror for Sage 50 US
- Sage 50 US Database
- Sage 50 US Bridge
- Click on Next >
|
|
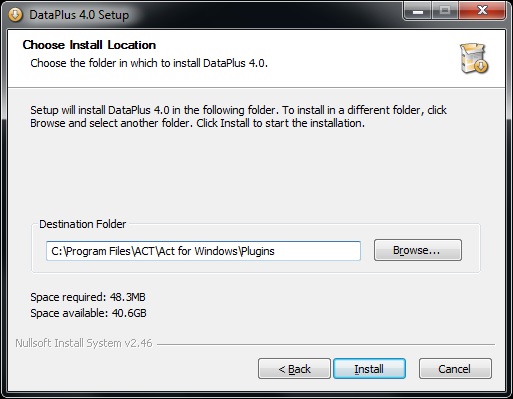
Choose Install Location
- Click on Install
|
 |
|
|
 |
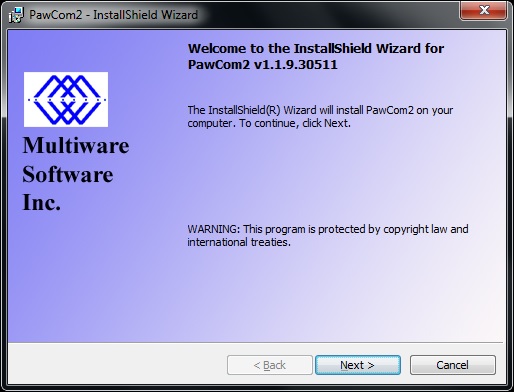
PawCom2 Installation
- Click on Next >
|
 |
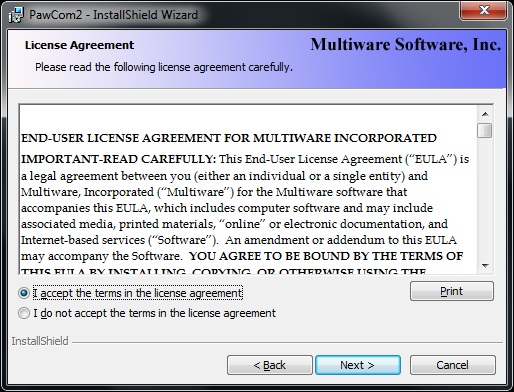
PawCom2 License Agreement
- If you agree, click on "I accept the terms in the license agreement"
- Click on Next >
|
 |
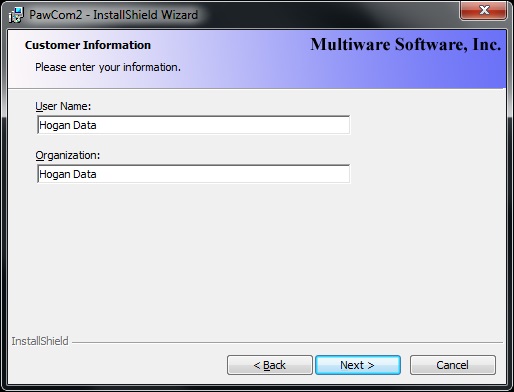
PawCom2 Customer Information
- User Name: Your user name
- Organization: Your organization
- Click on Next >
|
 |
PawCom2 Destination Folder
- Click on Next >
|
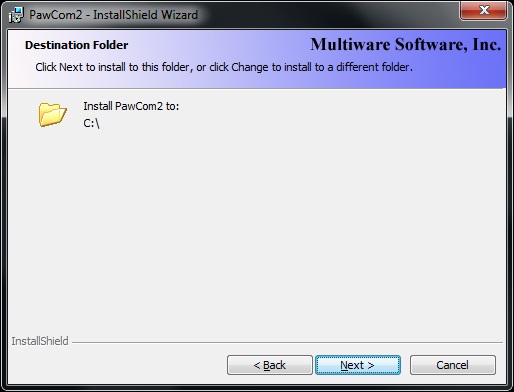 |
PawCom2 Destination Folder |
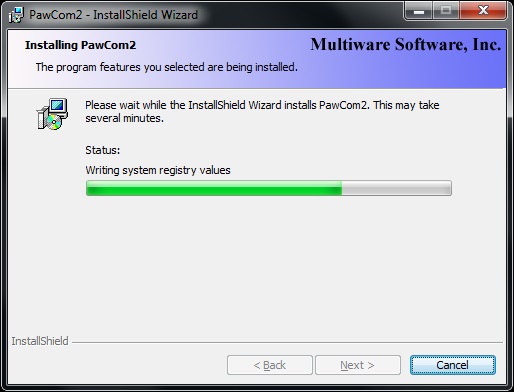 |
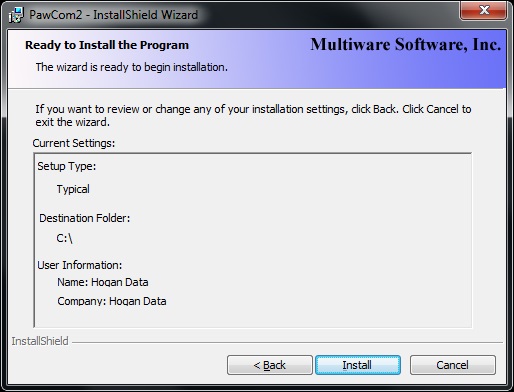
PawCom2 Ready to Install
- Click on Install
|
 |
|
|
|
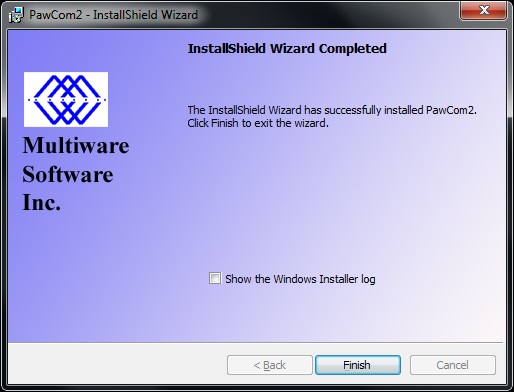
PawCom2 Wizard Completed
- Click on Finish
|
 |
dp3 Server Credentials
- Server Name: SERVER\SQLINSTANCE
- DatabaseName: dpDataMirrorForPT
- Click on Next
|
 |
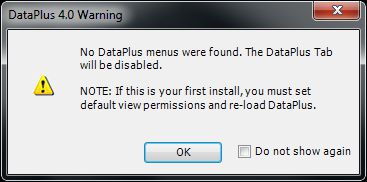
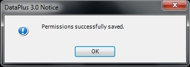
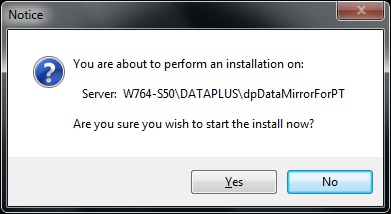
Installer Notice
- Notice informing you of installation.
- Click on Yes
|
 |
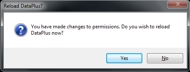
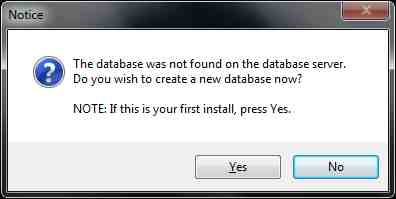
Installer Notice
- Database not found.
- Click on Yes
|
 |
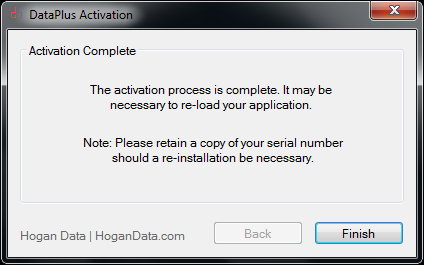
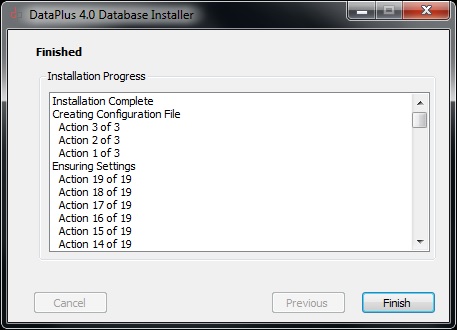
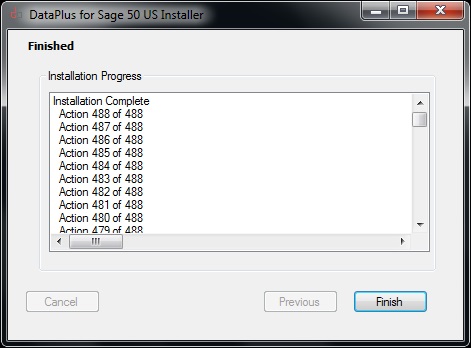
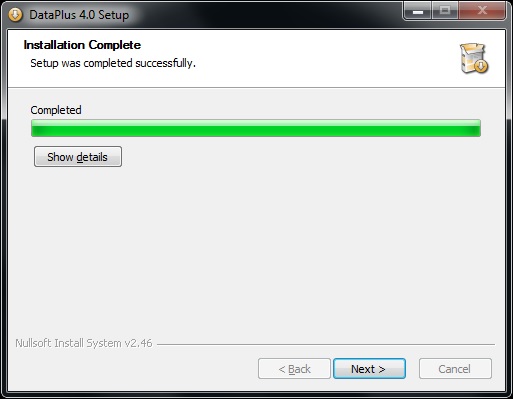
Finished
- Installation Complete
- Click on Finish
|
 |
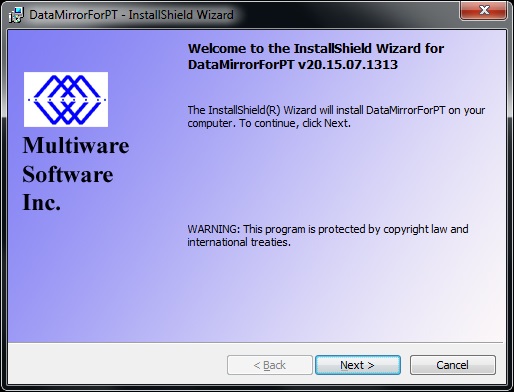
DataMirror Welcome
- Click on Next >
|
 |
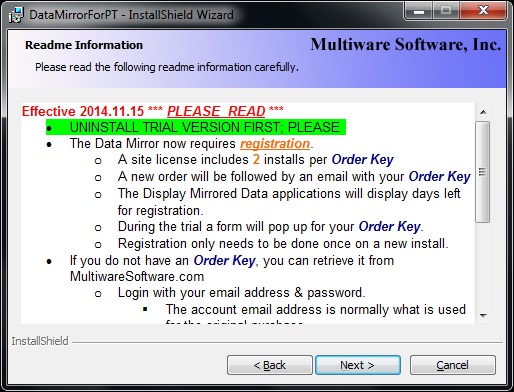
DataMirror Installation Wizard
- Readme Information
- Click on Next >
|
 |
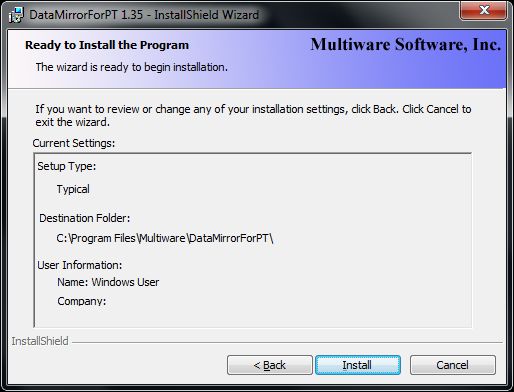
DataMirror Installation Wizard
- Ready to Install Program
- Click on Install
|
 |
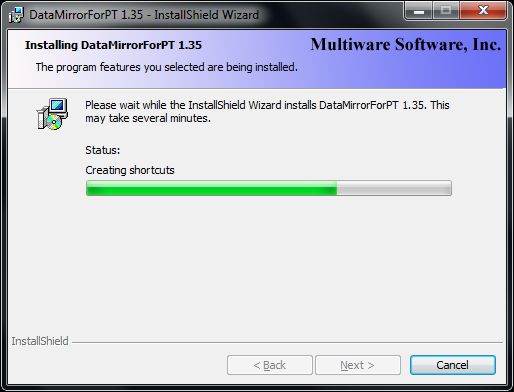
DataMirror Installation Installing |
 |
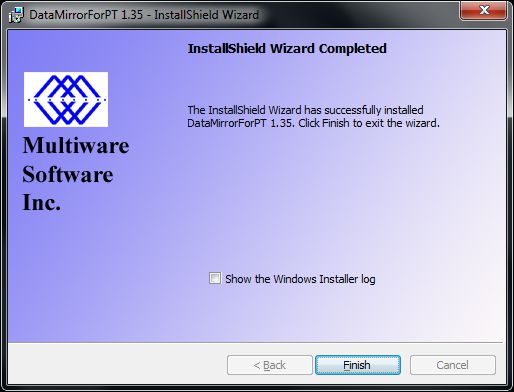
DataMirror Installation Complete
- Install Wizard Completed
- Click on Finish
|
 |
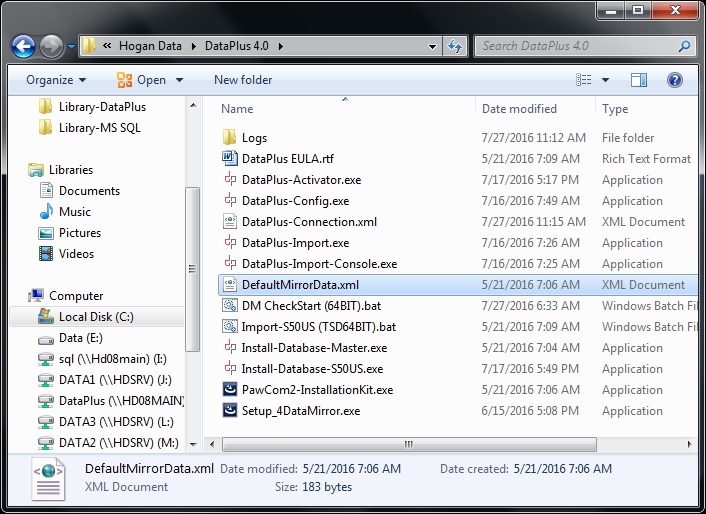
DataMirror DefaultMirrorData.xml
- Open Windows Explorer
- 32bit pc browse to: C:\Program Files\Hogan Data\DataPlus 4.0
- 64bit pc browse to: C:\Program Files (x86)\Hogan Data\DataPlus 4.0
- Edit DefaultMirrorData.xml using Notepad
|
 |
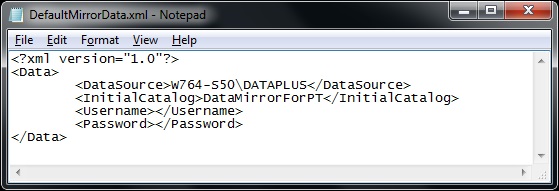
Data Mirror "DefaultMirrorData.xml"
- Change <DataSource>.\SQLEXPRESS</ DataSource>
- To your Server\sqlinstancename
If needed
- <Username>Username</Username>
- <Password>Password</Password>
- Save and close
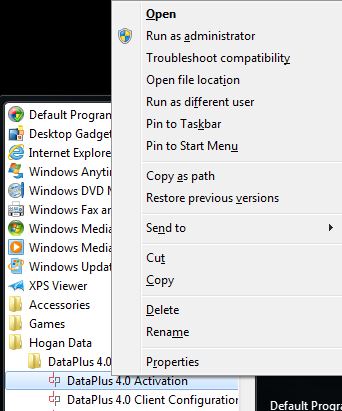
- Right click DM CheckStart (64BIT).bat
- Choose Run as administrator
- Launch Display Mirror
|
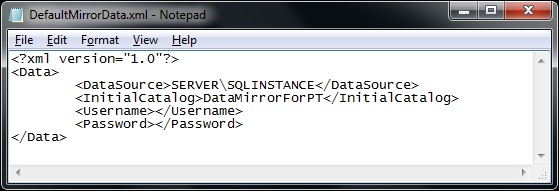
Note: If your sql install does not have an instance name then you should enter servername only.
|
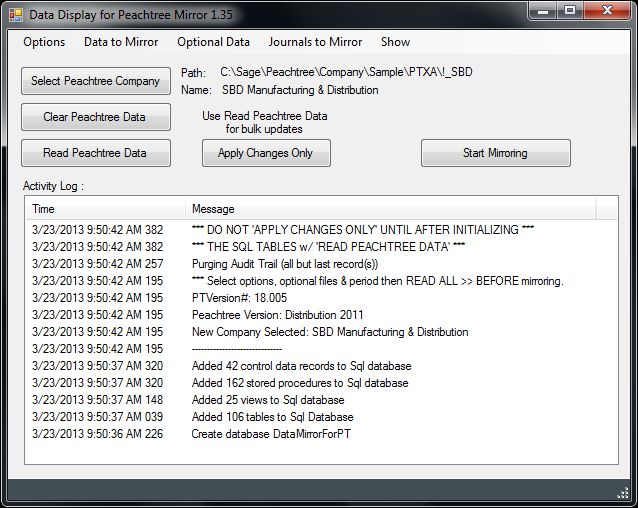
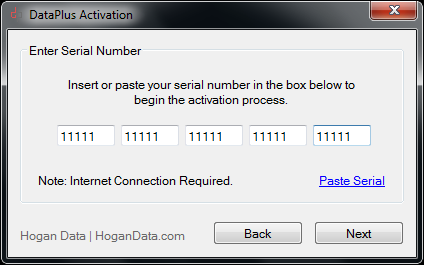
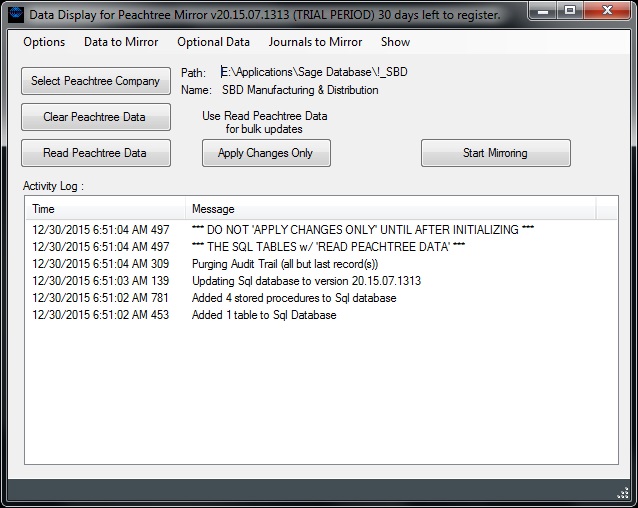
Data Display for Sage 50
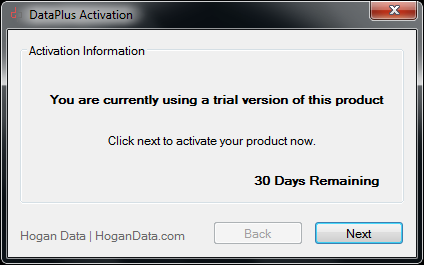
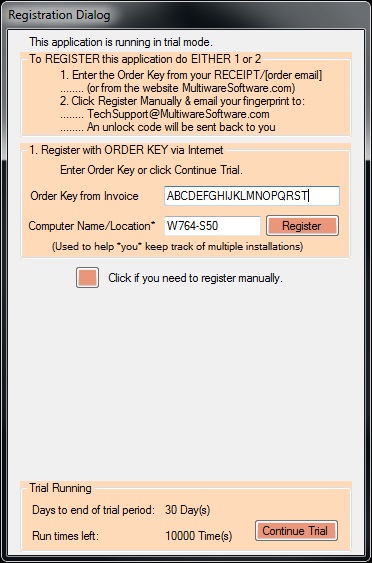
Register Product
- Order Key from Invoice YOURORDERKEYNUMBER
- Computer Name/Location YOURCOMPUTERNAME/LOCATION
- Click on Register
Or Use Trial
- Click on Continue Trial
|
 |
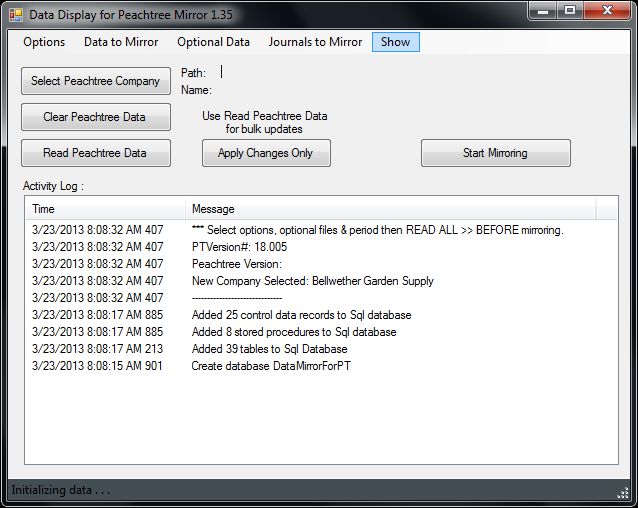
Data Display for Sage 50
- Data Display loaded
- Data Mirrow will now look up SQL Instance if DefaultMirrorData.xml was not configured
- If Select Sage 50 Company does not launch, Click on Select Sage 50 Company
|
 |
Select a Sql Instance
- If you did not edit the DataMirror DefaultMirrorData.xml file, then "Select a Sql Instance appears.
- Select Instance
- Click on OK
|
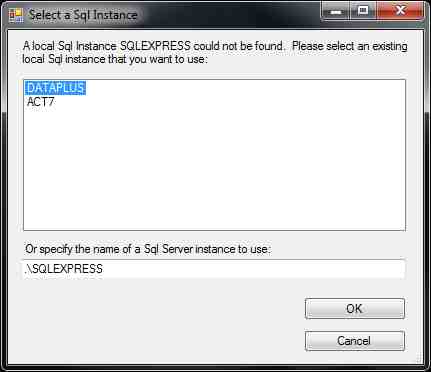
Note: If your sql install does not have an instance name then it will not appear in list. Edit your DefaultMirrorData.xml file.
|
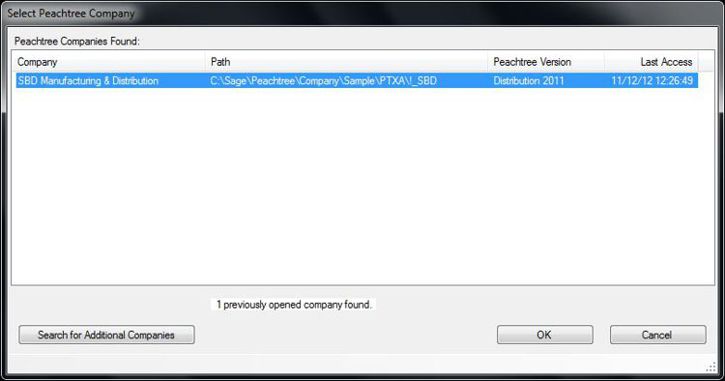
Select Sage 50 Company
- Ensure that you have first opened your Sage 50 US Company database
Sage 50 Companies Found
- Choose Company
- Click OK
|
 |
DataMirror Configured Company
- Minimize window
|
 |
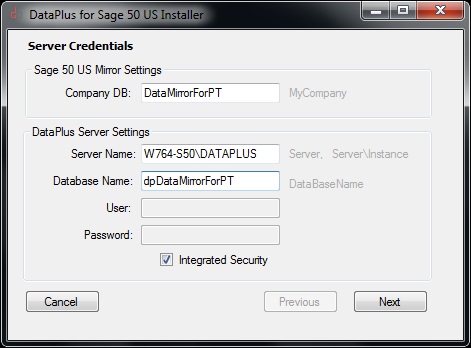
Server Credentials
Sage 50 US Mirror Settings
- Company DB: DataMirrorForPT
DataPlus Server Settings
- Server Name: SERVER\SQLINSTANCE
- DatabaseName Name: dpDataMirrorForPT
(This is the database name you originally created. Installer will add additional components. Choose Integrated Security or uncheck for SQL credentials
- Click on Next
|
 |
DataPlus Database Create
- Click Finish
|
 |
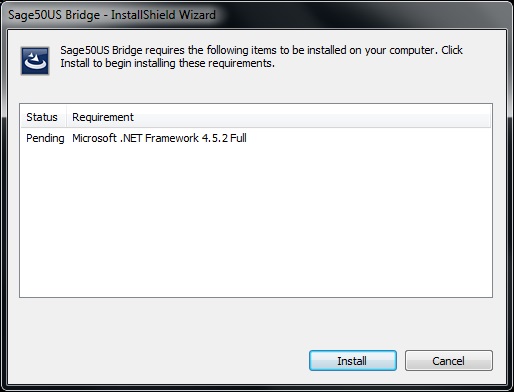
Hogan Data Bridge
- Click Install
|
 |
Hogan Data Bridge
- Downloading
|
 |
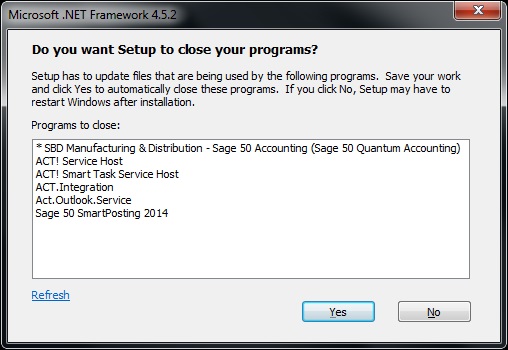
Hogan Data Bridge
- Click Yes
|
 |
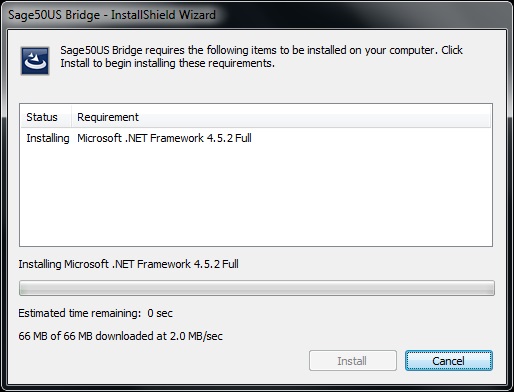
Hogan Data Bridge
- Installing
|
 |
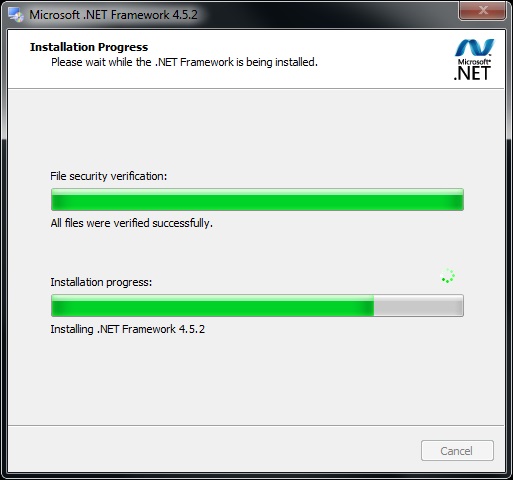
Hogan Data Bridge
- Installing
|
 |
Hogan Data Bridge
- Preparing to install...
|
 |
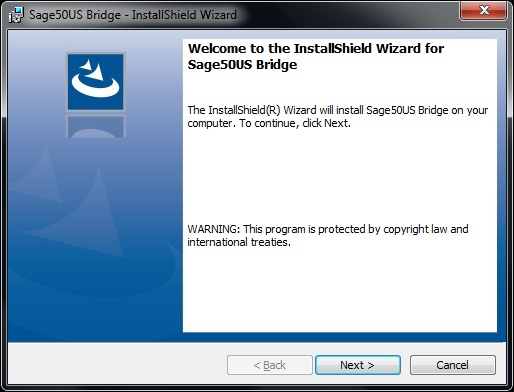
Hogan Data Bridge
- Click Next >
|
 |
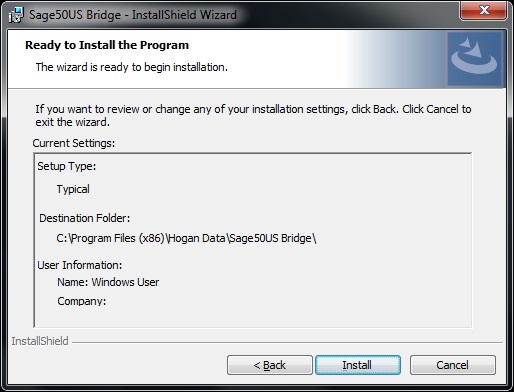
Hogan Data Bridge
- Click Install
|
 |
Hogan Data Bridge
- Installing
|
 |
Hogan Data Bridge
- Click Finish
|
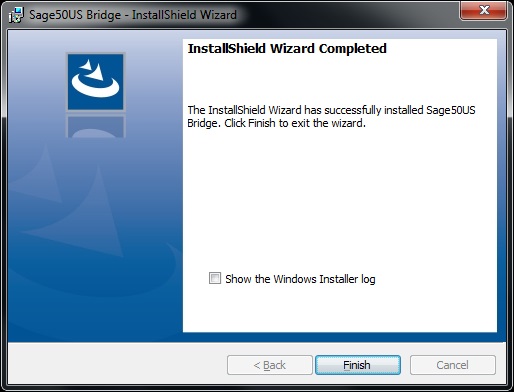 |
Hogan Data Bridge
- Installation Complete
- Click Next >
|
 |
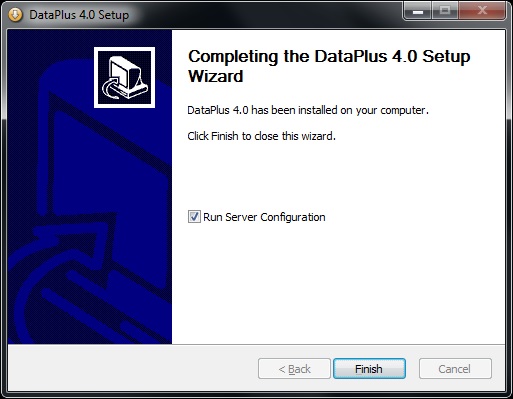
Server Configuration
- CHECK to run Server Configuration
- Click on Finish
|
If you chose Server & Client components, then dialog box below will show.

|
Client Configuration
- Click on Close
|
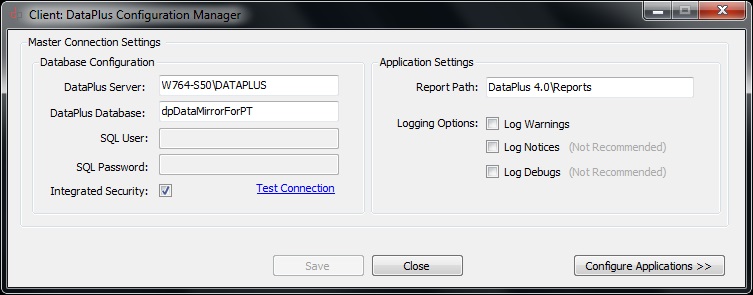 |
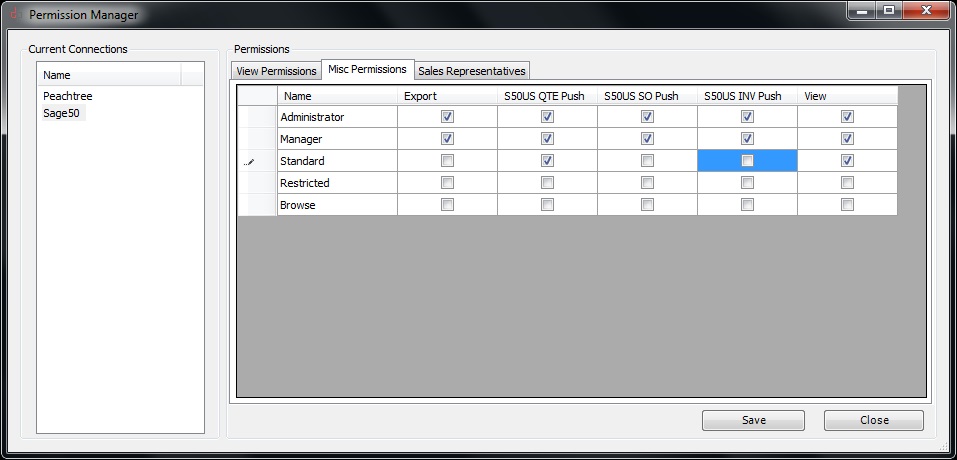
Server Configuration Manager
Master Connection Settings
Database Configuration
- DataPlus Server:
- DataPlus Database:
- SQL User:
- SQL Password:
- CHECK for Integrated Security
- Test Connection
- Click on OK
Application Settings
- Report Path: N/A
- Logging Options:
- unCHECK Log Warnings
- unCHECK Log Notices
- unCHECK Log Debugs
- Click on Save

- Click on Configure Applications >>
|
 |
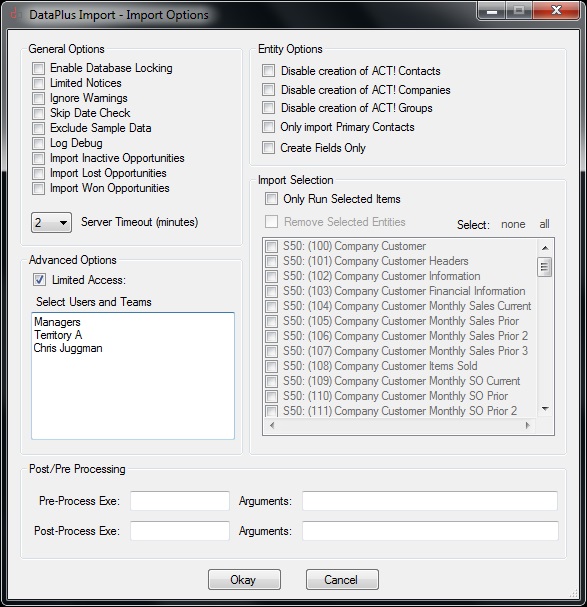
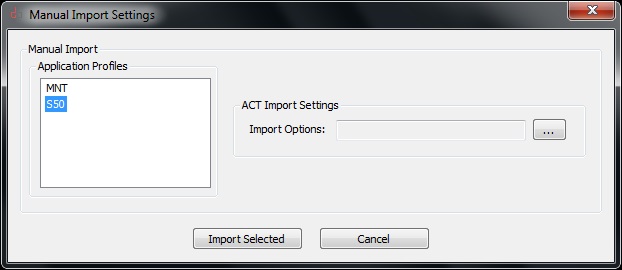
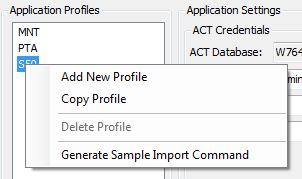
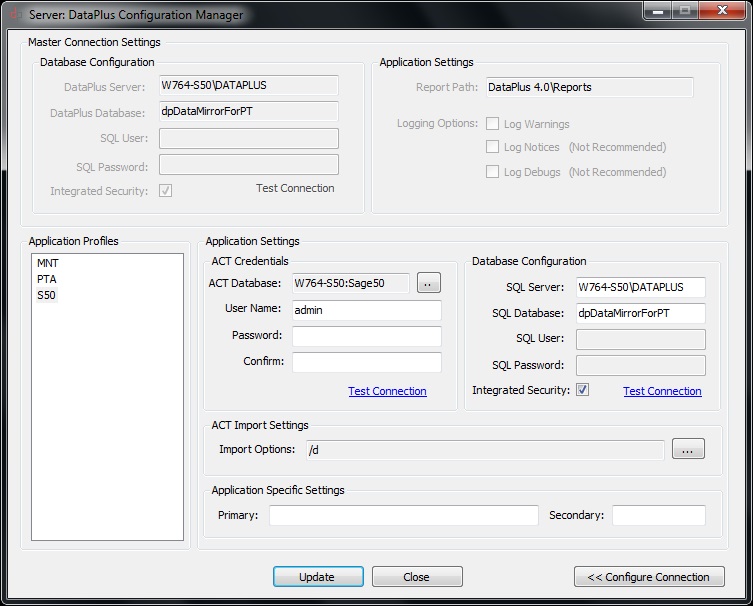
Configuration
Application Profiles
- Click on S50
Application Settings
ACT Credentials
- Database; ActDatabaseName click on [..] to browse to database
- User Name: ActUserName must be an ACT! administrator
- Password: ActPassword
- Confirm: ActPassword
- Test Connection
- Click on OK
Database Configuration
- Database: dpDataMirrorForPT DataPlus database name
- Server: ServerName\Instance SQL Instance if applicable
- SQL User: sa
- SQL Password: password
- Check if you want integrated security
- Test Connection
- Click on OK
- Click on Update
- Click on OK
- Click on PTA Perform the same task as S50
- Click on MNT Perform the same task as S50
- Click on Close
|
 |