Topics > DataPlus ECi Accounting Integration > DataPlus 4.0 e-automate > FAQ ID # 100

FAQ ID # 100
Last Update : 2018/02/01
Print this FAQ

Question / Issue
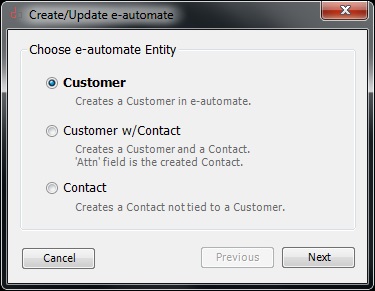
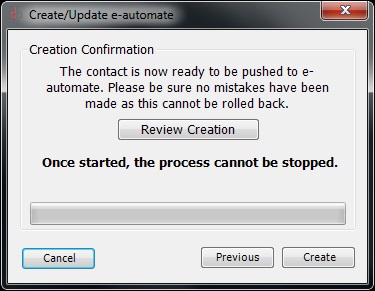
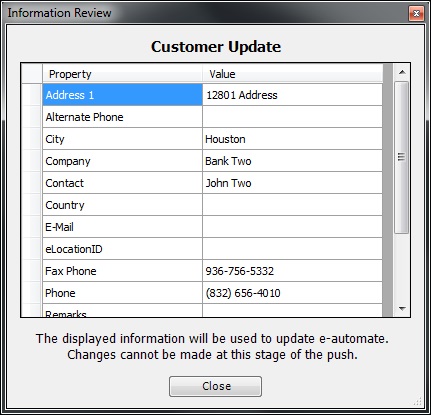
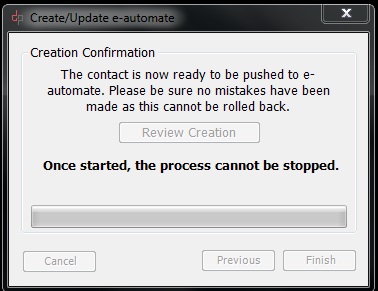
DataPlus 4.0 e-automate - Contact Push

Answer / Solution
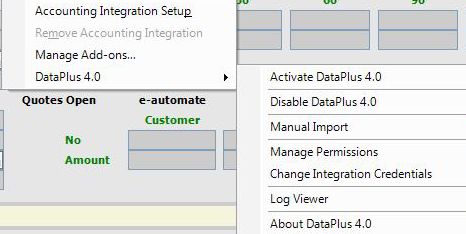
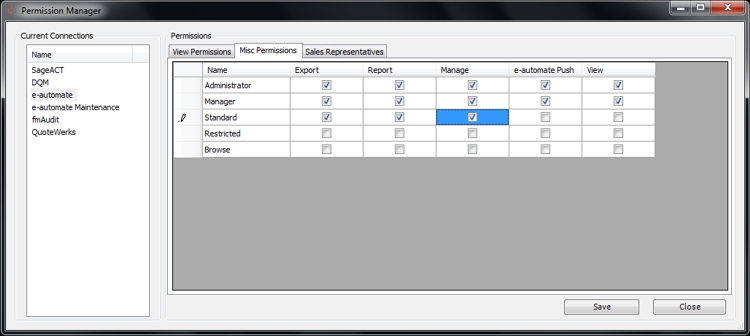
PROGRAM: DataPlus for e-automate - e-automate Push
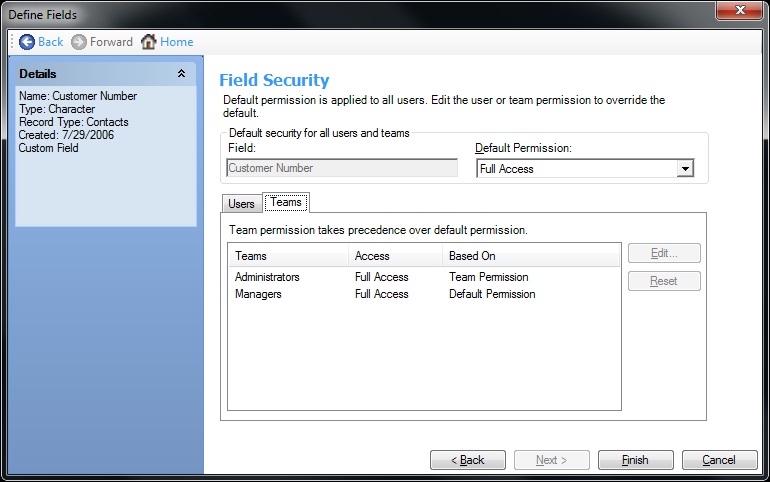
Table of Contents

What did you need prior to establishing e-automate push
    DataPlus Server Installation
  1. DataPlus Configuration Settings
  2. SQL Permission to DataPlus & e-automate SQL database

    DataPlus Client Installation

  3. DataPlus Client
  4. e-automate Client
    e-automate
  1. Does not have to be Installed locally
    Act
  1. Act Premium Windows installed
  2. Act database credentials


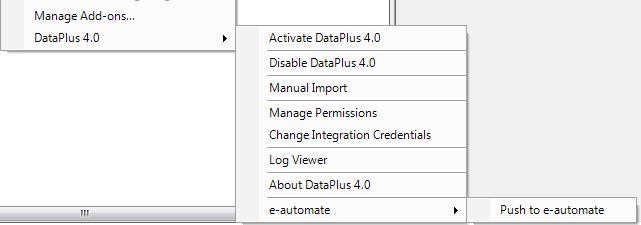
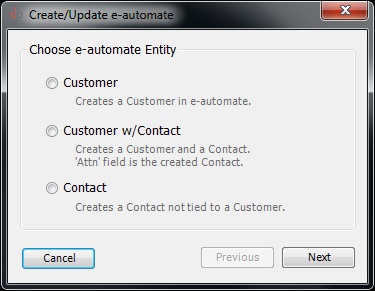
DataPlus e-automate Push
    Manage Permissions
  1. Open Act!
  2. Click on Tools from Act tool bar
  3. Click on DataPlus 4.0
  4. Click on Manage Permissions
    Misc Permissions

    Permissions

  1. Click Misc Permissions
  2. e-automate Push - create/edit customers from Act! to e-automate
  3. Check Box for each Team Name that will have permission to push"
  4. You can double click the header or row to check or uncheck all
  5. Click Save
  6. Click Close
  7. Click Yes
  8. Click OK
Create Customer:

Edit Customer:

    Push to e-automate
    Create Customer or Contact
  1. Field security in Act must be changed to "Full Access" for the following fields:
    1. Customer Number
    2. Contact Number
    3. Contact Reference Number
    4. eCustomerID
    5. eLocationID
    6. eContactID
    7. eContactReferenceID
    8. eImport

    Edit Customer or Contact

  2. Field security in Act "does not" need be changed to edit customer or contact
By default the refered to fields are "Read Only" for all users except Act Administrators. You can change security by Act user or by team.

    Push to e-automate
  1. Push to e-automate will be added to Act Tools menu
  2. Act/Tools/DataPlus 4.0/e-automate/Push to e-automate
    Push to e-automate
    Types of Contacts
  1. Customer
    1. Creates a Customer in e-automate
  2. Customer w/Contact
    1. Creates a Customer and a Contact
    2. "Attn" in e-automate is the created Contact
  3. Contact
    1. Creates a Contact not tied to a Customer
    Push to e-automate
    Choose e-automate Entity
  1. Customer
  2. Customer w/Contact
  3. Contact
  4. Click on Next
    Push to e-automate
    Creation Confirmation
  1. Click on Review Creation
  2. Or proceed forward click on Next
    Push to e-automate
    Customer Update
  1. After review click on Close
    Push to e-automate
    Creation Confirmation
  1. After review click on Create
    Push to e-automate
    Creation Confirmation
  1. Process started
    Push to e-automate
    Operation Complete
  1. Click on Finish
    Push to e-automate
    Customer or Contact Created
  1. Customer fields in Act will be populated and relationship between Act & e-automate established
    1. Customer Number
    2. Contact Number
    3. Contact Reference Number
    4. eCustomerID
    5. eLocationID
    6. eContactID
    7. eImport

Related FAQs
Error connecting to SQL Server. A network-related or instance-specific error occured while establishing a connection to SQL server!
DataPlus 4.0, 3.0 Auto Import
DataPlus SQL Security
DataPlus 4.0 e-automate - Server Installation
DataPlus 4.0 e-automate - Act! Database Configuration
DataPlus 4.0 e-automate - Server/Client Update
DataPlus 4.0 e-automate - Client Installation
DataPlus for e-automate - Uninstall Version 3.0
DataPlus 4.0 e-automate - Messages

Direct Link to This FAQ
http://kb.hogandata.com/?f=100

Back to Top