Topics > DataPlus Sage Accounting Integration > DataPlus 4.0 Sage 100 > FAQ ID # 94

FAQ ID # 94
Last Update : 2015/12/13
Print this FAQ

Question / Issue
DataPlus for Sage 100 - Server / Client Update

Answer / Solution
PROGRAM: DataPlus for Sage 100 - Server / Client Update
Table of Contents

DataPlus for Sage 100 - Download From Client Portal
    Client Portal
  1. Login to Client Portal
  2. Click on Download Tab
  3. Click on DataPlus-S100ERP-Install.exe Link to download your new installer
  4. Open download location in Windows Explorer

Perform update install for Client or Server when instructed. You can however, perform install on both Client and Server if you choose.


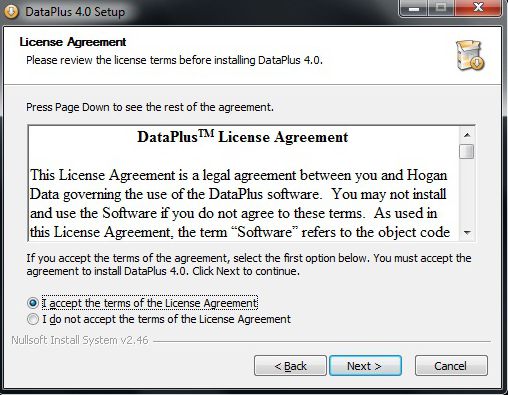
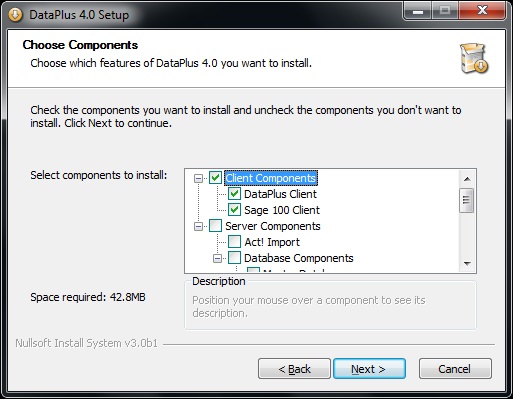
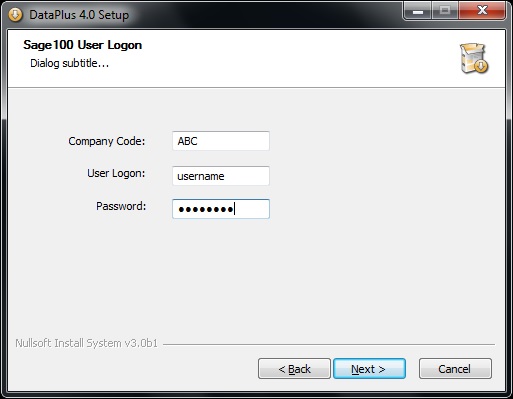
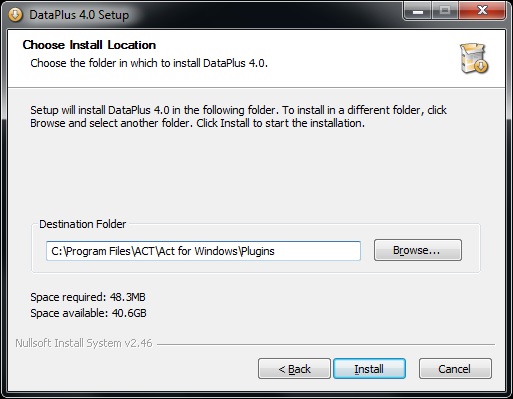
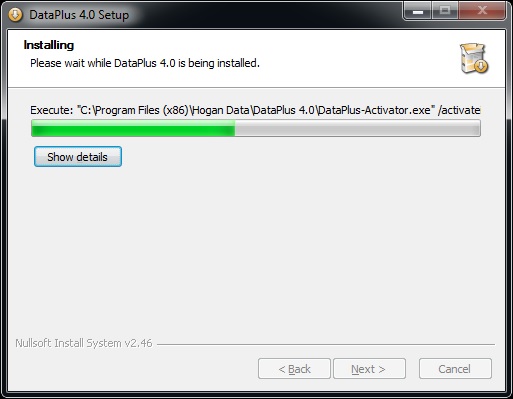
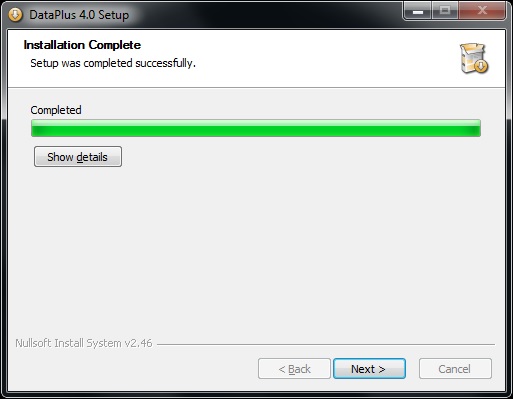
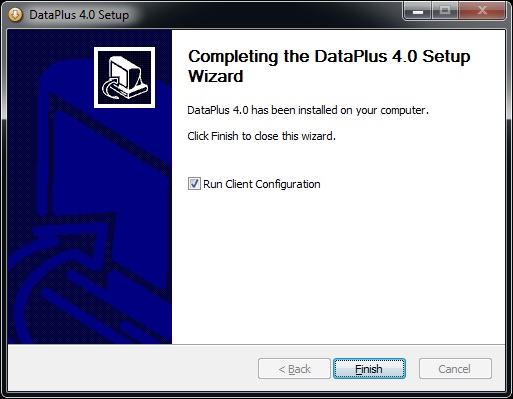
DataPlus for Sage 100 - Client Update
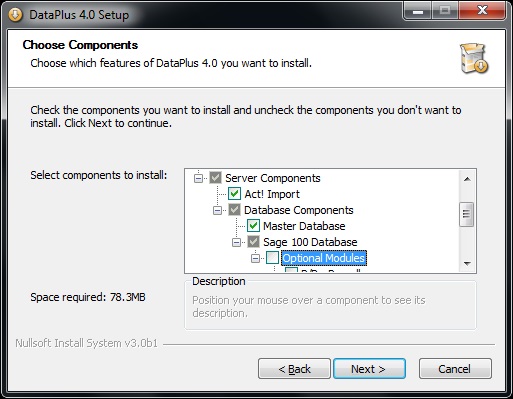
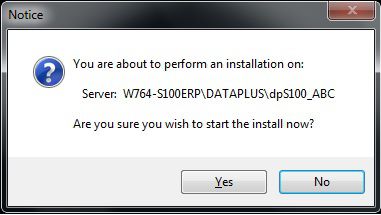
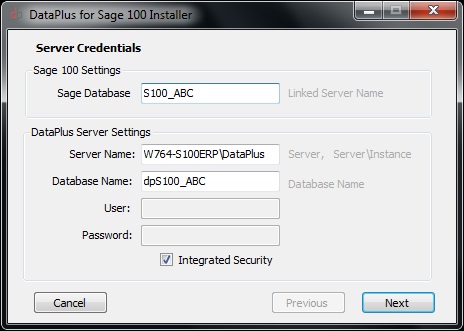
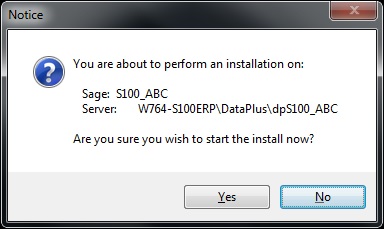
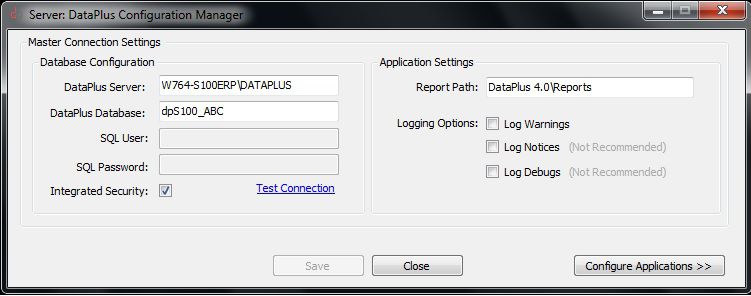
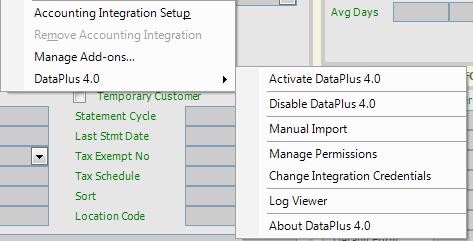
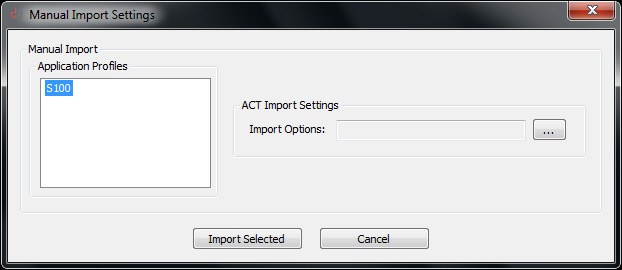
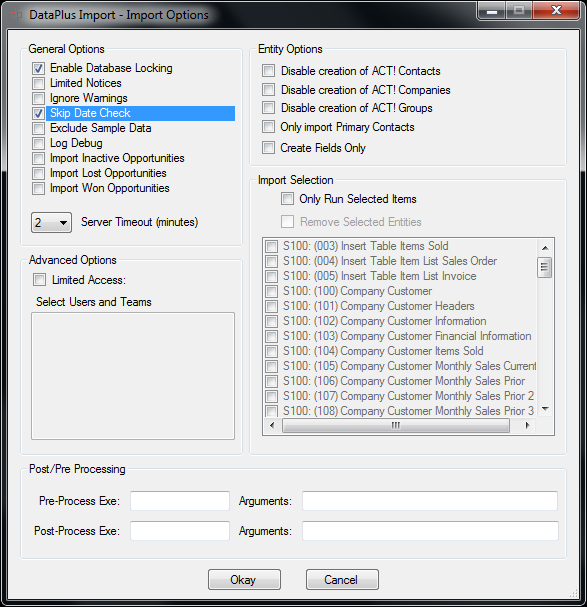
    > Welcome Screen
  1. Right click DataPlus-S100ERP-Install.exe and "Run as administrator/span>
  2. Login to This will start the DataPlus 4.0 setup wizard.
  3. Click on Next >
    License Agreement
  1. License Agreement
  2. If you agree, click on "I accept the terms in the license agreement"
  3. Click on Next >
    Client Components
  1. Check Client Components
  2. Check DataPlus Client
  3. Check Sage 100 Client
    Sage 100 User Logon
    Administrator User
  1. Company Code: ABC
    Your company code
  2. User Logon: username
  3. Password: password
    Choose Install Location
  1. Click on Install
    Installing
    Installation Complete
  1. Click on Next
    Client Configuration
  1. CHECK Run Client Configuration
  2. Click on Finish
    Client Configuration Manager
    Master Connection Settings
    Database Configuration
  1. DataPlus Server:
  2. DataPlus Database:
  3. SQL User:
  4. SQL Password:
  5. CHECK for Integrated Security
  6. Test Connection
  7. Click on OK

    Application Settings

  8. Report Path: unc Path to CR Reports
  9. Logging Options:
  10. unCHECK Log Warnings
  11. unCHECK Log Notices
  12. unCHECK Log Debugs
  13. Click on Save
  14. Click on Close


DataPlus for Sage 100 - Server Update
    Welcome Screen
  1. Right click DataPlus-S100ERP-Install.exe and "Run as administrator
  2. This will start the DataPlus 4.0 setup wizard.
  3. Click on Next >
    License Agreement
  1. License Agreement
  2. If you agree, click on "I accept the terms in the license agreement"
  3. Click on Next >
    Server Components
  1. Check Act! Import
  2. Uncheck Master Database
  3. Check Sage 100 Database

    Optional Modules

  4. Uncheck Optional Modules
    Note: Check Optional Modules if you require them
    Sage 100 User Logon
    Administrator User
  1. Company Code: ABC
    Your company code
  2. User Logon: username
  3. Password: password
    Choose Install Location
  1. Click on Install
    Installing
    dp3 Server Credentials
  1. Server Name: ServerName\Instance SQL Instance if applicable
  2. Database Name: dpS100_ABC database name

    Credential Settings

  3. User: sa
  4. Password: password
  5. Check if you want integrated security
  6. Click on Next >
    Installer Notice
  1. Notice informing you of installation.
  2. Click on Yes
    Finished
  1. Database created
  2. Click on Finish
    Installing
    Server Credentials
  1. Credential information should already be populated

    Sage 100 Settings

  2. Sage Database: S100_ABC

    DataPlus Server Settings

  3. Server Name: ServerName\Instance SQL Instance if applicable
  4. Database Name: dpS100_ABC
  5. User: sa
  6. Password: password
  7. Or Check if you want integrated security
  8. Click on Next >

If Sage 100 default modules are not active, installation will fail

    Installer Notice
  1. Notice informing you of installation.
  2. Click on Yes
    Finished
  1. Database upgraded
  2. Click on Finish
    Installation Complete
  1. Click on Next
    Client Configuration
  1. CHECK Run Client Configuration
  2. Click on Finish
    Server Configuration Manager
  1. Configuration Manager should already be populated

    Master Connection Settings
    Database Configuration

  2. DataPlus Server:
  3. DataPlus Database:
  4. SQL User:
  5. SQL Password:
  6. CHECK for Integrated Security
  7. Test Connection
  8. Click on OK

    Application Settings

  9. Report Path: unc Path to CR Reports
  10. Logging Options:
  11. unCHECK Log Warnings
  12. unCHECK Log Notices
  13. unCHECK Log Debugs
  14. Click on Save
  15. Click on Close
  16. Perform Manual Import (next step)


DataPlus Act! Manual Import
    Perform Manual Import
  1. Open Act!
  2. Tools/DataPlus 4.0/Manual Import
    Manual Import
  1. Click on S100
  2. Click on Browse
    Manual Import All
  1. Check Enable Database Locking
  2. Check Skip Date Check
    There may be additional Act fields to be created.
  3. Use your default Import Selection
  4. Click Okay
    Import Complete
  1. Click on Close

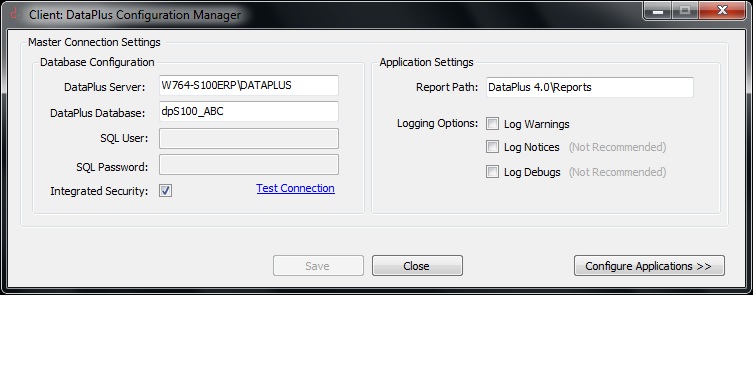
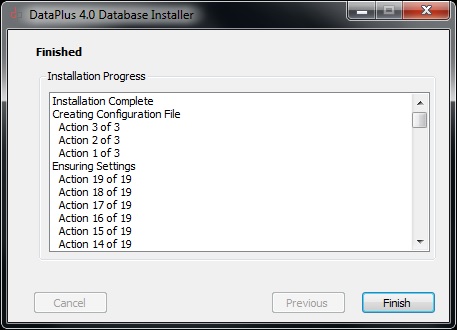
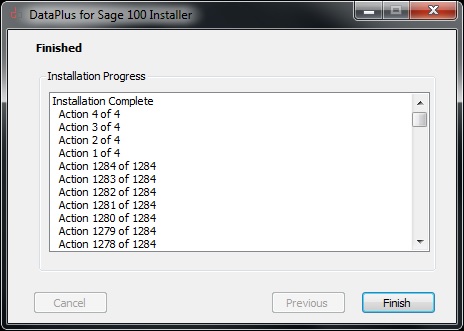
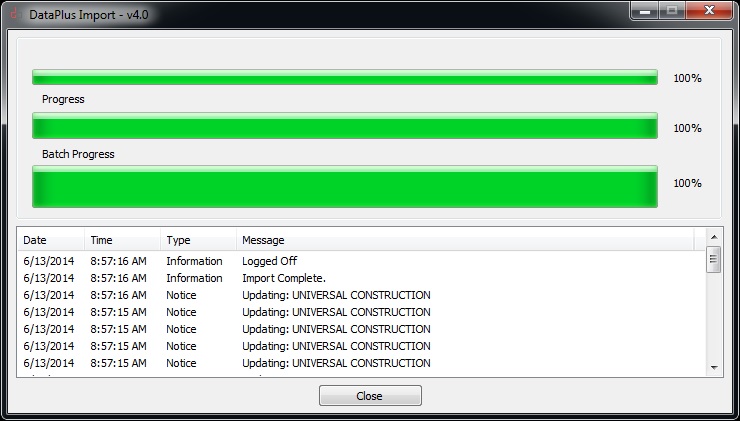
Update, configuration, and connection to your Sage 100 application is complete.


Related FAQs
DataPlus 4.0 Sage 100 - Server Installation
DataPlus 4.0 Sage 100 - Client Installation
DataPlus 4.0 Sage 100 - Act! Database Configuration
DataPlus 4.0 Sage 100 - Contact Push Configuration
DataPlus 4.0 Sage 100 - Messages

Direct Link to This FAQ
http://kb.hogandata.com/?f=94

Back to Top