| Question / Issue |
 |
| DataPlus 4.0 Sage 100 Contractor - Server Installation |
| Answer / Solution |
|
PROGRAM: DataPlus for Sage 100 Contractor - Server Installation
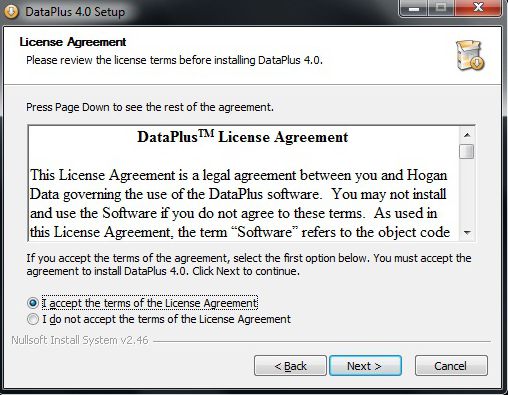
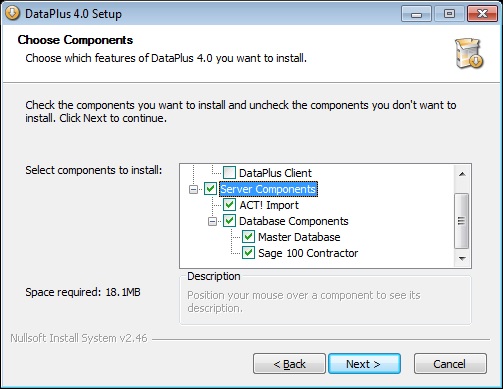
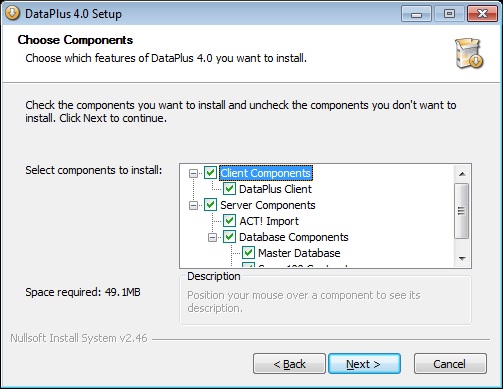
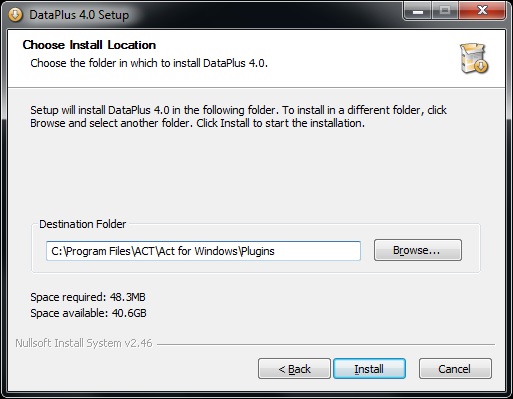
| DataPlus 4.0 Server & Client Installation
|
DataPlus 4.0 Server & Client Installation
|
IMPORTANT: You should not attempt server installation if you are not experienced with the following:
Microsoft Windows Experience
- Windows Domain
- Windows Security
- Windows Firewall
- Windows Active Directory
- Windows User Rights
- Windows User Configuration
- Windows Universal Access Control (UAC)
- Windows Group Policy
- Windows Local Security Policy
- Windows Services
- Windows Ports
|
Microsoft SQL Experience
- SQL Server or Express
- SQL Server Management Studio (SSMS)
- SQL Security
|
Third Party Software
- Anti-virus installed on network
|
32 Bit OS or 64 Bit Operating Systems
- MS SQL Server or MS SQL Express instance 32 bit
Sage 100 application uses 32 bit ODBC, therefore SQL must be 32 bit application.
- SQL 2012 Microsoft Download [SQL Server Express with Tools]
- SQL 2008 Microsoft Download [Microsoft SQL Server 2008 R2 RTM - Management Studio Express]
- Do not use the ACT! instance of SQL
- SQL Server Management Studio
- Microsoft Visual FoxPro Driver: Verify existance, if not download if needed
Sage 100 Contractor installs and uses Microsoft Visual FoxPro Driver
Sage 100 Contractor
- Sage 100 Contractor installed
- ODBC System DSN Data Source for Sage 100 Contractor
- SQL Linked Server to the Sage 100 Contractor
- DataPlus for Sage 100 Contractor installer (DataPlus-Sage100-Install.exe)
- Sage ACT! database for Sage 100 Contractor
- Hogan Data provides a Sage ACT! database with the purchase of DataPlus for Sage 100 Contractor Application
- Or you can use your existing database (NOTE: There will be new fields created & will have to be added to layout)
- Sage 100 Contractor open
- File: "DataPlusS100_LinkedServerFoxPro32Bit.sql" (The script can be found in your "Client Portal" under "Files & Folders" "Download")
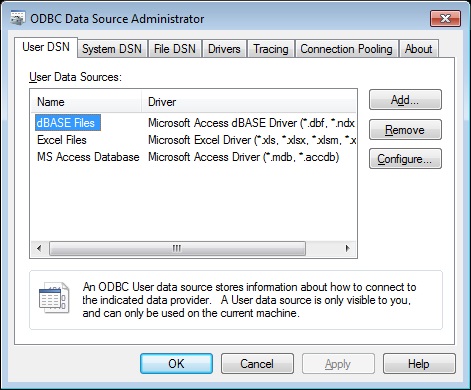
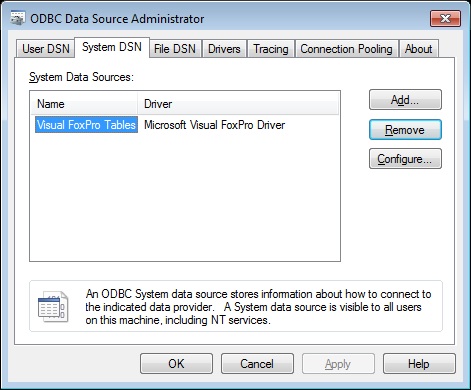
ODBC Data Source Administrator
- Open Data Sources (ODBC)
For a 64 bit machine "Run"
%WINDIR%\SysWOW64\odbcad32.exe
- Click on System DSN tab
|
Sage 100 Version 2013 & 2012
 |
ODBC Data Source Administrator
- Click on Add
|
 |
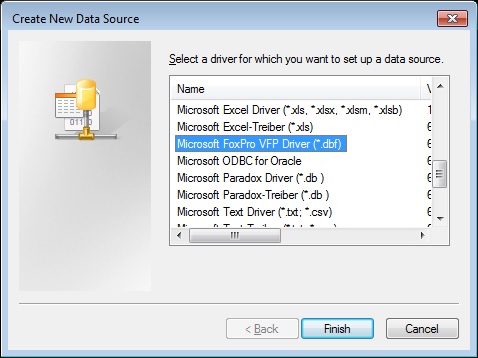
Create New Data Source
- Scroll and choose Microsoft Visual FoxPro Driver
- Click Finish
|
 |
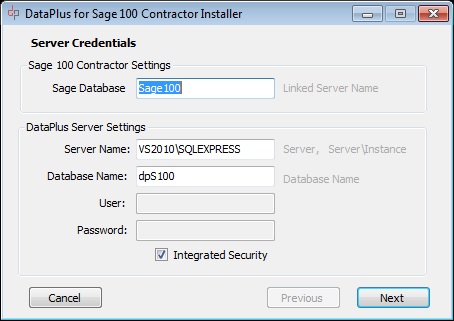
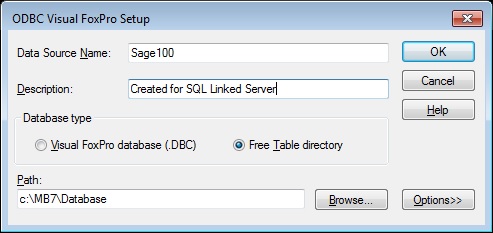
Create New Data Source
- Data Source Name: Sage100
- Description: Sage100 (Optional)
- Database type: Free Table directory
- Path: [dr]:\path\to\your\directory
- Click OK
|
 |
Create Linked Server
Before you continue, execute "DataPlusS100_LinkedServerFoxPro32Bit.sql".
The script can be found in your "Client Portal" under "Files & Folders" "Download" |
Execute Sage 100 Schema
- Open Microsoft Management Studio
- Create New Query
- Open DataPlusS100_LinkedServerFoxPro32Bit.sql
- Change: @datasrc
- Execute
- Close or minimize MMS
|
EXEC master.dbo.sp_addlinkedserver
@server = 'Sage100',
@srvproduct='Visual FoxPro',
@provider='VFPOLEDB',
@datasrc='C:\MB7\Sample Company',
@provstr='VFPOLEDB.1' |
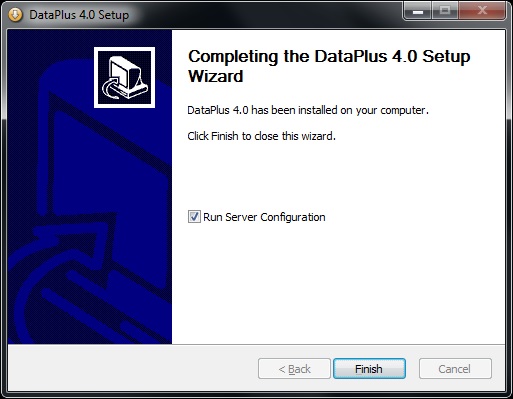
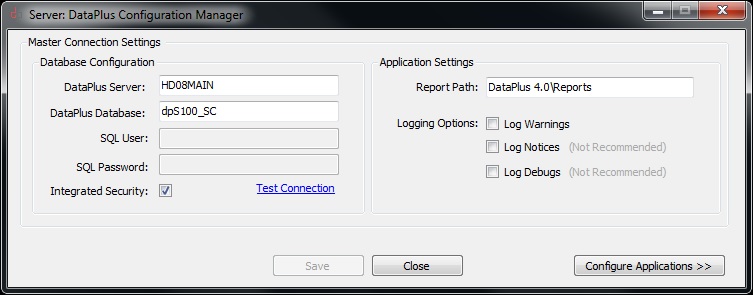
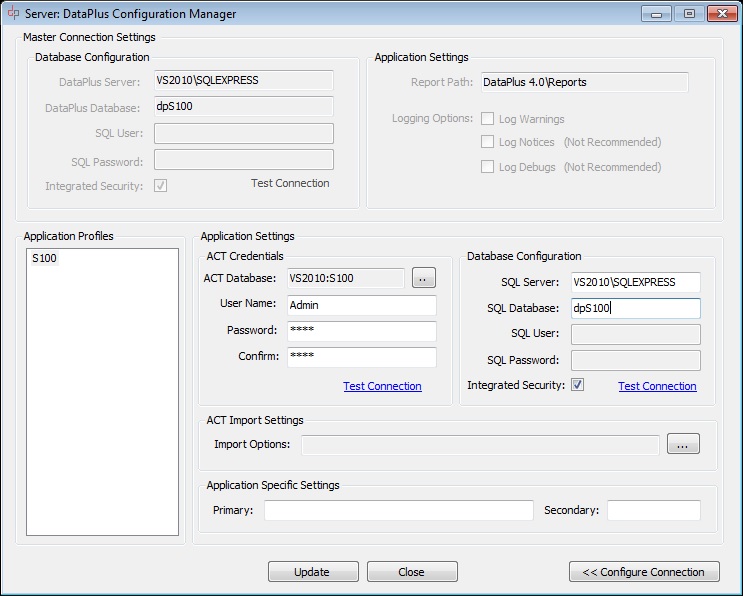
Server Configuration Manager
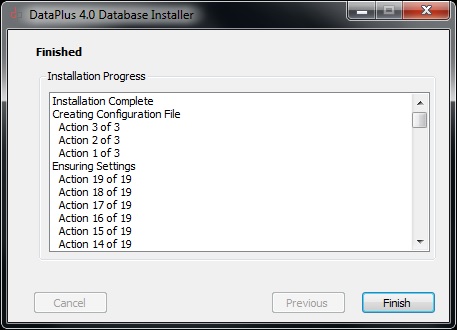
- Launch "DataPlus 4.0 Server Configuration
- Click on Configure Applications >>
|
Windows Start/All Programs/Hogan Data/DataPlus 4.0/DataPlus 4.0 Server Configuration
|
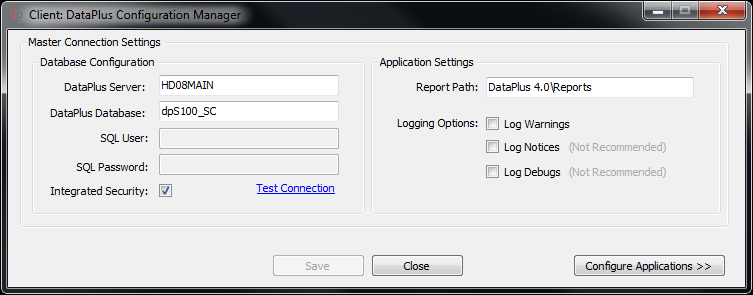
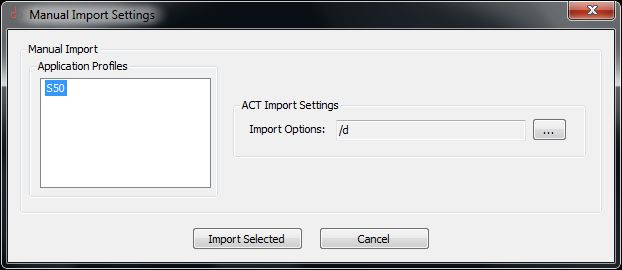
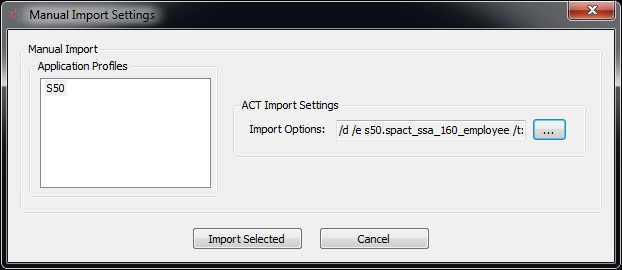
Configuration
Application Profiles
- Click on S50
ACT Import Settings
- Import Setting: Click on [ ... ]
|
 |
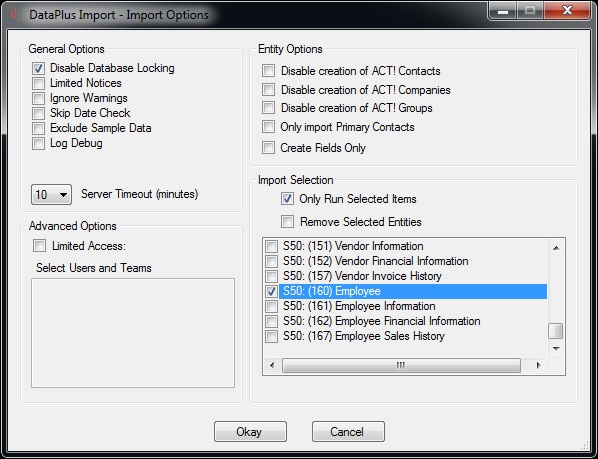
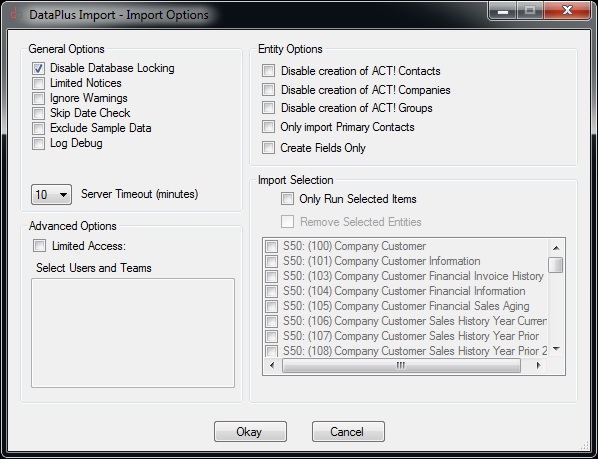
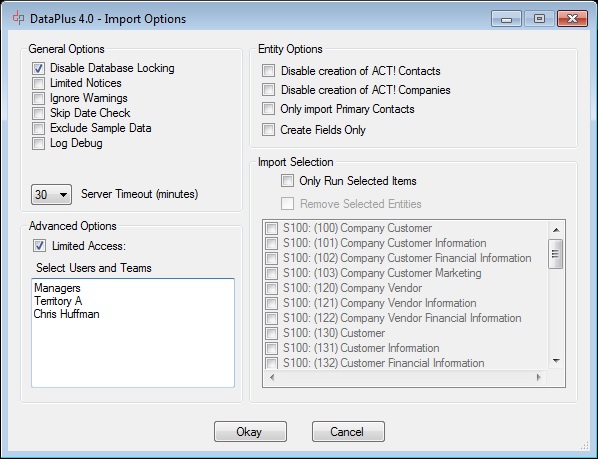
Import Options
General Options
- Check Disable Database Locking
- UnCheck Limited Notices
- UnCheck Ignore Warnings
- UnCheck Skip Date Check
- UnCheck Exclude Sample Data
- UnCheck Disable ACT time globalization
- UnCheck Disable SQL time globalization
- Set Server Timeout (minutes) (default = 2)
Entity Options
- UnCheck Disable creation of ACT! Contacts
- UnCheck Disable creation of ACT! Companies
Check "Disable creation of ACT! Companies" if you do not want to import Companies in the "Company Level" in ACT!
- UnCheck Only Import Primary Contacts
Check "Only Import Primary Contacts" if you only want to import primary contacts.
- UnCheck Create Fields Only
Import Selection
- UnCheck Only Run Selected Items
- UnCheck Remove Selected Items (greyed out, unless Selected Items are checked)
Advanced Options
- UnCheck If you are not using Limited Access in ACT!
- Check If you are using Limited Access in ACT!
Select Users and Teams
If you are using ACT! Limited Access, you can choose:
- Specific ACT! Team(s)
- Specific ACT! User(s)
- Click Okay
|
IMPORTANT:
- If you are not using the ACT! database provided by Hogan Data, for Sage 100 Contractor, when the first import is performed, additional fields may be required. Therefore, uncheck "Disable Database Locking" in order for the additional fields to be created.
- By default, if the "Sales Representative" in Sage 100 Contractor equals the ACT! User Name in ACT!, the Sales Represetative name will populate the "Sales Representative" field in ACT!, and will also be the ACT! "Record Manager". The names have to be an exact match.
|
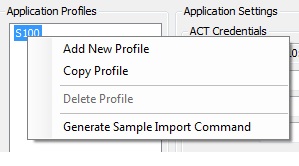
Configure Profiles
Application Profile
- Right click S50
|
|
Configure Profiles
Application Profile
- Right click S50
- Click on Generate Sample Import Command
|
 |
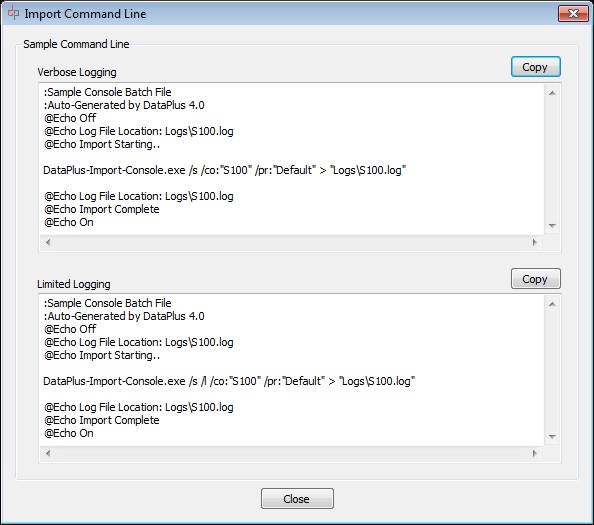
Sample Command Line
- Logs entire line details (We recommend "Verbose Logging")
Verbose Logging
- Click on Copy
- Click on Close
Or
Limited Logging
- Log summary details
- Click on Copy
- Click on Close
|
 |
Import-S100.bat
- In Windows, browse to:
C:\Program Files\Hogan Data\DataPlus 4.0
or
C:\Program Files (x86)\Hogan Data\DataPlus 4.0
- Create new file "Import-S100.bat"
- Right click on Import-S100.bat
- Click Edit
- Right click Paste
IMPORTANT
- Change DataPlus-Import-Console.exe path to FULL PATH within Quotes(")
"C:\Program Files\Hogan Data\DataPlus 4.0\DataPlus-Import-Console.exe"
- Change Logs path to FULL PATH within Quotes(")
"C:\Program Files\Hogan Data\DataPlus 4.0\Logs\S100.log"
- Save file File/Save
- Open Microsoft Scheduler and schedule time to execute the "Import-S100.bat" file.
|
During the installation process, "Import-S50CA (??BIT).bat" file was created at "C:\Program Files\Hogan Data\DataPlus 4.0" or "C:\Program Files (x86)\Hogan Data\DataPlus 4.0"
This bat file will serve the "Default" configuration for import.

Sample Line
"C:\Program Files\Hogan Data\DataPlus 4.0\DataPlus-Import-Console.exe" /s /co:"S50" /pr:"Default" > "C:\Program Files\Hogan Data\DataPlus 4.0\Logs\S50.log" |
Configure Profiles
- Click on Close
|
|
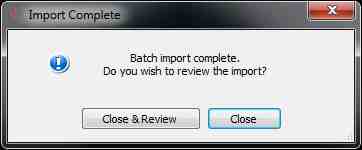
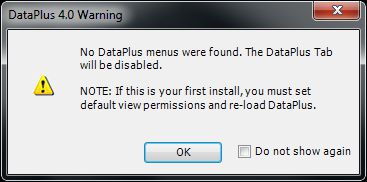
Manual Import
- Open ACT!
- Click OK
Note: DataPlus menus have not been configured. When DataPlus is configured in the following steps, this message will be disabled. |
 |
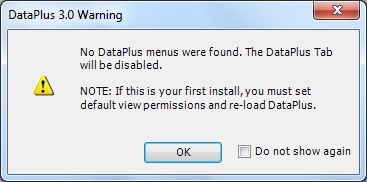
Manage Permissions
- Open Sage ACT!
Notice: No configuration
- No user configuration has been setup.
- Click OK
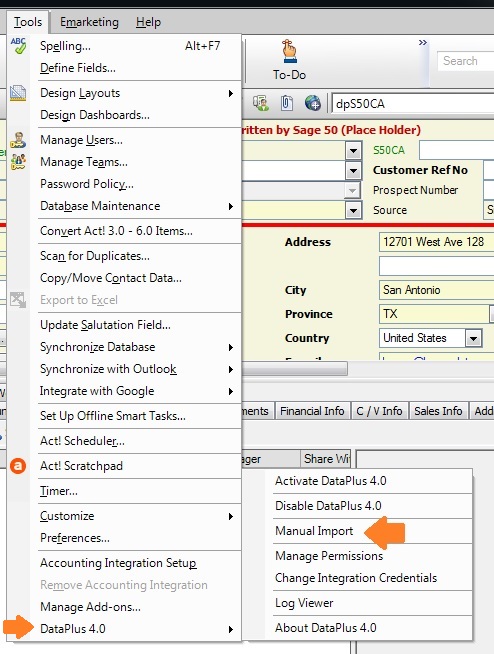
Manage Permissions
- Tools/DataPlus 4.0/Manage Permission
|
 |
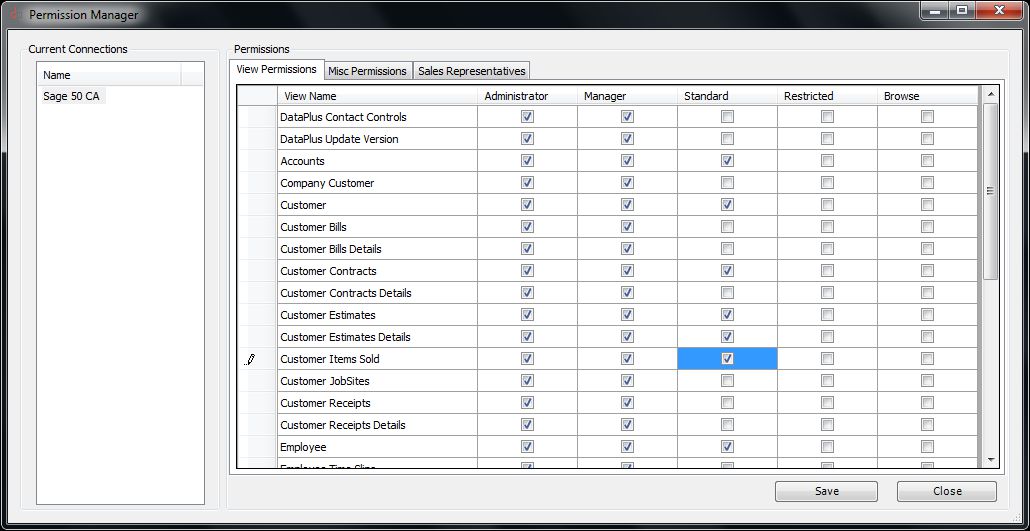
View Permissions
Current Connections
- Click Sage 100 CA
Permissions
- Click View Permissions
- Check Box for each "View Name" that will be accessed by "ACT! User"
- You can double click the header to check or uncheck all
|
 |
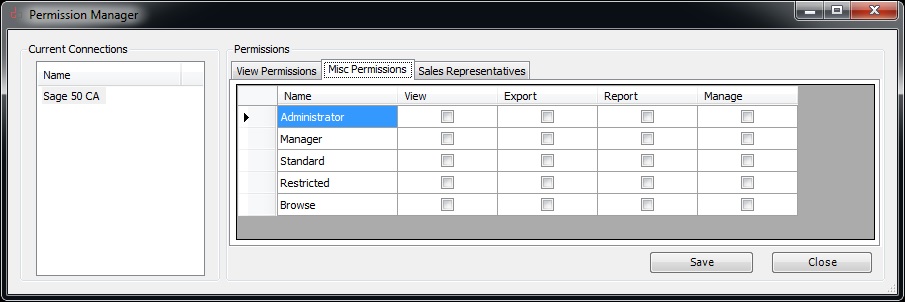
Misc Permissions
Permissions
- Click Misc Permissions
- Check Box for each "Task" that will be accessed by "ACT! User"
- View - enable views in ACT! DataPlus tab (overrides View Permissions)
- Export - export view to excel
- Report - reserved for future use.
- Manage - reserved for future use.
- You can double click the header or row to check or uncheck all
|
 |
|
|
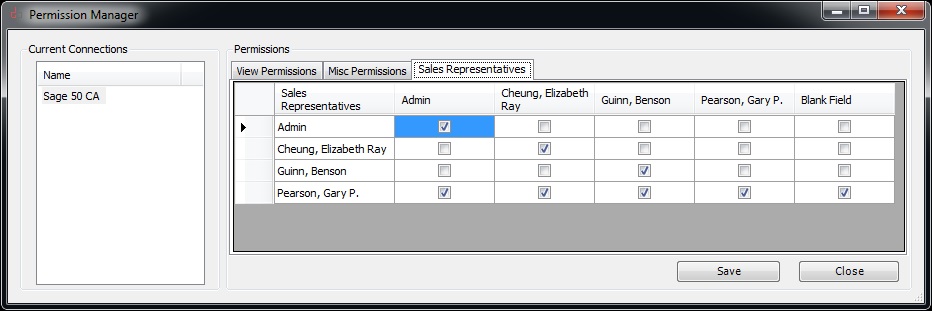
Note:
- Most views have the "Sales Representative" from Sage 100 Contractor listed. Each Sales Representative will only be able to see view where they are the Sales Representative.
- You can also enable Sales Representative to see other Sales Representative information. Example, sales manager may need to view each Sales Representative's views on their team.
- DataPlus Tab should be available for each DataPlus Client after "DataPlus Client Install".
|
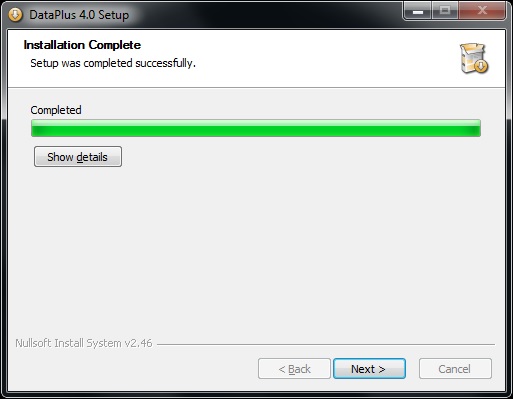
Installation, configuration, and connection to your Sage 100 Contractor application is complete. |