| Question / Issue |
 |
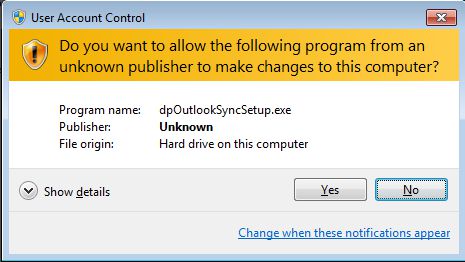
| DataPlus 4.0 QuickBooks - Harvester Installation |
| Answer / Solution |
|
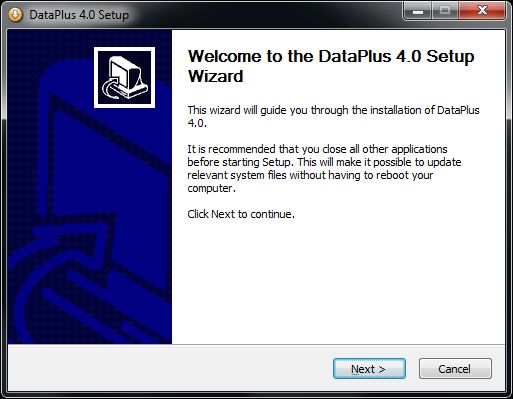
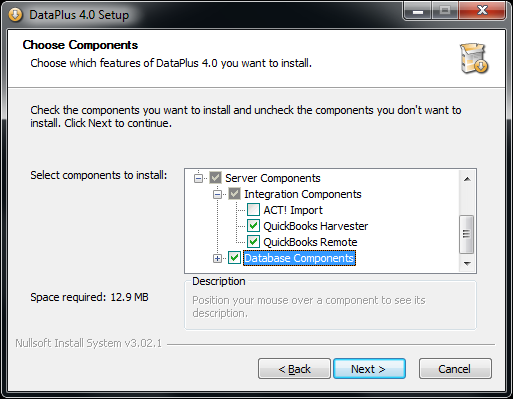
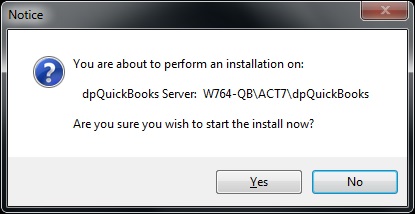
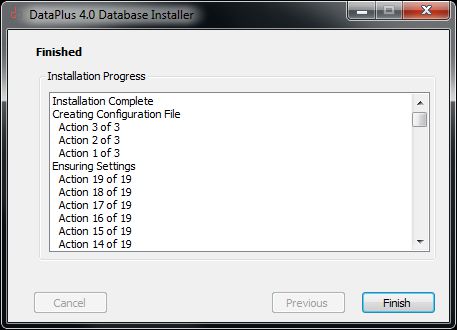
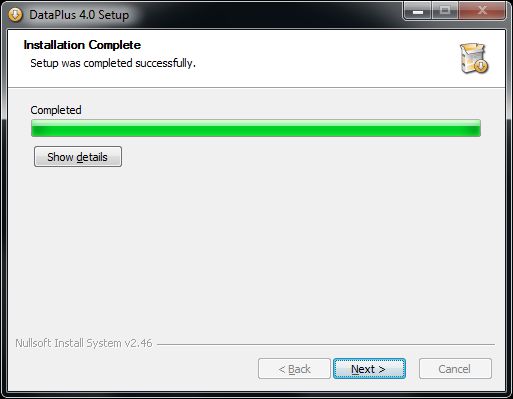
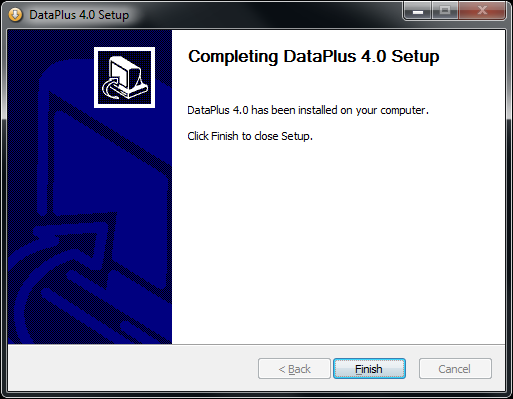
PROGRAM: DataPlus 4.0 for QuickBooks - Harvester Installation (Standalone)
|
|
QuickBooks Remote
QuickBooks Harvester
Configure Automated Processes
|
IMPORTANT: You should not attempt server installation if you are not experienced with the following:
Microsoft Windows Experience
- Windows Domain
- Windows Security
- Windows Firewall
- Windows Active Directory
- Windows User Rights
- Windows User Configuration
- Windows Universal Access Control (UAC)
- Windows Group Policy
- Windows Local Security Policy
- Windows Services
- Windows Ports
|
Microsoft SQL Experience
- SQL Server or Express
- SQL Server Management Studio (SSMS)
- SQL Security
|
Third Party Software
- Anti-virus installed on network
|
32 Bit OS Operating Systems
- Create MS SQL Server or MS SQL Express 32 bit instance
- Specify SQL Server administrators
- If in Domain environment we recommend adding Domain Administrators
- Authentication Mode
- Mixed Mode
- Make SA enabled
- Create sa password and keep for your records
- Compatible MS SQL Versions
- SQL 2016
- SQL 2014
- SQL 2012
- SQL 2008
- SQL Server Management Studio (SSMS)
- SQL Security - User Logins
- Windows Login Options (use either type)
- Type: Windows User
- Type: Windows Group
|
64 Bit Operating Systems
- Create MS SQL Server or MS SQL Express 64 bit instance
- Specify SQL Server administrators
- If in Domain environment we recommend adding Domain Administrators
- Authentication Mode
- Mixed Mode
- Make SA enabled
- Create sa password and keep for your records
- Compatible MS SQL Versions
- SQL 2016
- SQL 2014
- SQL 2012
- SQL 2008
- SQL Server Management Studio (SSMS)
- SQL Security - User Logins
- Windows Login Options (use either type)
- Type: Windows User
- Type: Windows Group
QuickBooks application uses 32 bit ODBC provider, therefore DataPlus will install a 64 bit driver. |
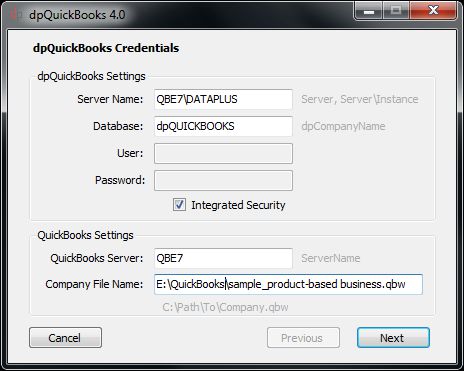
QuickBooks
- Version: QuickBooks 2013 or higher
- QuickBooks installed (Pro, Premium or Enterprise) Note: DataPlus for QuickBooks 4.0 and it's SQL instance must be installed where QuickBooks application is installed.
- Company file location. Path and company file name.
- To find location from within QuickBooks tap the F2 key (or use CTRL + 1). A screen will pop up that shows information about your QuickBooks data file, and among that will be a box that shows the location of your file.
|
| Use existing windows/active directory group or create new windows/active group and add users to group. Example: DataPlus |
| Scenario 1
SQL Management Studio can be installed on Server 1. We recommend Server 2 to lesson overhead on server and OS. |
Scenario 2
QuickBooks installed on Server1
Act! installed on Server1
Install SQL Instance or use Act instance
- Mixed Mode
- Security add Domain Admins
Install SQL Management Studio
Install DataPlus for QuickBooks (Server/Client) |
Scenario 3
|
Scenario 4
QuickBooks installed on Client1
Act! installed on Client1
Install SQL Instance
- Mixed Mode
- Security add Domain Admins
Install SQL Management Studio
Install DataPlus for QuickBooks (Server/Client) |
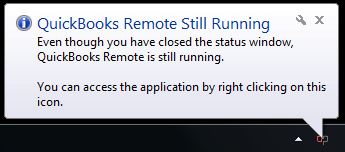
Start QuickBooks Remote
- Open QuickBooks Company with Administrator user
- Ensure QuickBooks is in "Single-user Mode"
- Click on Start/All Programs/Hogan Data/dpQuickBooks/QuickBooks Remote
- QuickBooks Remote Started
|
 |
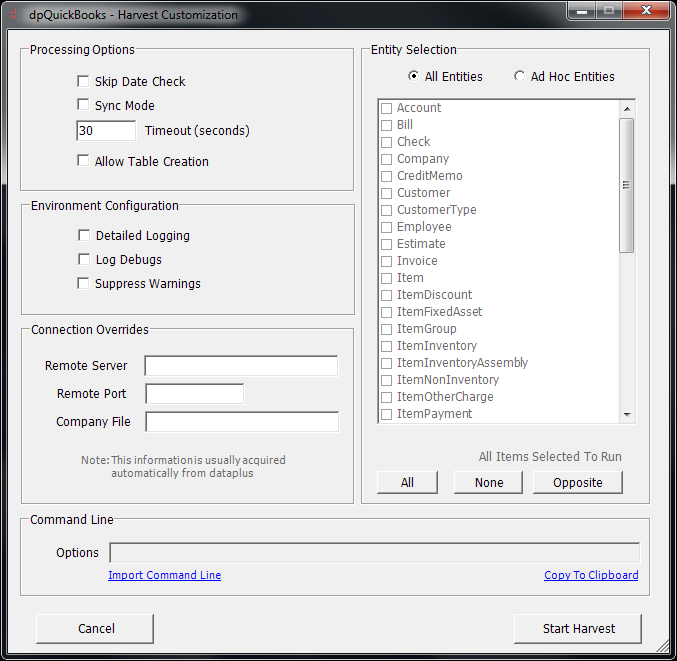
Start QuickBooks Harvester
- Click on Start/All Programs/Hogan Data/dpQuickBooks/QuickBooks Harvester
Harvest Configuration
Entity Selection
- Choose All Entities This will sync all QuickBooks entities to your SQL database.
The process could take a lot of time depending on amount of data in QuickBooks. We recommend just running"Customer" only and then later running the full harvest and specific items to harvest as addressed in next step.
- Choose Ad Hoc Entities This will sync only chosen QuickBooks entities to your SQL database
There are specific DataPlus menu items that are dependent on each entity. Therefore information relating with unchecked entities will not display data.
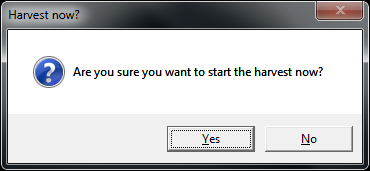
- Start Harvest
- Are you sure you want to start the harvest now?Yes
More information on configuration of Harvester can be found here. |
 |
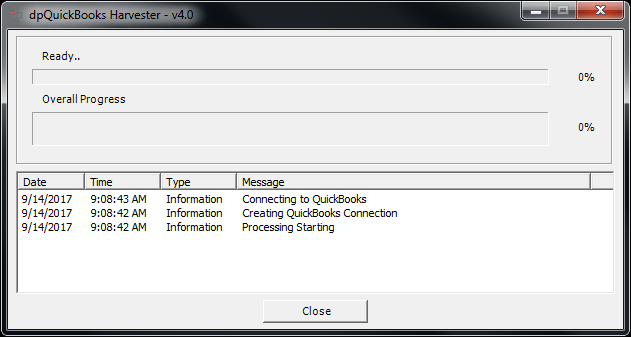
Ready To Harvest
- Right click "dp" icon on task bar and choose Open Status Window
- Click on Start Harvest
|
 |
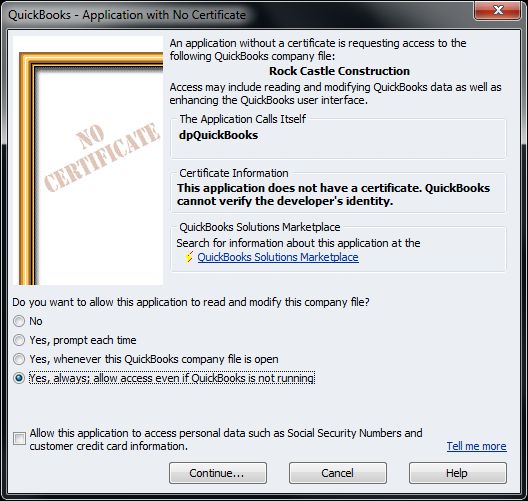
QB Application With No Certificate
- Click on Yes, always; allow even if QuickBooks is not running
- Click on Continue...
|
 |
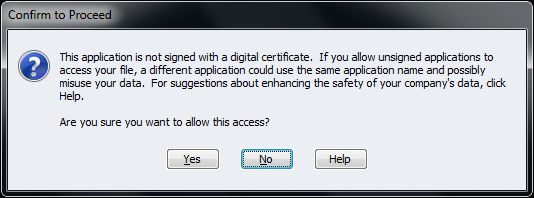
QB Certificate Confirm to Proceed
- Click on Yes
|
 |
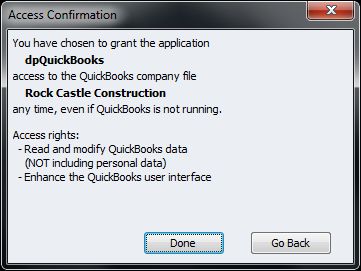
QB Certificate Access Confirmation
- Click on Done
- Click on OK
|
 |
|
|
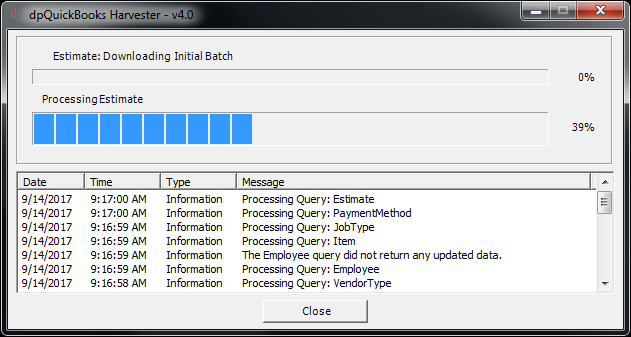 |
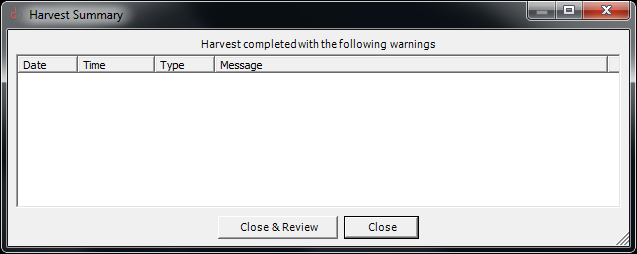
Harvester Processing Summary
When completed any warnings or errors will be displayed. If you get a warning or error you can double click the message for full revew.
- Choose Close & Review If you have any warning or errors that you would like to review.
- Choose Close
Your QuickBooks data has been wynced with DataPlus SQL. |
 |
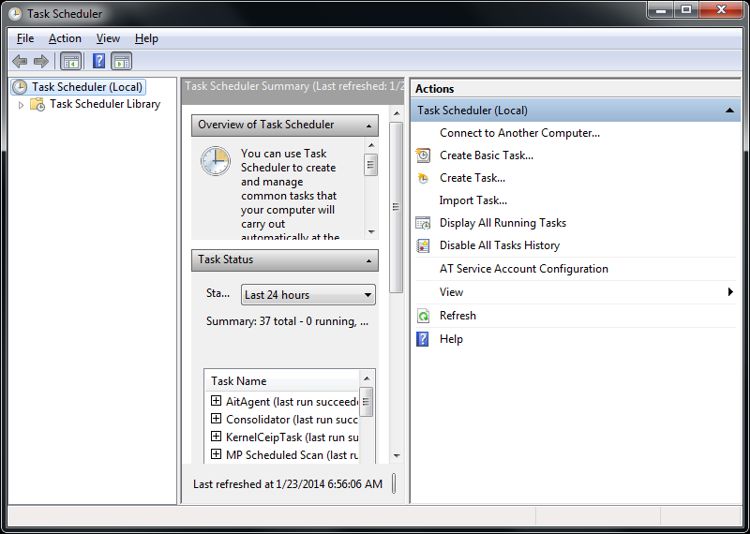
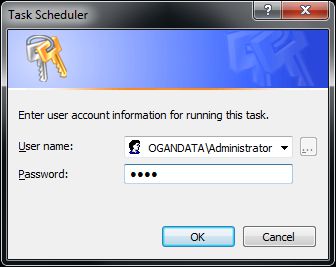
Schedule DataPlus Auto Import
Full Import
- Open Microsoft Task Scheduler
- Create Task
|
 |
Create Task
General
- Name DataPlus Full Import
- Choose Run whether user is logged on or not
- Check Run with highest privileges
- Click on Triggers Tab
|
 |
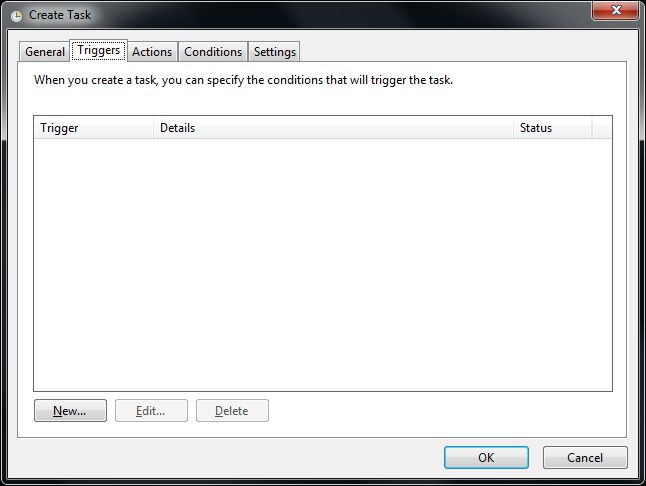
Create Task
Trigger
- Click on New
|
 |
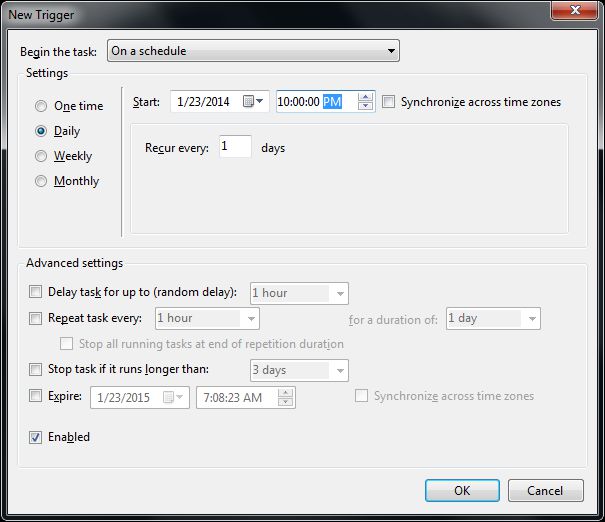
Create Task
Settings
- Click on Daily
- Select Start date and time
- Click OK
|
 |
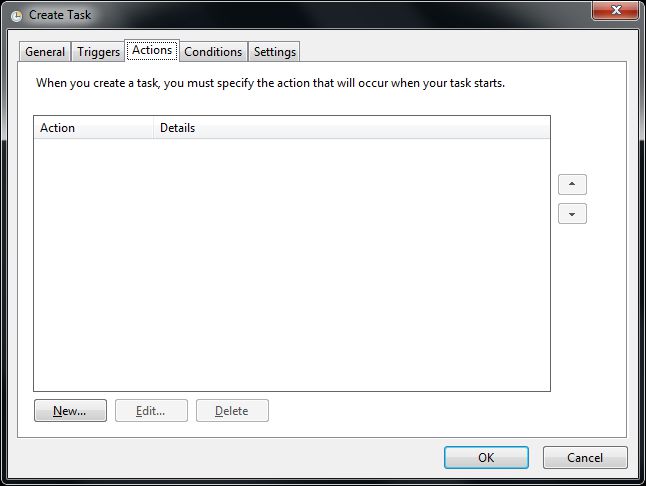
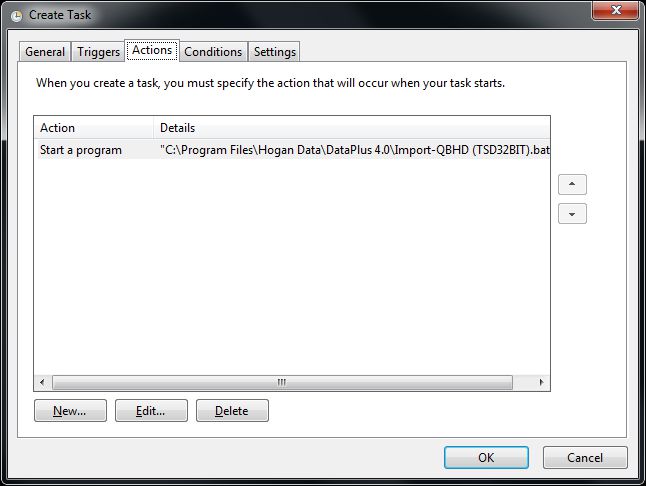
Create Task
Create Task
- Click Action Tab
- Click New
|
 |
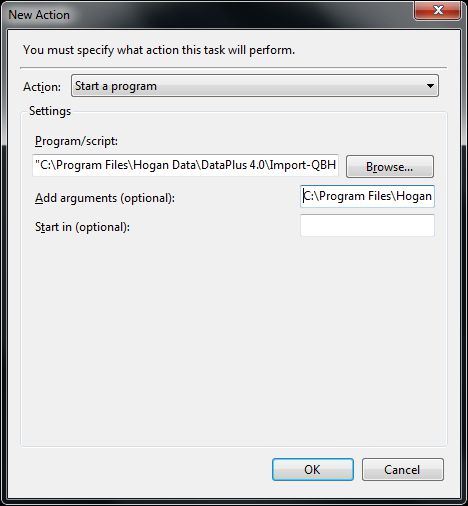
Create Task
Create Task
- Browse to C:\Program Files\Hogan Data\DataPlus 4.0
- Choose Import-QBHD (TSD32BIT).bat
- Add arguments (optional): C:\Program Files\Hogan Data\DataPlus 4.0
- Click OK
|
 |
|
|
 |
|
|
 |
Schedule DataPlus Auto Import
Full Import
- Open Microsoft Task Scheduler
- Create Task
- Repeat the above process for Harvestor. Use Import-QBH (TSD32BIT).bat for a 32 bit machine or Import-QBH (TSD64BIT).bat for a 64 bit machine.
|
|
DataPlus Activation
- Check here for Activation instruction.
|
Installation, configuration, and connection to your QuickBooks application is complete. |