| Last Update : 2017/09/15 |
|
|
| Question / Issue |
| DataPlus 4.0 QuickBooks - Server Installation |
| Answer / Solution | ||||||||||||||||||||||||||||||||||||||||||||||||||||||||||||||||||||||||||||||||||||||||||||||||||||||||||||||||||||||||||||||||||||||||
|
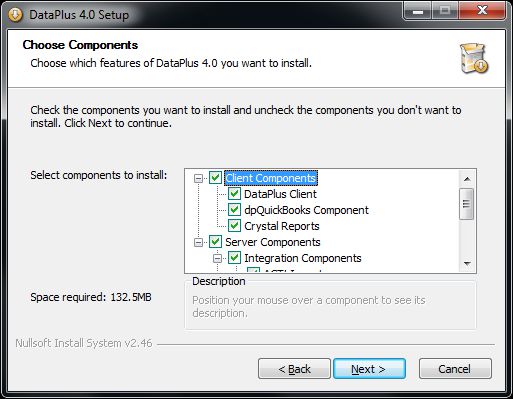
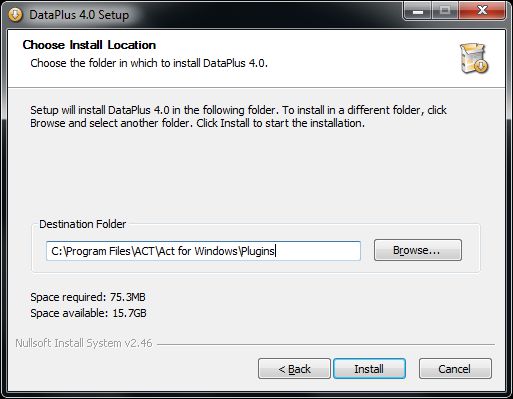
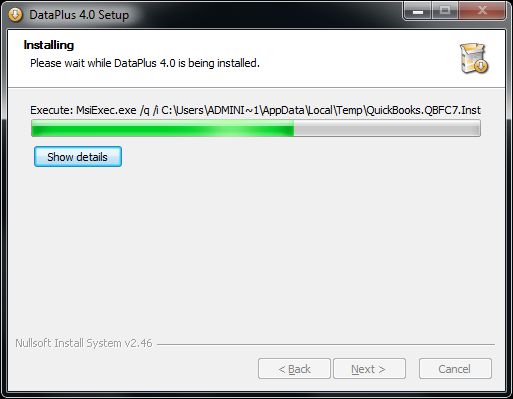
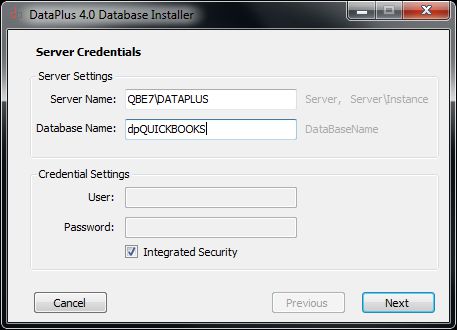
PROGRAM: DataPlus 4.0 for QuickBooks - Server Installation
Table of Contents
Prerequisite for individual performing Server Install IMPORTANT: You should not attempt server installation if you are not experienced with the following:
What you need prior to installation.
What you need for installation.
Network Environment
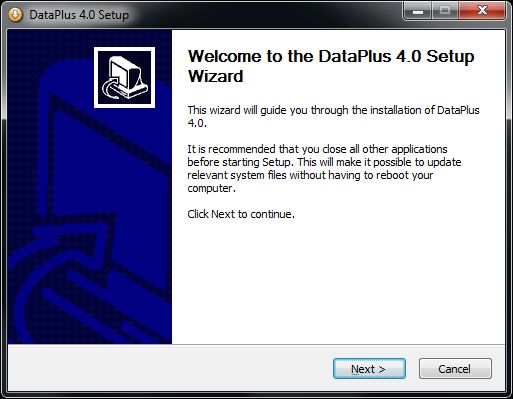
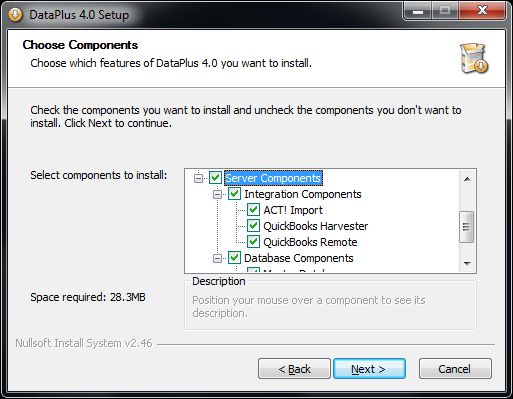
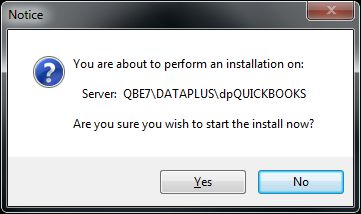
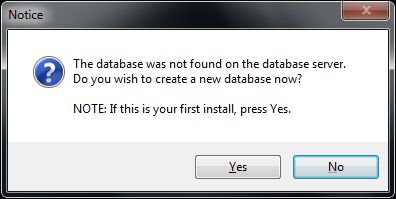
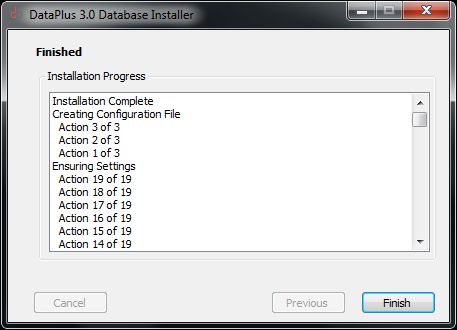
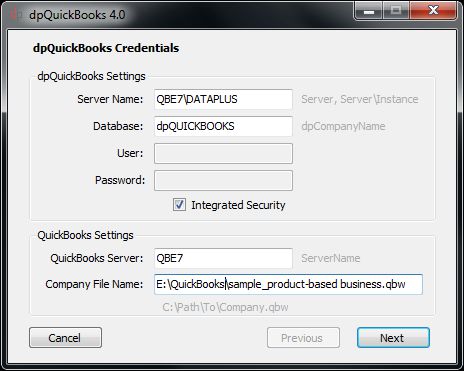
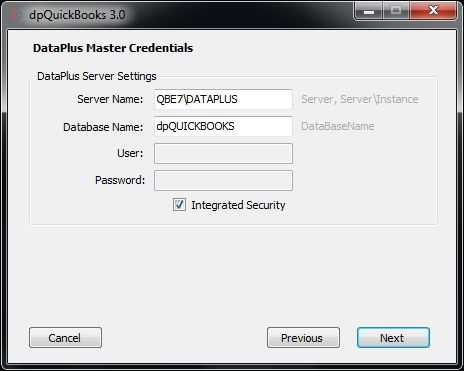
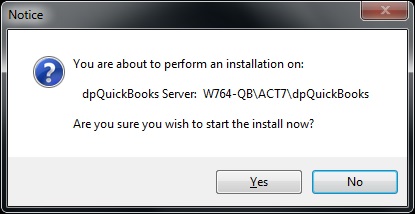
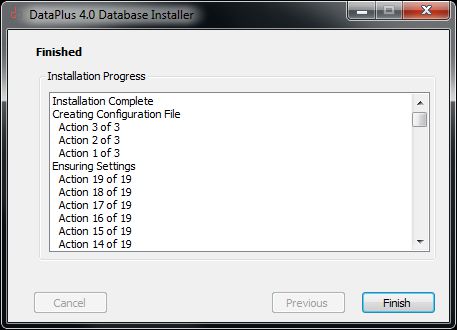
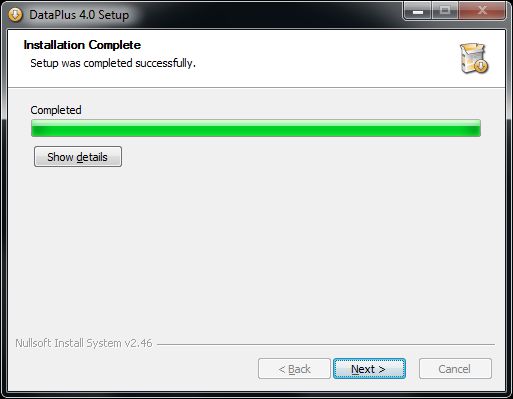
DataPlus for QuickBooks - Server Installation
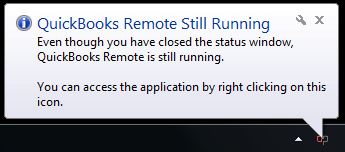
QuickBooks Remote
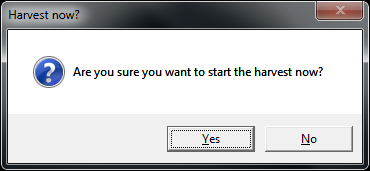
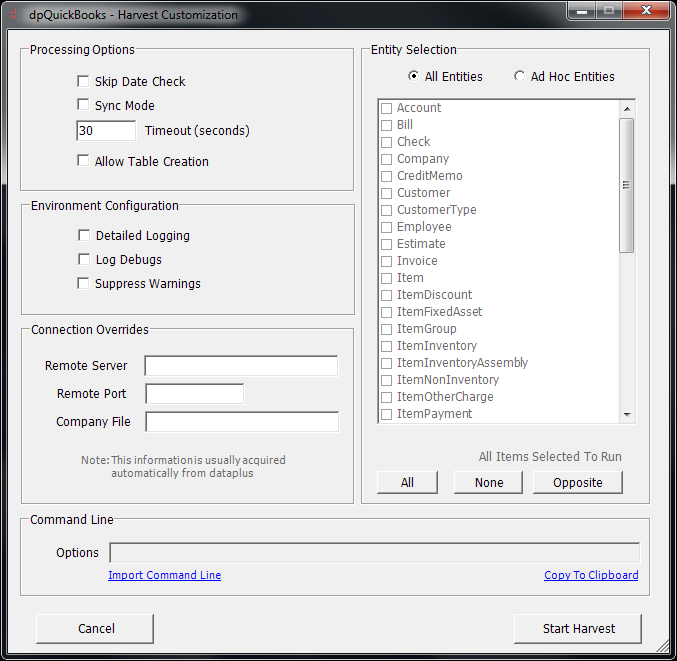
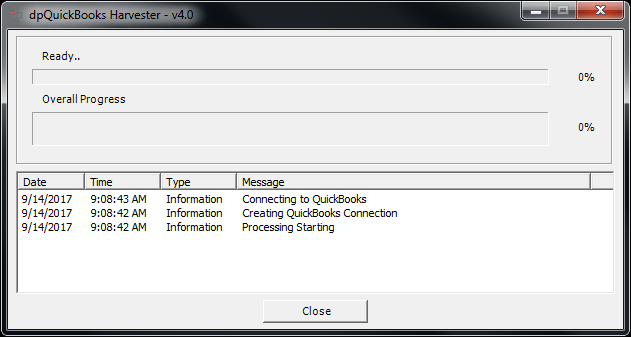
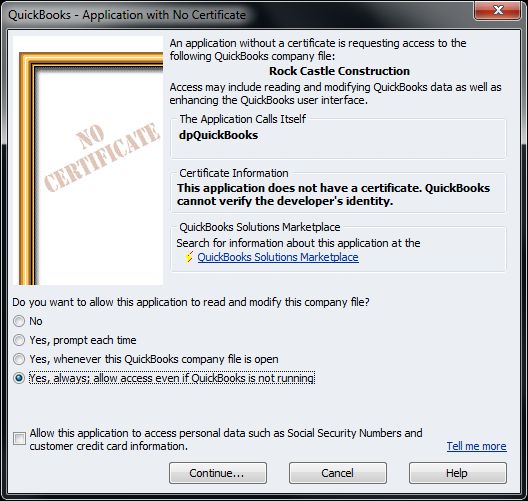
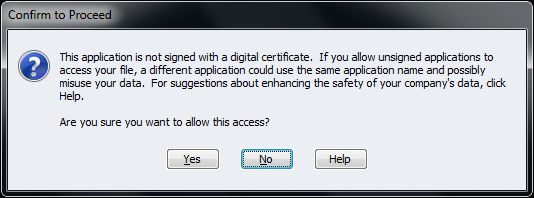
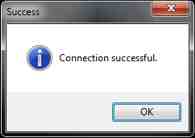
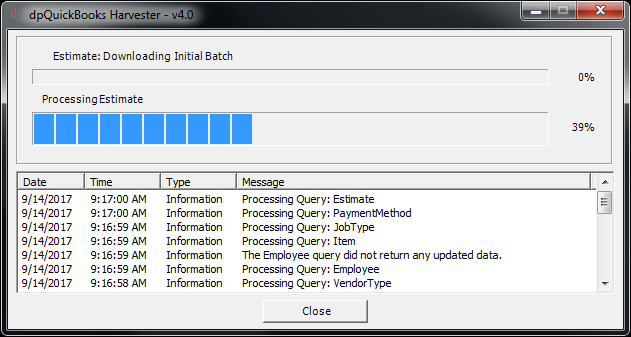
QuickBooks Harvester
DataPlus Auto Import Configuration
DataPlus Auto Import & QuickBooks Harvester
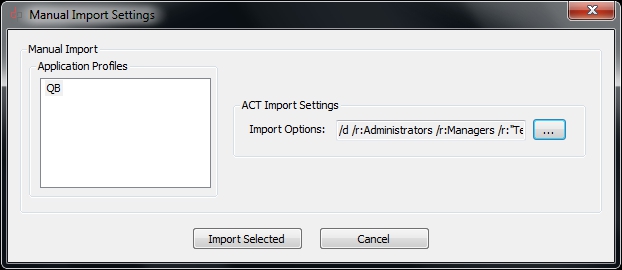
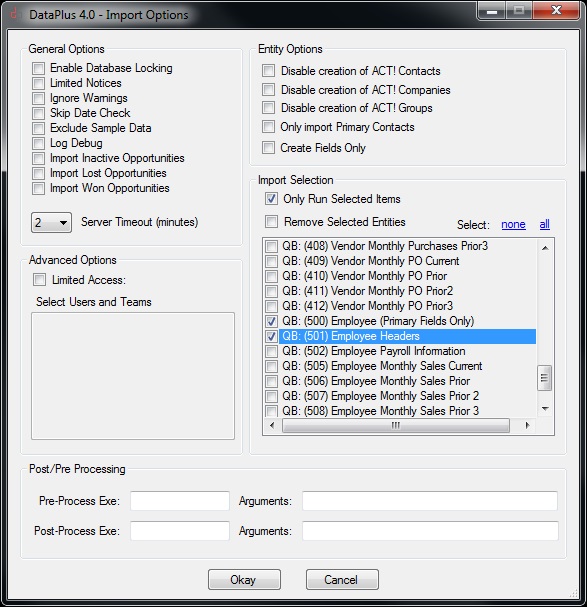
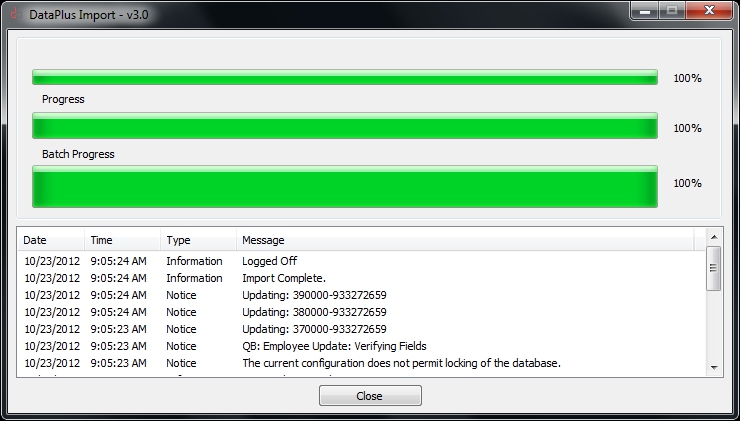
Import QuickBooks Employees Only
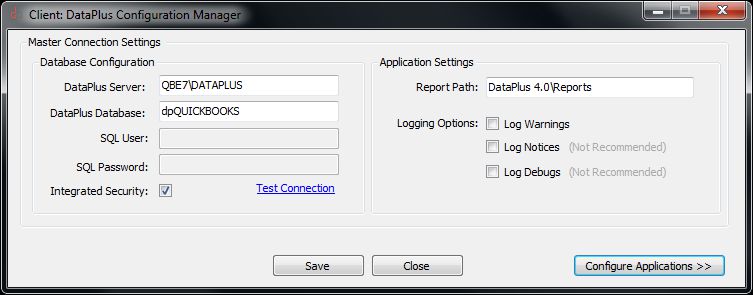
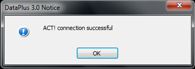
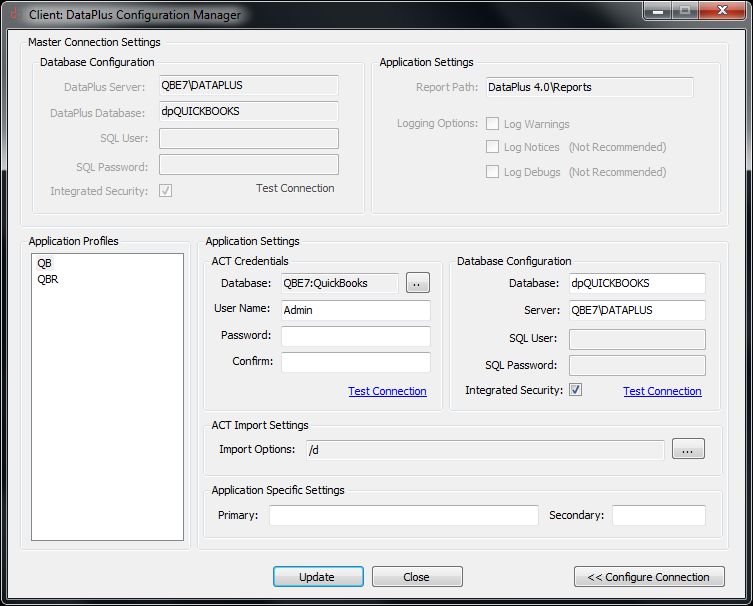
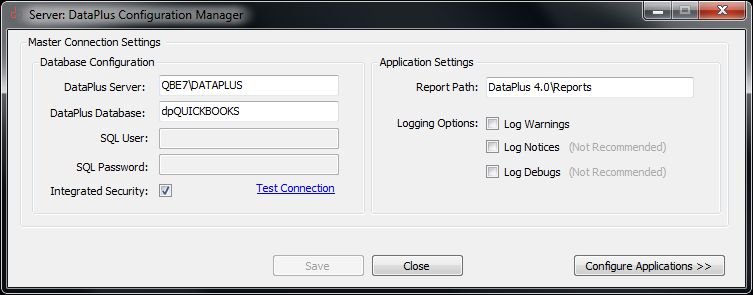
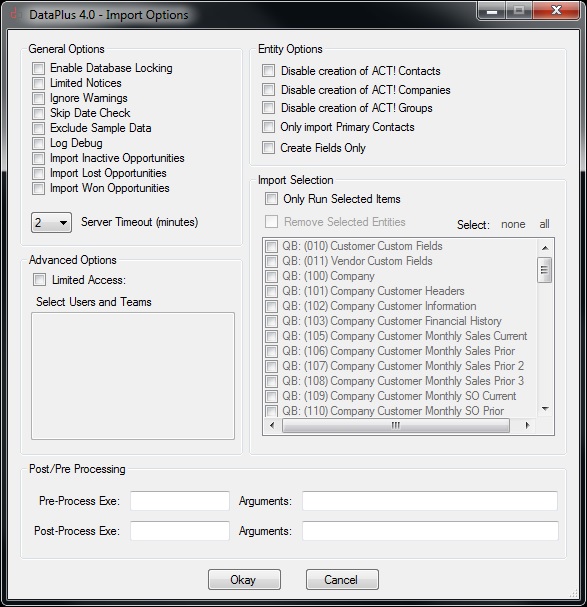
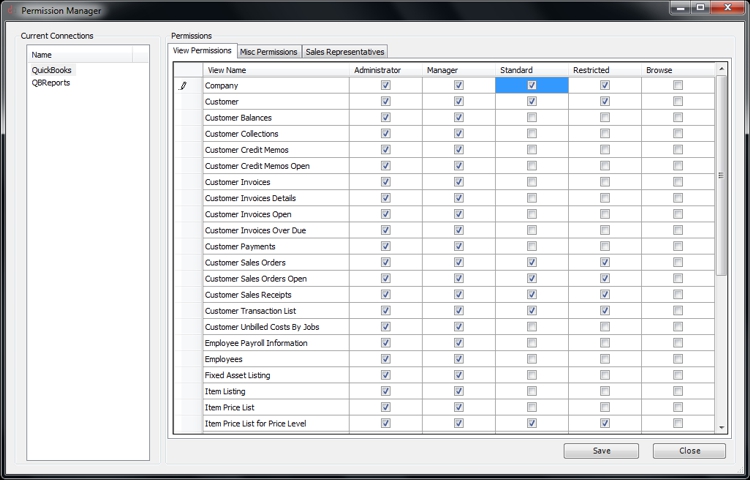
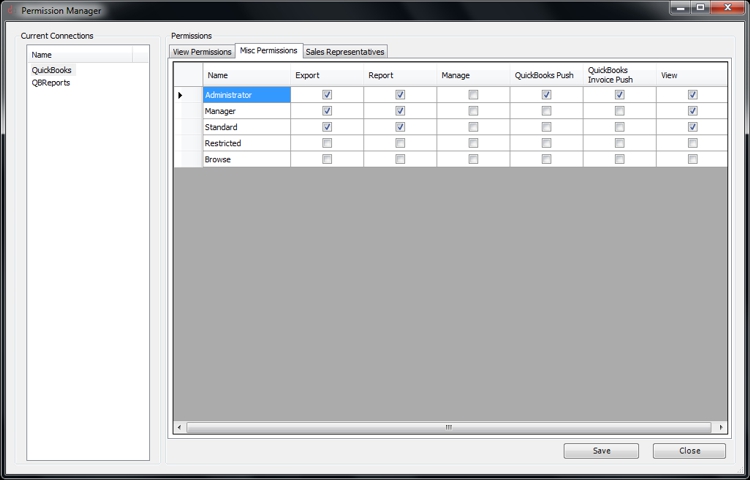
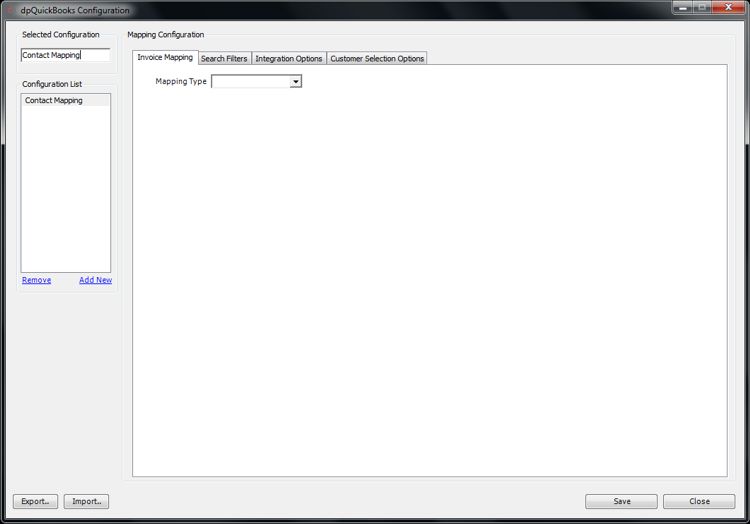
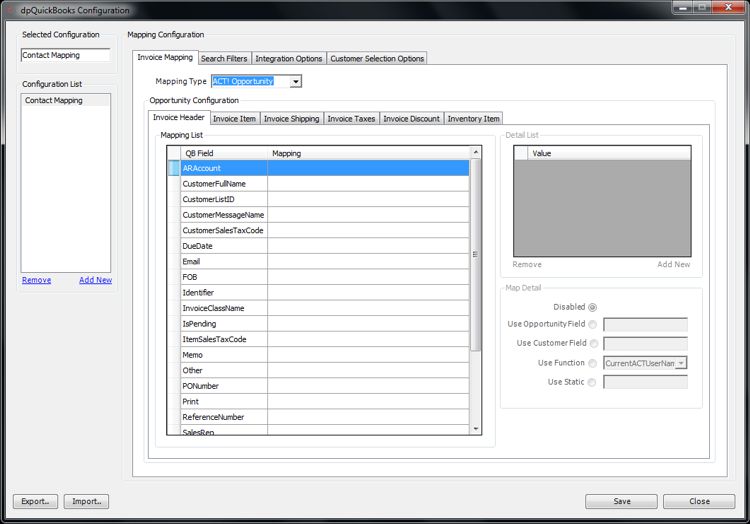
Configure DataPlus
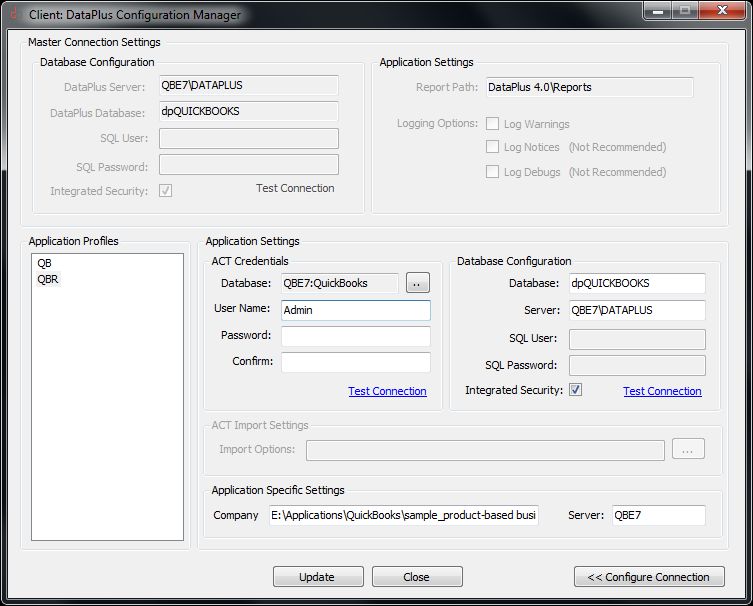
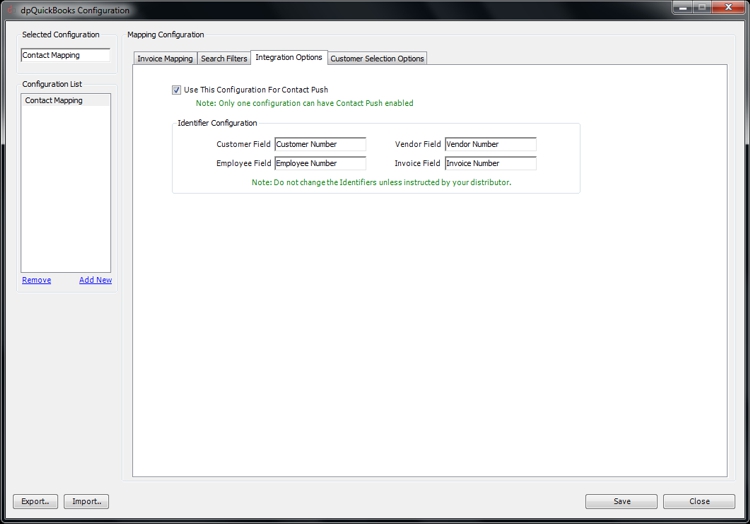
Configure Quickbooks Push
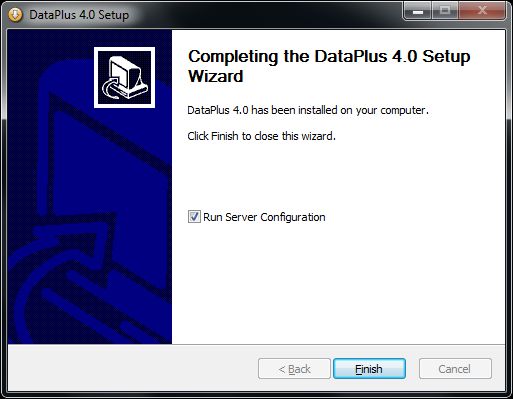
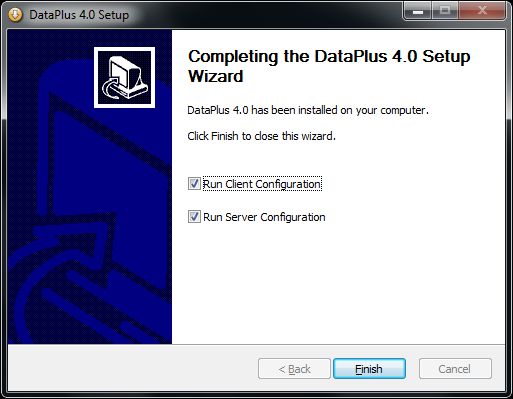
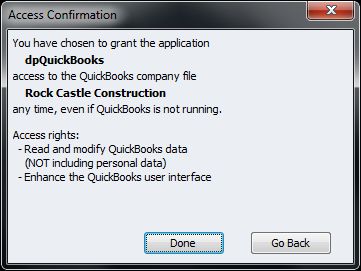
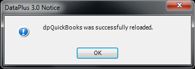
Installation, configuration, and connection to your QuickBooks application is complete. |
||||||||||||||||||||||||||||||||||||||||||||||||||||||||||||||||||||||||||||||||||||||||||||||||||||||||||||||||||||||||||||||||||||||||
| Direct Link to This FAQ |
| http://kb.hogandata.com/?f=52 |
![]()