| Question / Issue |
 |
| DataPlus 4.0 e-automate - Server Installation |
| Answer / Solution |
|
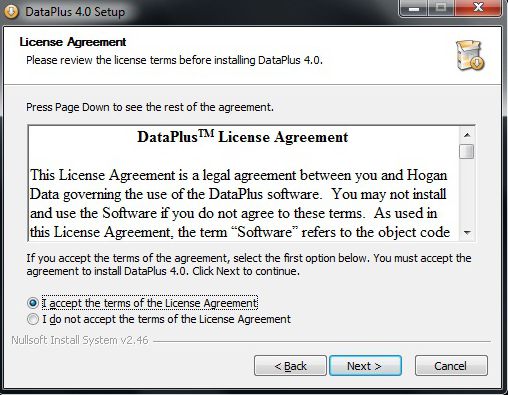
PROGRAM: DataPlus 4.0 for e-automate - Server/Client Installation
IMPORTANT: You should not attempt server installation if you are not experienced with the following:
Microsoft Windows Experience
- Windows Domain
- Windows Security
- Windows Firewall
- Windows Active Directory
- Windows User Rights
- Windows User Configuration
- Windows Universal Access Control (UAC)
- Windows Group Policy
- Windows Local Security Policy
- Windows Services
- Windows Ports
|
Microsoft SQL Experience
- SQL Server or Express
- SQL Server Management Studio (SSMS)
- SQL Security
|
Third Party Software
- Anti-virus installed on network
|
Microsoft SQL Server/Express
- MS SQL Server or MS SQL Express instance - SQL 2014 | 2012 | 2008
- SQL Server Management Studio (SSMS)
- Understanding roles in SQL Server security
- Database-Level Roles msdn
- Security msdn
|
|
Act
- Act Premium Windows installed
- Act Premium Web installed (if being used)
- DataPlus Act database restored and configured
|
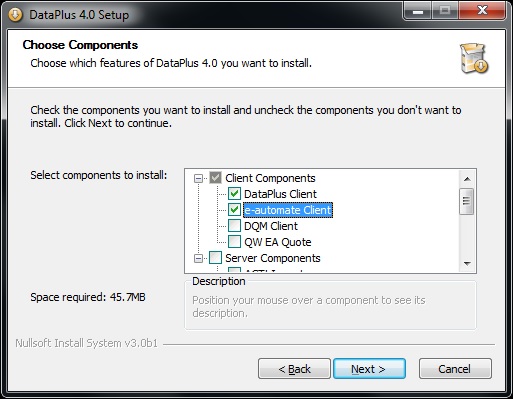
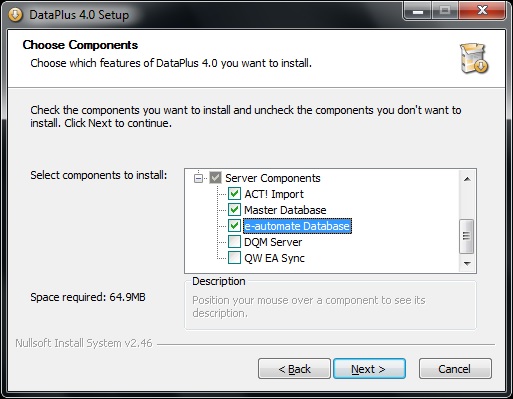
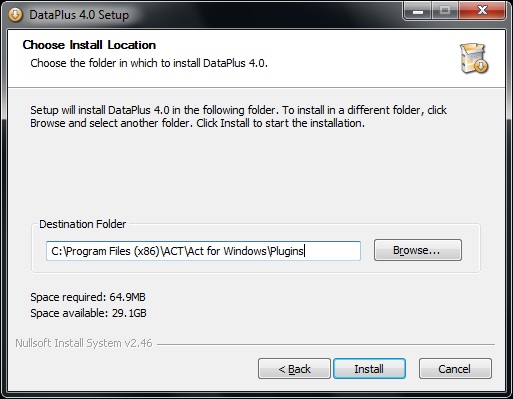
- DataPlus for e-automate
- File: DataPlus-Eautomate-Install.exe
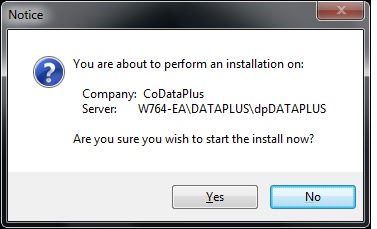
| Scenario 1
|
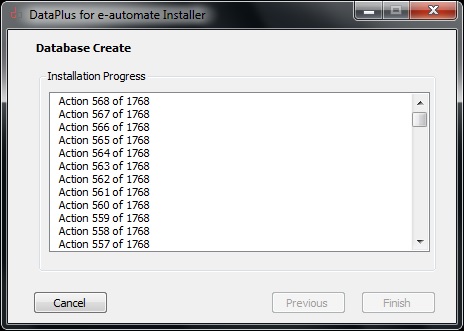
Scenario 2
|
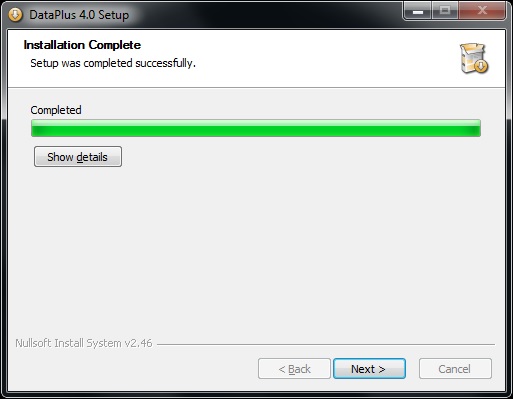
Scenario 3
|
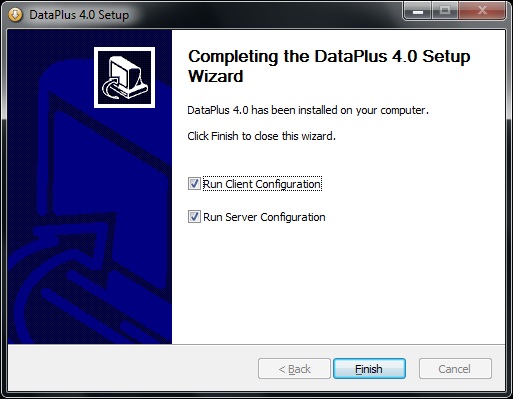
Server Configuration
- CHECK Both Run Server Configuration and Run Client Configurion
- Click on Finish
|
 |
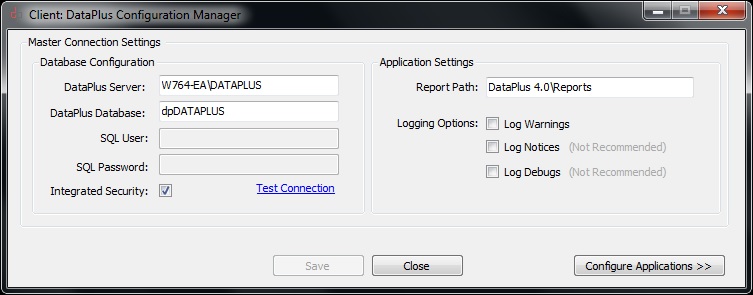
Client Configuration Manager
- CHECK to run Client Configuration
- Click on Close
|
 |
Server Configuration Manager
- Click on Configure Applications >>
|
 |
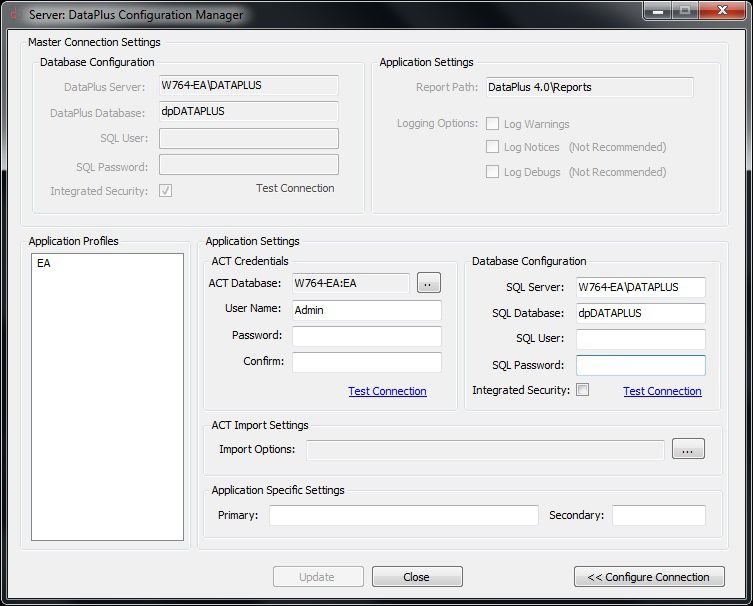
Configuration
Application Profiles
- Click on EA
Application Settings
- Act Credentials
- Database; ActDatabaseName click on [..] to browse to database
- User Name: ActUserName must be an Act administrator
- Password: ActPassword
- Confirm: ActPassword
- Test Connection
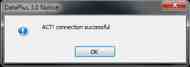
- Click on OK
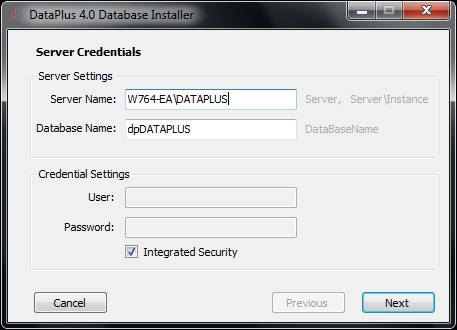
- Database Configuration
- Server: ServerName\Instance SQL Instance if applicable
- Database: dpe-automate DataPlus database name
- - Security
- SQL User: sa
- SQL Password: password
- - Or
- Check if you want integrated security
- Test Connection
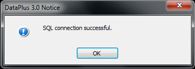
- Click on OK
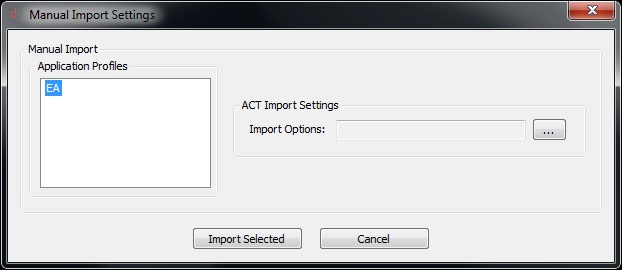
Act Import Settings
- Import Options:Click on [...]
|
 |
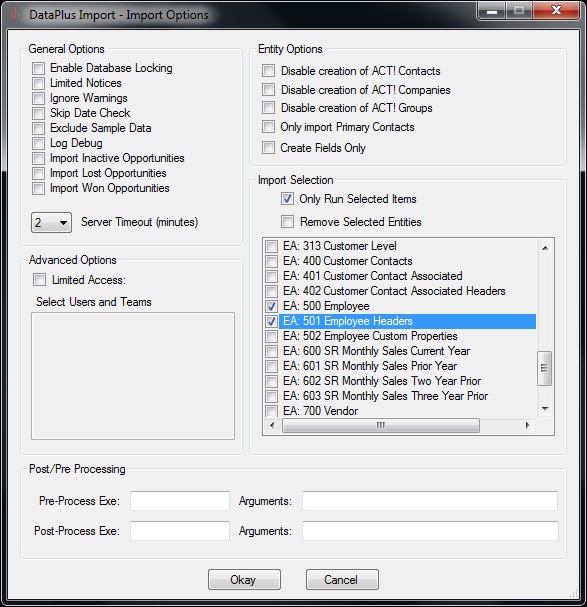
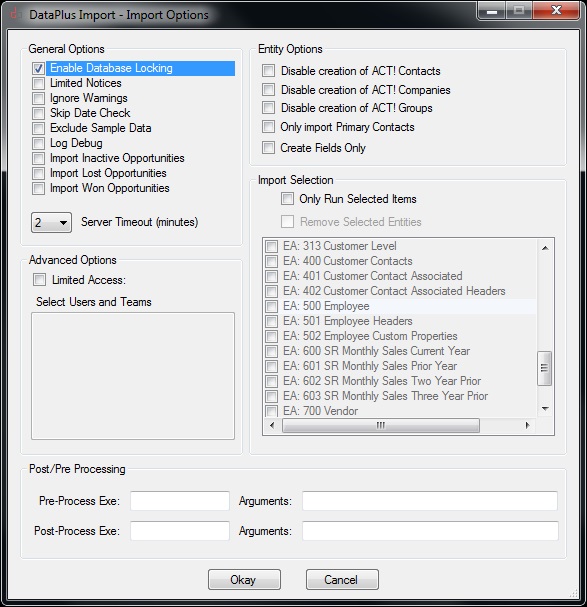
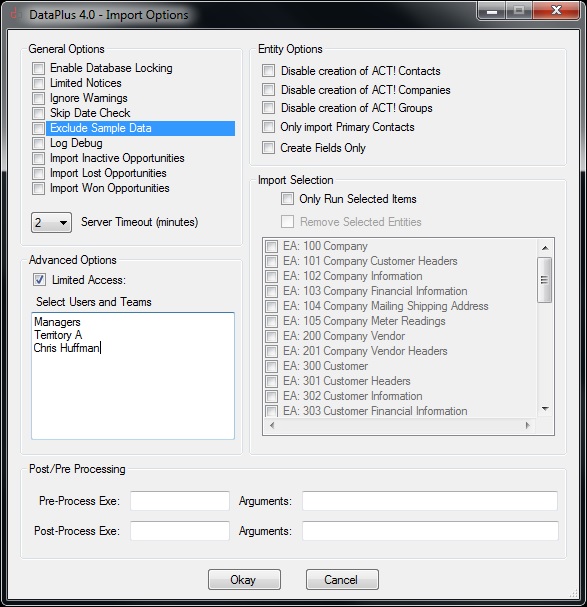
Import Options
General Options
- UnCheck Enable Database Locking
- UnCheck Limited Notices
- UnCheck Ignore Warnings
- UnCheck Skip Date Check
- Check Exclude Sample Data
- UnCheck Disable Act time globalization
- UnCheck Disable SQL time globalization
- Set Server Timeout (minutes) (default = 2)
Entity Options
- UnCheck Disable creation of Act! Contacts
- UnCheck Disable creation of Act! Companies
Check "Disable creation of Act! Companies" if you do not want to import Companies in the "Company Level" in Act!
- UnCheck Only Import Primary Contacts
Check "Only Import Primary Contacts" if you only want to import primary contacts. Contacts that are not listed in the e-automate Company "Attn To" field will not import.
- UnCheck Create Fields Only
Import Selection
- UnCheck Only Run Selected Items
- UnCheck Remove Selected Items (greyed out, unless Selected Items are checked)
Advanced Options
- UnCheck If you are not using Limited Access in Act!
- Check If you are using Limited Access in Act!
Select Users and Teams
If you are using Act! Limited Access, you can choose:
- Specific Act! Team(s)
- Specific Act! User(s)
- Click Okay
|
IMPORTANT:
- By default, if the "Sales Representative" in e-automate equals the Act! User Name in Act!, the Sales Representative name will populate the "Sales Representative" field in Act!, and will also be the Act! "Record Manager". The names have to be an exact match.
|
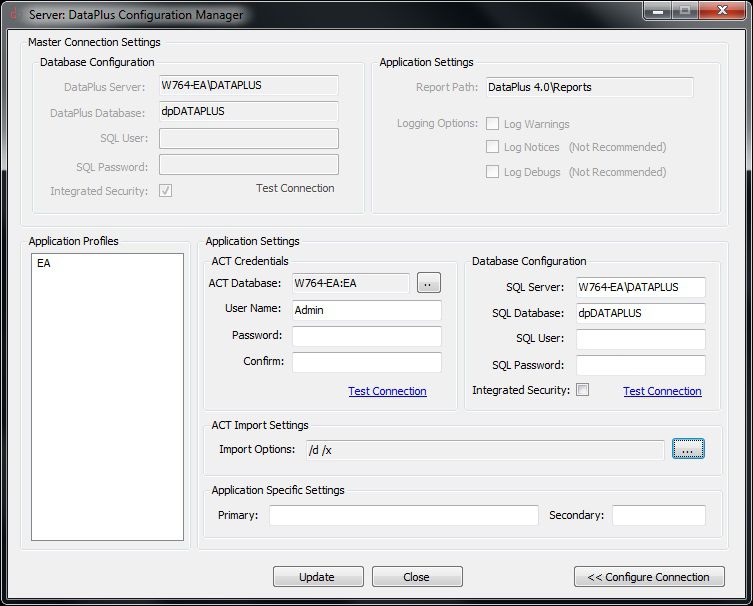
Configuration
Application Profile
- Right click EA
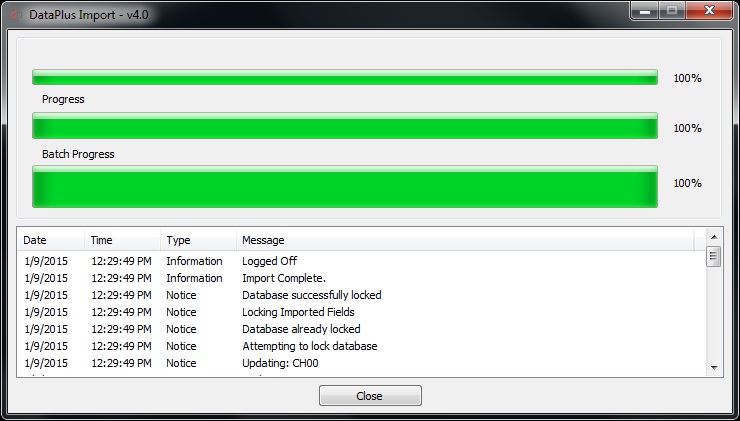
Your Configuration is Complete
- Click on Update
- Click on OK
- Click on Close
|
 |
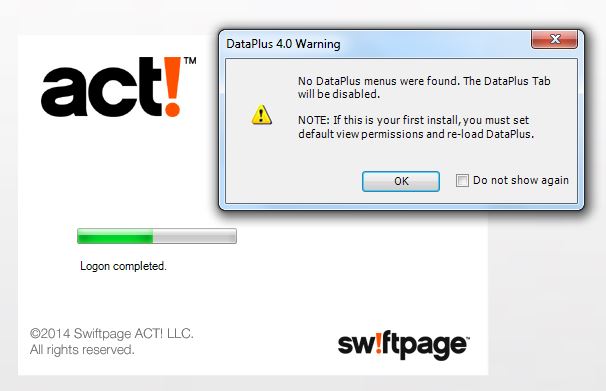
Configure Menus
- Open Act!
Warning: No menus found
- DataPlus Permissions have not been granted
- Click on OK to continue and "Manage Permission" (Recommended)
- Check Do not show again if you don't plan on Managing Permission and have DataPlus "Tab" disabled
|
 |
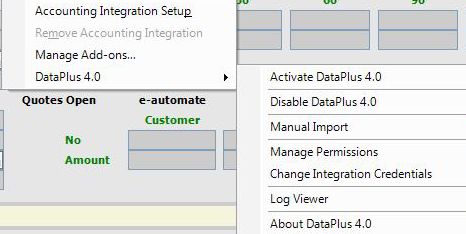
Permission Manager
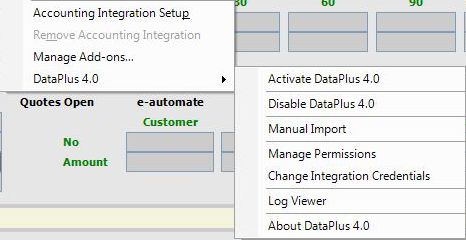
- Click on Tools from Act tool bar
- Click on DataPlus 4.0
- Click on Manage Permissions
|
 |
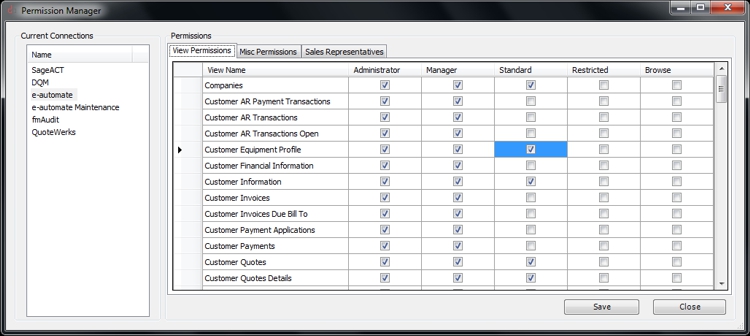
View Permissions
Current Connections
- Click e-automate
Permissions
- Click View Permissions
- Check Box for each "View Name" that will be accessed by "Act! User"
- You can double click the header to check or uncheck all
|
 |
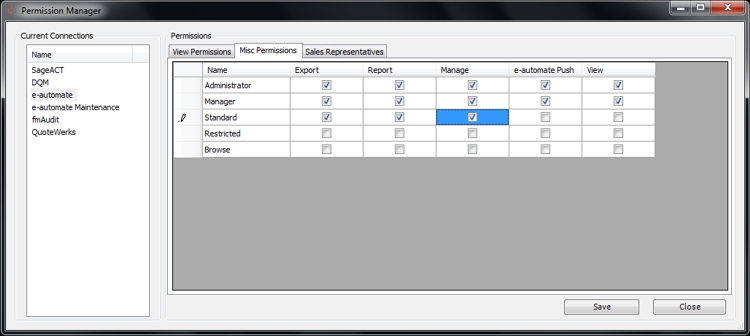
Misc Permissions
Permissions
- Click Misc Permissions
- Check Box for each "Task" that will be accessed by "Act! User"
- Export - export view to excel
- Report - crystal report for view
- Manage - ability to add equipment for customers or prospects not in e-automate
- e-automate Push - create/edit customers from Act! to e-automate
- View - enable views in Act! DataPlus tab (overrides View Permissions)
- You can double click the header or row to check or uncheck all
|
 |
|
|
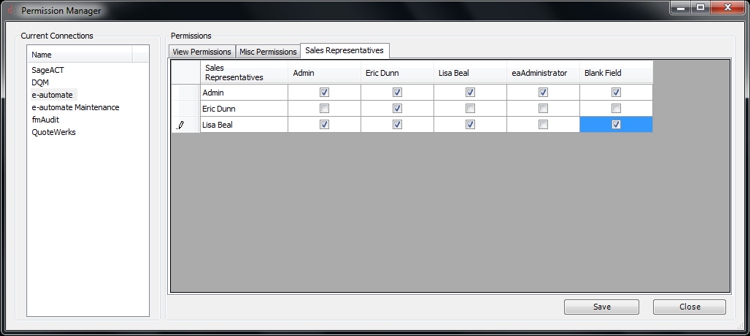
Note:
- Most views have the "Sales Representative" from e-automate listed. Each Sales Representative will only be able to see view where they are the Sales Representative.
- You can also enable Sales Representative to see other Sales Representative information. Example, sales manager may need to view each Sales Representative's views on their team.
- DataPlus Tab should be available for each DataPlus Client after "DataPlus Client Install".
|
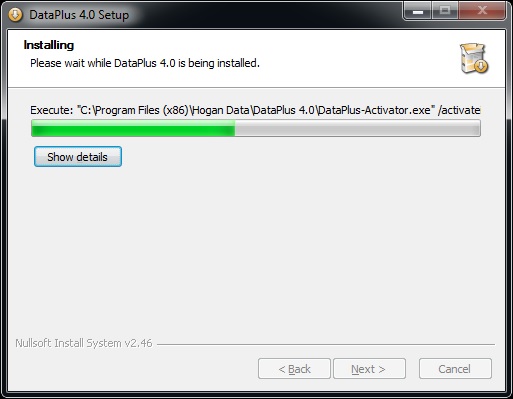
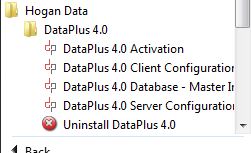
DataPlus Activation
- Start
- All Programs/Hogan Data/DataPlus 4.0
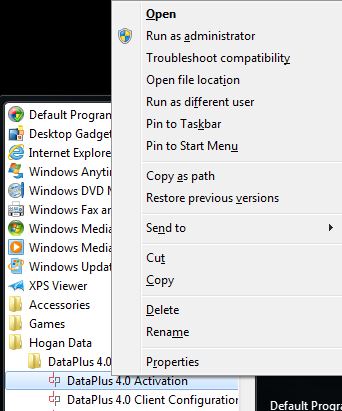
- Right click DataPlus 4.0 Activation
|
 |
DataPlus Activation
- Run as administrator
We highly recommend activating as "Domain Administrator" or "Local Administrator". |
 |
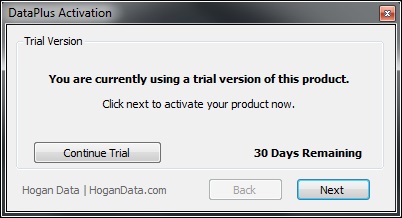
DataPlus Activation
- Click Next
|
 |
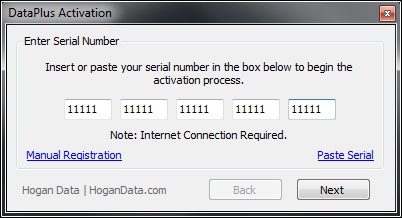
DataPlus Activation
- Copy your serial code from your "Client Portal"
- Click Paste Serial
- Click Next
|
 |
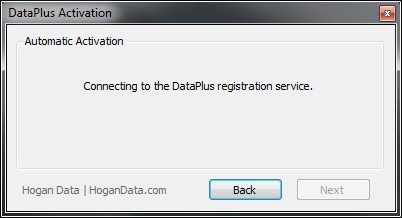
DataPlus Activation
- Connecting to the DataPlus registration service
|
 |
DataPlus Activation
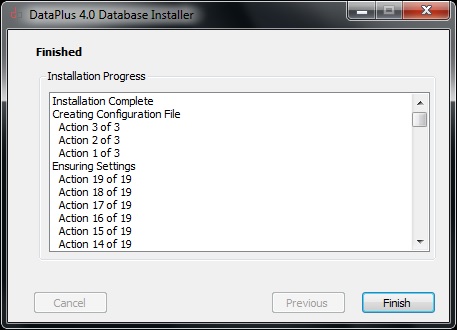
- Click Finish
|
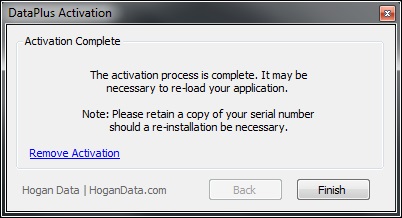 |
Installation, configuration, and connection to your e-automate application is complete. |