| Question / Issue |
 |
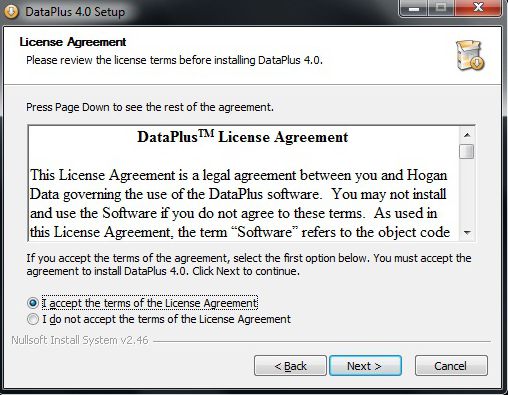
| DataPlus 4.0 Sage 100 - Server Installation |
| Answer / Solution |
|
PROGRAM: DataPlus for Sage 100 - Server Installation
IMPORTANT: You should not attempt server installation if you are not experienced with the following:
Microsoft Windows Experience
- Windows Domain
- Windows Security
- Windows Firewall
- Windows Active Directory
- Windows User Rights
- Windows User Configuration
- Windows Universal Access Control (UAC)
- Windows Group Policy
- Windows Local Security Policy
- Windows Services
- Windows Ports
|
Microsoft SQL Experience
- SQL Server or Express
- SQL Server Management Studio (SSMS)
- SQL Security
|
Third Party Software
- Anti-virus installed on network
|
32 Bit OS Operating Systems
- Create MS SQL Server or MS SQL Express 32 bit instance
- You can use the Act! instance of SQL
- Specify SQL Server administrators
- If in Domain environment we recommend adding Domain Administrators
- Authentication Mode
- Mixed Mode
- Make SA enabled
- Create sa password and keep for your records
- Compatible MS SQL Versions
- SQL 2016
- SQL 2014
- SQL 2012
- SQL 2008
- SQL Server Management Studio (SSMS)
- SQL Security - User Logins
- Windows Login Options (use either type)
- Type: Windows User
- Type: Windows Group
|
64 Bit Operating Systems
- Create MS SQL Server or MS SQL Express 64 bit instance
- You can use the Act! instance of SQL
- Specify SQL Server administrators
- If in Domain environment we recommend adding Domain Administrators
- Authentication Mode
- Mixed Mode
- Make SA enabled
- Create sa password and keep for your records
- Compatible MS SQL Versions
- SQL 2016
- SQL 2014
- SQL 2012
- SQL 2008
- SQL Server Management Studio (SSMS)
- SQL Security - User Logins
- Windows Login Options (use either type)
- Type: Windows User
- Type: Windows Group
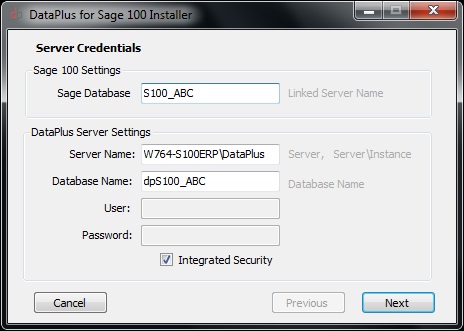
Sage 100 application uses 32 bit ODBC provider, therefore DataPlus will install a 64 bit driver. |
Sage 100
- Version: Sage 100 2013 or higher
- Sage 100 installed (Standard or Advanced)
- Company Maintenance - Allow External Access
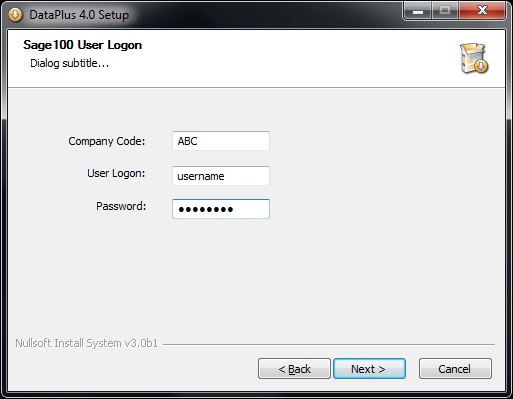
- Sage 100 User Name and Password with Administrative rights (we recommend a dedicated user)
- Sage 100 Company(s) fully converted in "Sage 100 Company Maintenance"
|
| Use existing windows/active directory group or create new windows/active group and add users to group. Example: DataPlus |
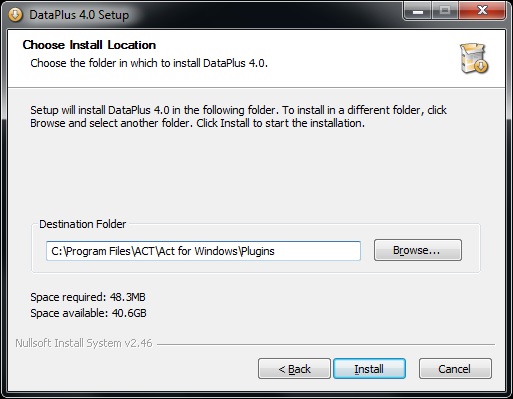
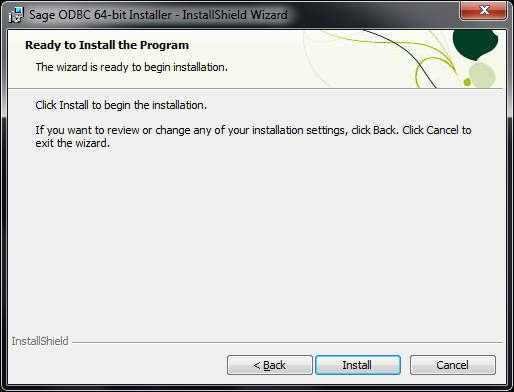
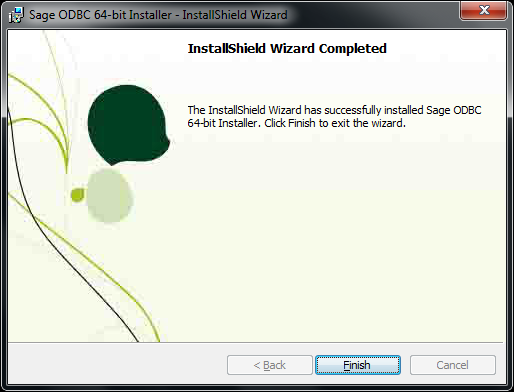
- DataPlus for Sage 100 installer (DataPlus-Sage100ERP-Install.exe)
- Act! database for Sage 100
- Hogan Data provides a Act! database with the purchase of DataPlus for Sage 100 Application
- Or you can use your existing database
There will be new fields created & will have to be added to layout
- Review Act! Act! Database Configuration
- Act! Administrator username and password
- Sage 100 active modules
| Scenario 1
SQL Management Studio can be installed on Server 1. We recommend Server 2 to lesson overhead on server and OS. |
Scenario 2
Sage 100 installed on Server 1
Act! installed on Server 1
Install SQL Instance
- Mixed Mode
- Security add Domain Admins
Install SQL Management Studio
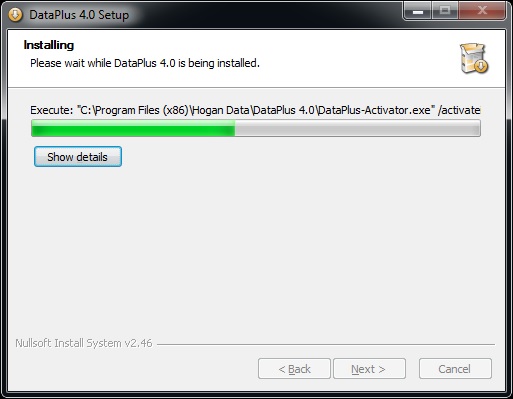
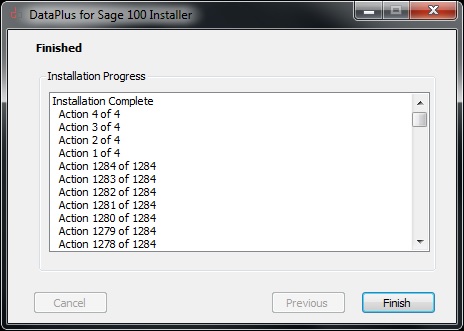
Install DataPlus for Sage 100 (Server/Client) |
Scenario 3
|
Scenario 4
Sage 100 installed on Client 1
Act! installed on Client 1
Install SQL Instance
- Mixed Mode
- Security add Domain Admins
Install SQL Management Studio
Install DataPlus for Sage 100 (Server/Client) |
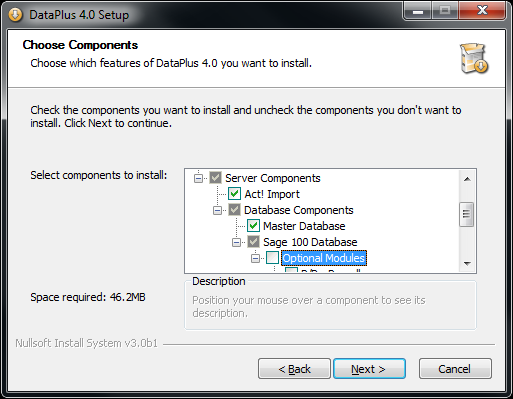
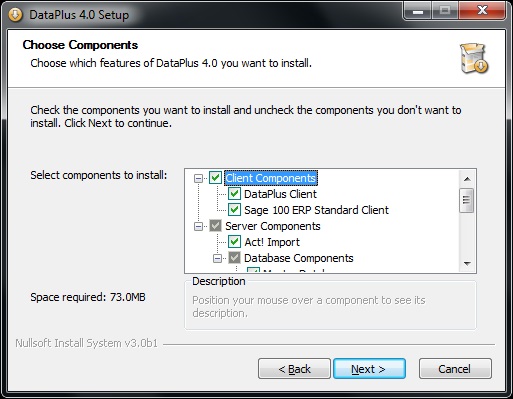
Default Modules
- C/I Common Information
- B/I Business Insights
- G/L General Ledger
- A/R Accounts Receivable
- A/P Accounts Payable
- I/M Inventory Management
- S/O Sales Order
- P/O Purchase Order
- I/T eBusiness Manager
Default Modules must be active |
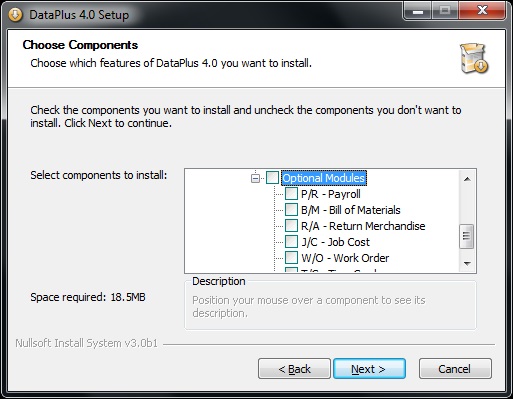
Optional Modules
- P/R Payroll
- B/M Bill of Materials
- R/A Return Merchandise
- J/C Job Cost
- W/O Work Order
- T/C TimeCard
|
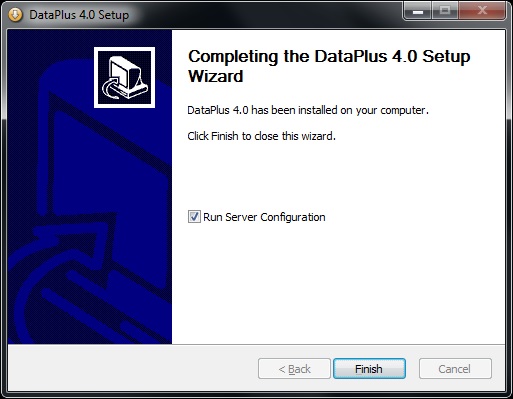
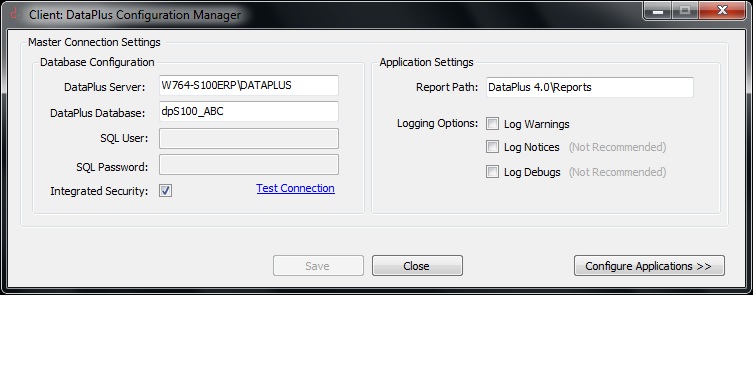
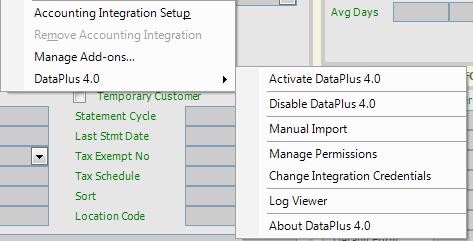
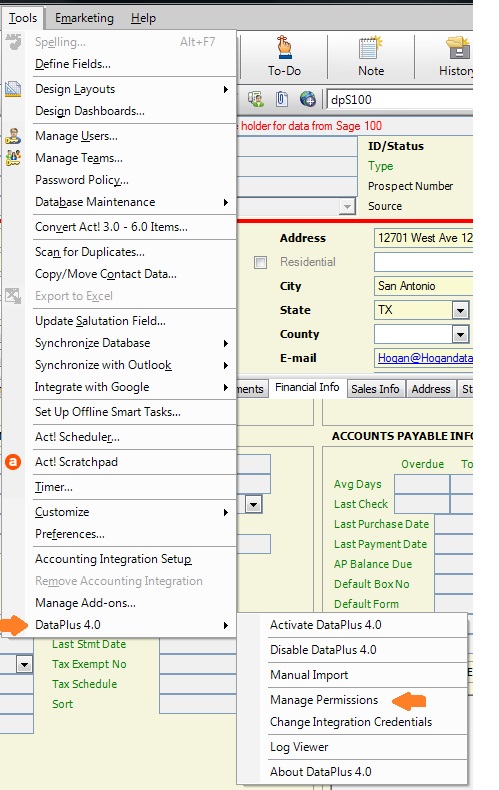
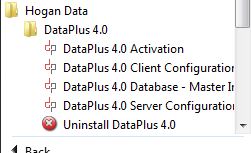
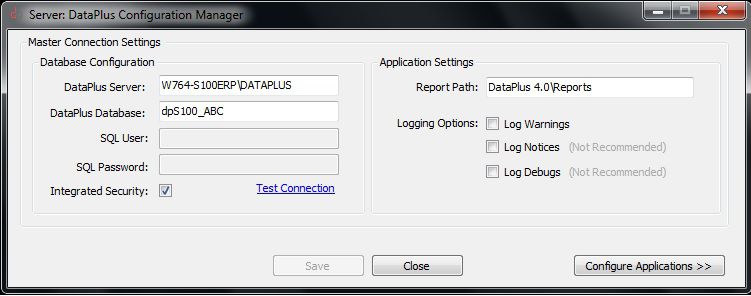
Server Configuration Manager
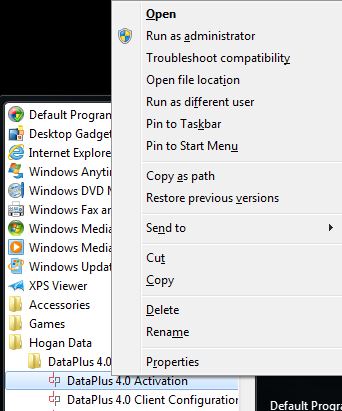
- Launch "DataPlus 4.0 Server Configuration
- Click on Configure Applications >>
|
Windows Start/All Programs/Hogan Data/DataPlus 4.0/DataPlus 4.0 Server Configuration
|
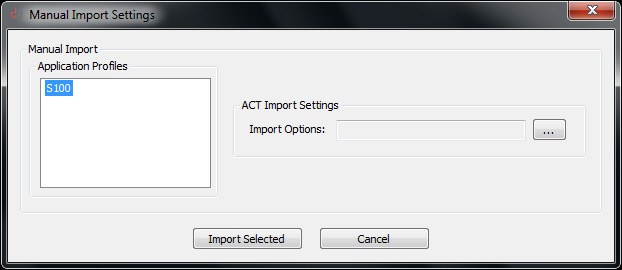
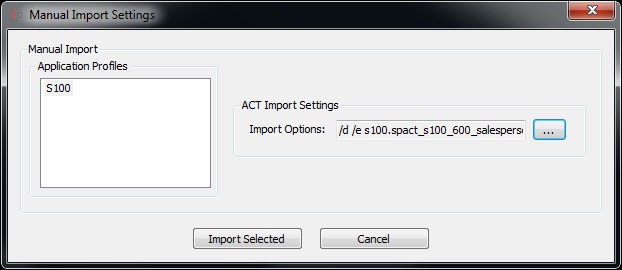
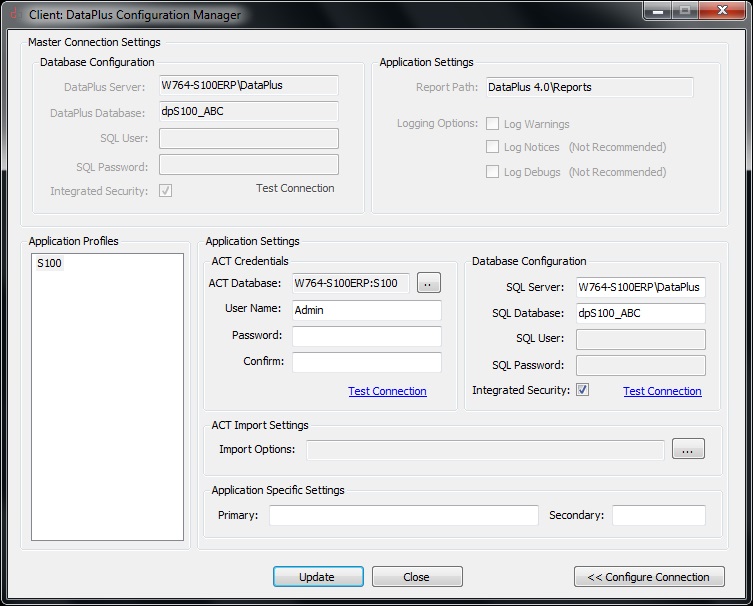
Configuration
Application Profiles
- Click on S100
ACT Import Settings
- Import Setting: Click on [ ... ]
|
 |
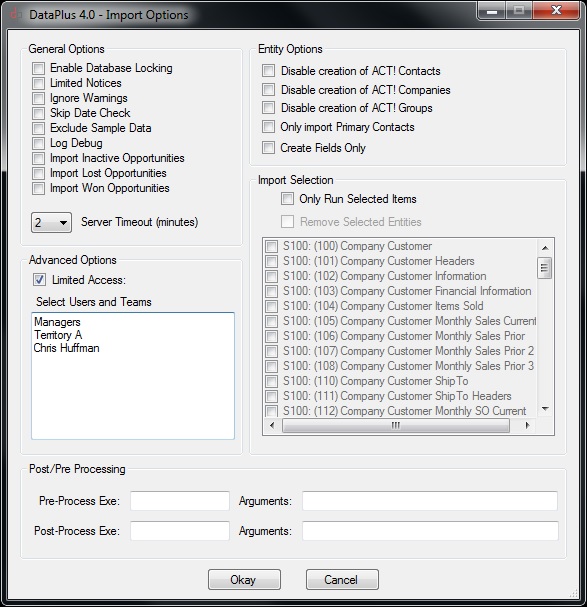
Import Options
General Options
- UnCheck Enable Database Locking
- UnCheck Limited Notices
- UnCheck Ignore Warnings
- UnCheck Skip Date Check
- UnCheck Exclude Sample Data
- UnCheck Log Debug
- UnCheck Import Inactive Opportunities
- UnCheck Import Lost Opportunities
- UnCheck Import Won Opportunities
If importing opportunities is enabled, leaving option UnChecked for "Import Opportunities" will disable any changes to be made with "Closed" opportunities.
- Set Server Timeout (minutes) (default = 2) (you can increase this as needed)
Entity Options
- UnCheck Disable creation of Act! Contacts
- UnCheck Disable creation of Act! Companies
Check "Disable creation of Act! Companies" if you do not want to import Companies in the "Company Level" in ACT!
- UnCheck Disable creation of Act! Groups
- UnCheck Only Import Primary Contacts
Check "Only Import Primary Contacts" if you only want to import primary contacts.
- UnCheck Create Fields Only
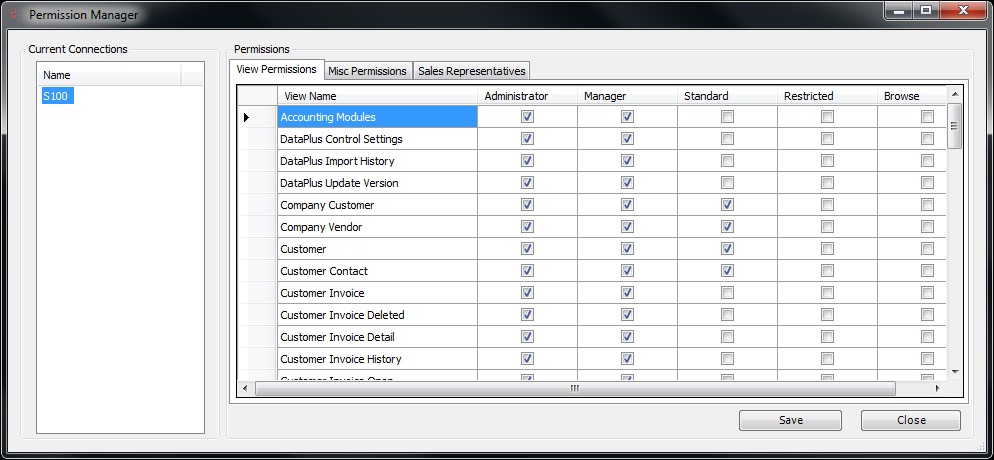
Import Selection
- UnCheck Only Run Selected Items
- UnCheck Remove Selected Items (greyed out, unless Selected Items are checked)
Advanced Options
- UnCheck If you are not using Limited Access in Act!
- Check If you are using Limited Access in Act!
Select Users and Teams
If you are using Act! Limited Access, you can choose:
- Specific Act! Team(s)
- Specific Act! User(s)
Post/Pre Processing
- Pre-Process Exe: Leave blank
- Arguments: Leave blank
- Post-Process Exe:Leave blank
- Arguments: Leave blank
- Click Okay
|
IMPORTANT:
- If you are not using the Act! database provided by Hogan Data, for Sage 100, when the first import is performed, additional fields may be required. Therefore, uncheck "Disable Database Locking" in order for the additional fields to be created.
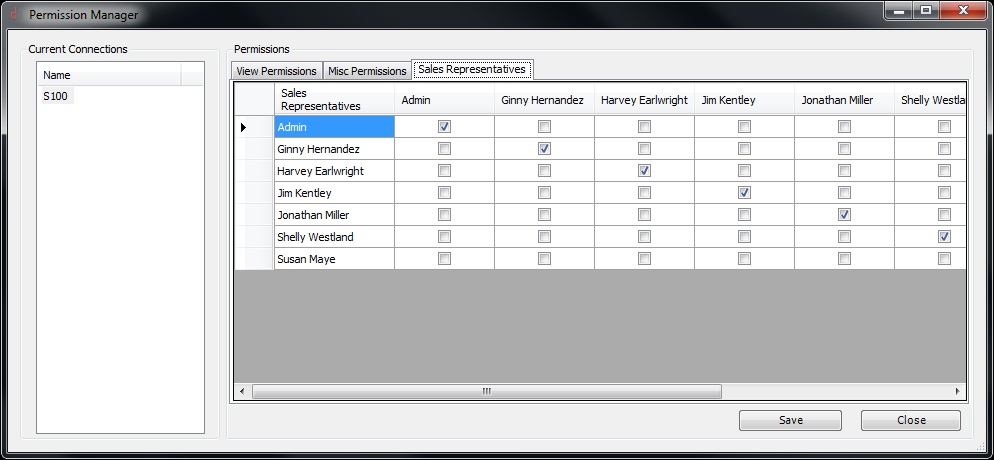
- By default, if the "Sales Representative" in Sage 100 equals the Act! User Name in ACT!, the Sales Represetative name will populate the "Sales Representative" field in ACT!, and will also be the Act! "Record Manager". The names have to be an exact match.
|
Configure Profiles
Application Profile
- Click Close
|
|
Recommended Microsoft SQL Security
User Mapping
- Windows Login Options (use either type)
- Type: Windows User
- Type: Windows Group
Use existing windows/active directory group or create new windows/active group and add users to group. Example: DataPlus
- DataPlus database
- db_owner
- dp3_owner
- s100)_owner |
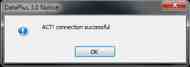
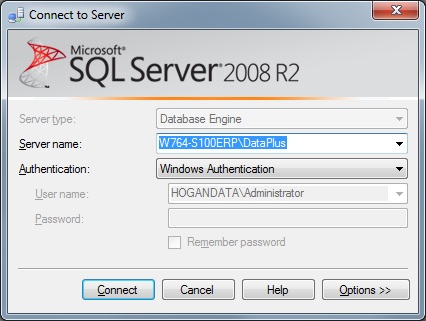
Creating Security Login Settings
- Connect to server using SSMS
- Click Connect
|
 |
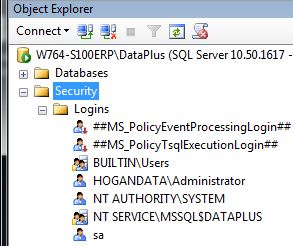
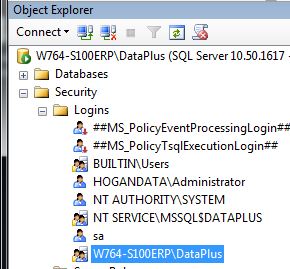
Creating Security Login Settings
Security
- Expand Security
- Right click Logins
- Choose New Login...
|
 |
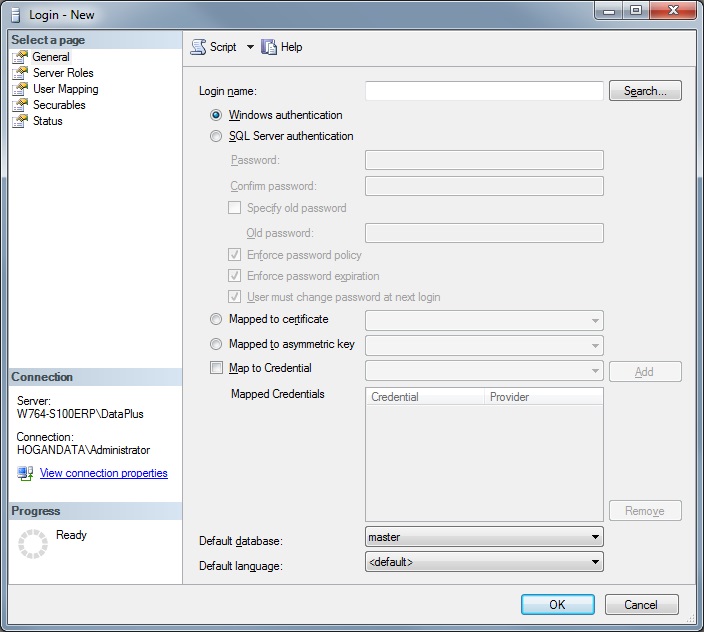
Creating Security Login Settings Security
- Login name: Search...
|
 |
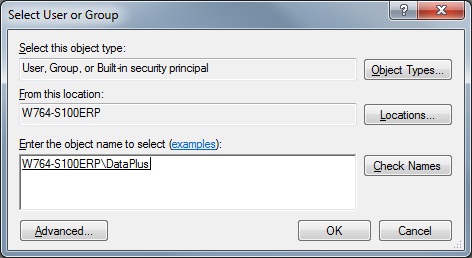
Creating Security Login Settings
Security
- Enter the object name to select YourUserOrGroup
|
Ensure the User and Group is included in "Object Types..."
Ensure that "Entire Directory" is chosen in "Locations..."
|
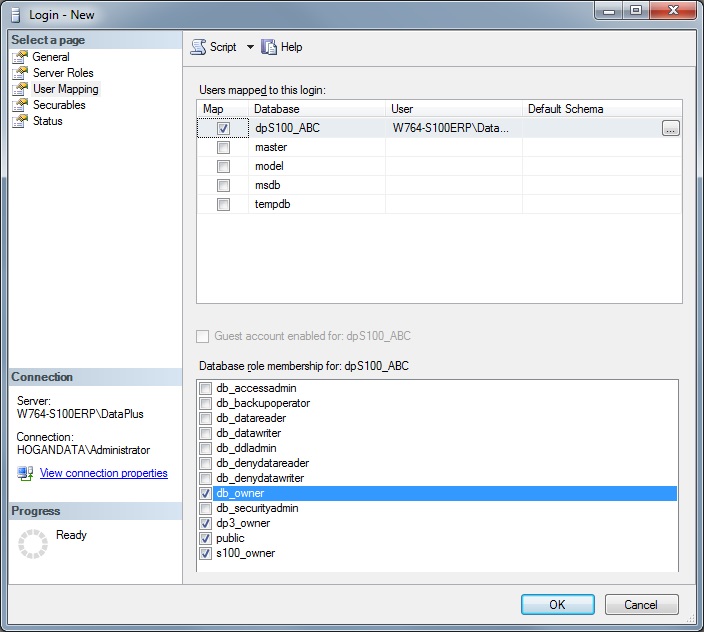
Creating Security Login Settings
User mapped to this login:
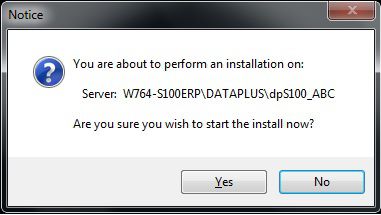
- Check dpS100_ABC
Database role membershiip for: dpS100_ABC
- Check db_owner
- Check dp3_owner
- Check s100_owner
- Click on OK
|
 |
Creating Security Login Settings
- New user established
- Repeat the process to add user or group
|
 |
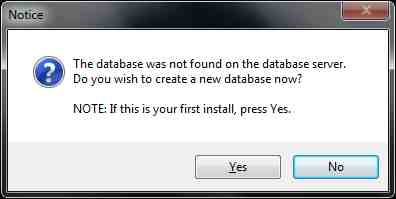
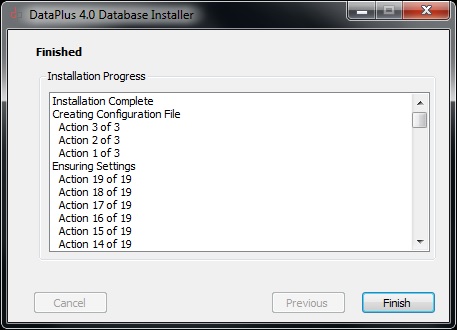
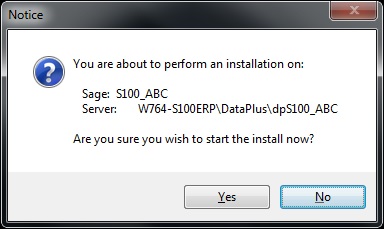
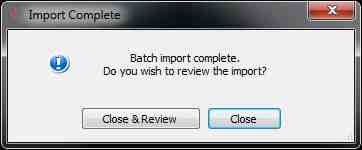
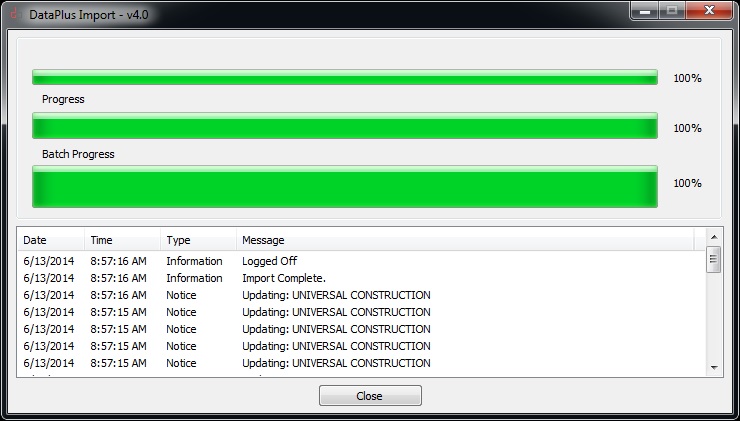
Installation, configuration, and connection to your Sage 100 application is complete. |