| Question / Issue |
 |
| dpFolders - Client Installation |
| Answer / Solution |
|
PROGRAM: dpFolders 2.0
- Downloaded installer "dpHistoryInstaller.zip" file from location provided.
- Sage ACT! 2013, 2012, 2011, 2010, 2009
- "dpFolders-Install.exe"
- 3 minutes - Documentation Review
- 1 minutes - Approximant Time for Installation
- 4 minutes - Total Approximant Time
Load Installer
- Right click 'dpFolders-Install.exe' and "Run as administrator"
|
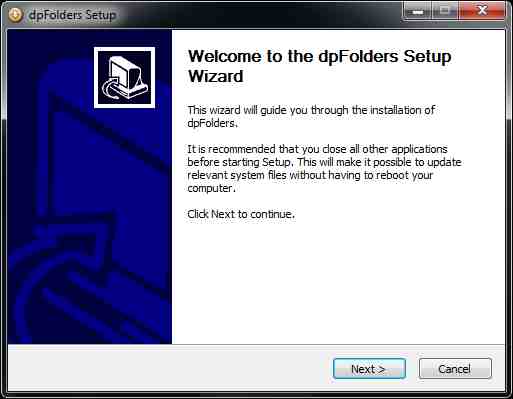
dpFolders Setup - Welcome
- Click on Next >
|
 |
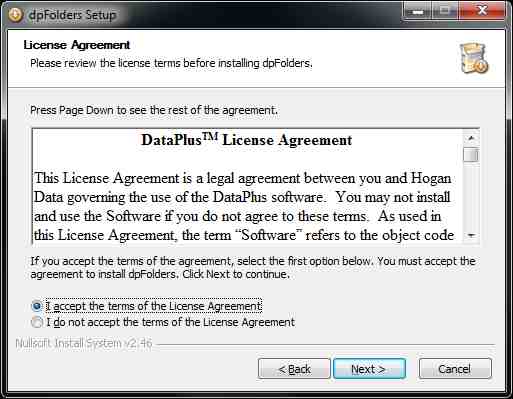
License Agreement
- If you agree, click on "I accept..."
- Click on Next >
|
 |
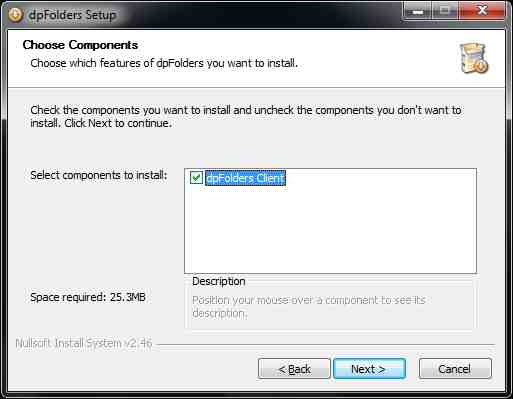
Choose Components
- Select Components to install
- Check dpFolders Client
- Click on Next >
|
 |
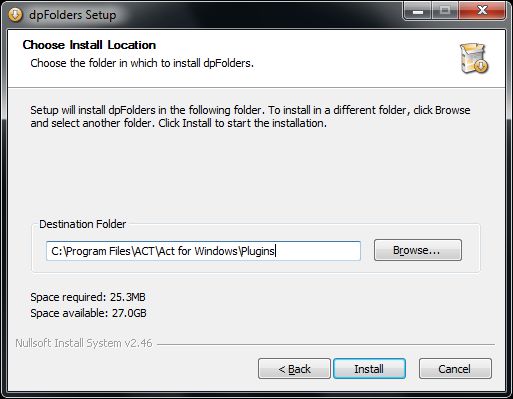
Choose Install Location
- Choose the folder in which to install dpHistory
- Click on Install
|
 |
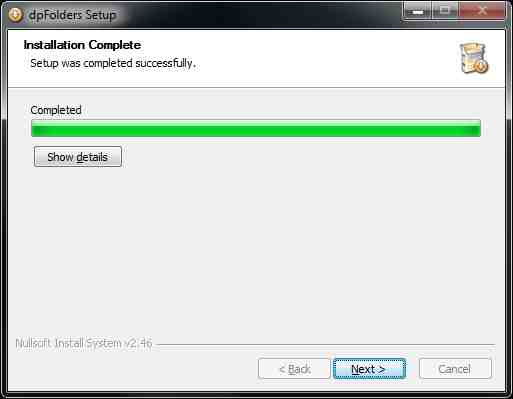
Installation Complete
- Click on Next >
|
 |
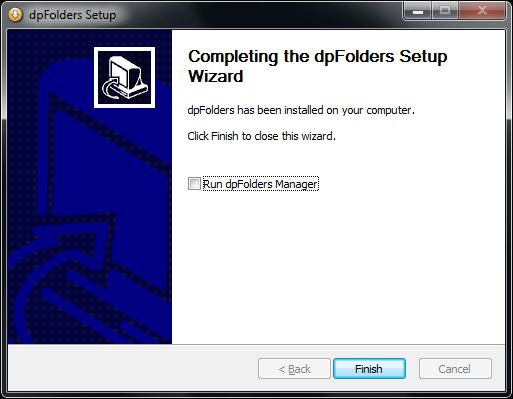
Complete Setup Wizard
- Uncheck Run dpFolders Manager
We recommend running this after you have reviewed and decided you method of managing your files and folders
- Click on Finish
|
 |
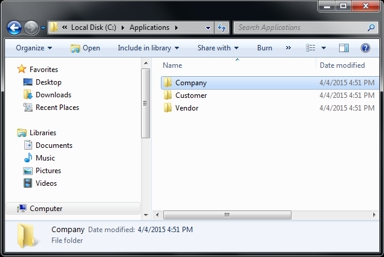
Windows Local or Network Folder Structure
- In desired location on local machine, or network, create folder structure
- Sample: C:\Applications\
- Create Company This is where your company folders and files will be hosted.
- Create Customer This is where your customer's folders and files will be hosted.
- Create Vendor This is where your Vendor's folders and files will be hosted.
- When dpFolders profile is configured, you will point the profile to one of the above folders
- Within each folder, subfolders will be created based on text and/or ACT! field parameters
|
 |
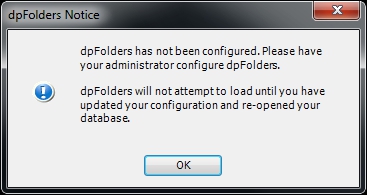
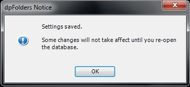
dpFolders Manager
- Open Sage ACT!
- dpFolders Notice will appear giving you notice that dpFolders has not been configured.
- Click OK
- Lock ACT! Database
- Tools/Database Maintenance
- Lock/Unlock Database...
- In ACT!, go to Tools/DataPlus Plugins/dpFolders Manager
|
 |
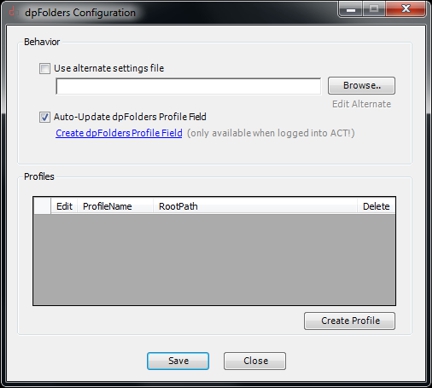
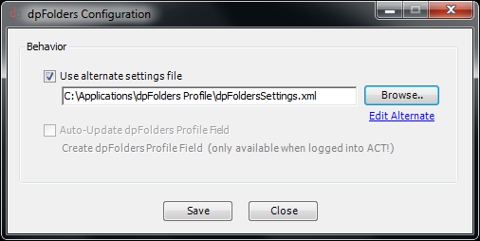
dpFolders Manager
Behavior
- Use alternate settings file
Used "after" profile is created. Profile file can be saved on server for network share
Profiles
- Click Create Profile
|
 |
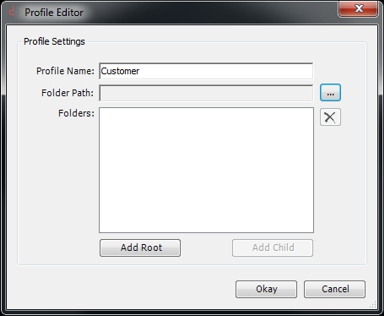
dpFolders Manager Profile Settings
- Profile Name: Enter Customer
- Folder Path: Click
 button to establish path button to establish path |
 |
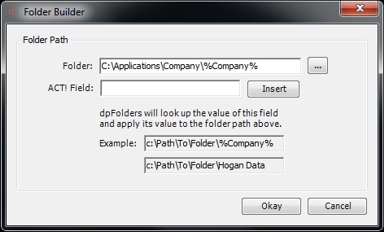
dpFolders Manager Folder Path
- Folder: Click button to browse to path
- Sample: C:\Applications\Company
- ACT! Field: Enter Company this is the exact field that dpFolders will use the create root folder for profile.
- Click Insert
|
 |
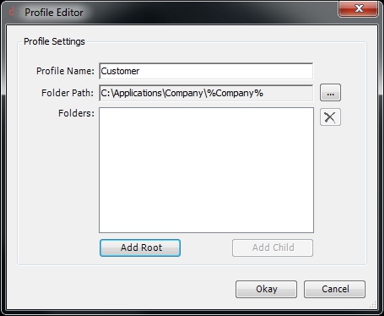
dpFolders Manager Folder Path
- C:\Applications\Company\%Company%
- You can use multiple fields and text to configure folder name
- Sample: C:\Applications\Company\%Customer Number%-%Company%
- Click Okay
|
 |
dpFolders Manager Folder Path
- Click Add Root to create subfolders
|
 |
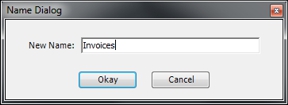
dpFolders Manager Folder Path
- New Name: Invoices to create subfolders
- Click Okay
|
 |
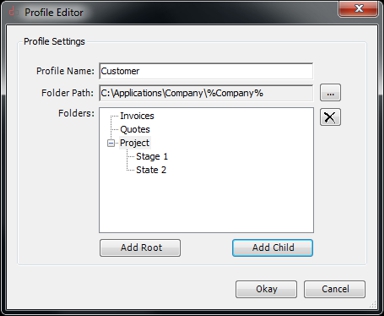
dpFolders Manager
- Repeat to create additional folders, Quotes, Project
- Click Project
- Click Add Child
- New Name: Stage 1
- Repeat
- New Name: Stage 2
- Click Okay
|
 |
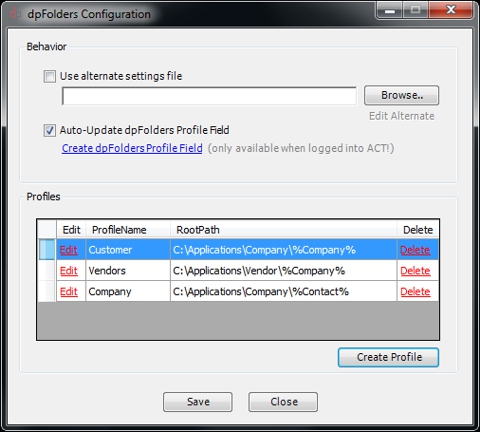
dpFolders Manager
- Repeat to create additional profiles, Vendor, Company
- Click Create dpFoldersPofileField
|
 |
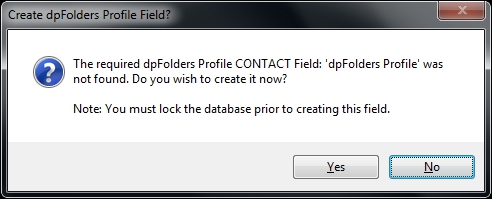
dpFolders Configuration
- Click Yes to create CONTACT field 'dpFolders Profile'
- Wait for next dialog box
|
 |
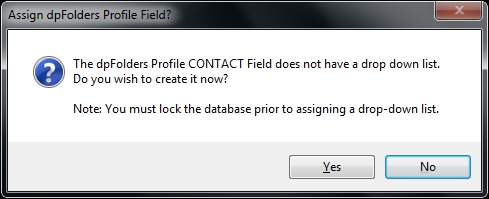
dpFolders Configuration
- Click Yes to create drop down list for CONTACT field 'dpFolders Profile'
- Wait for next dialog box
|
 |
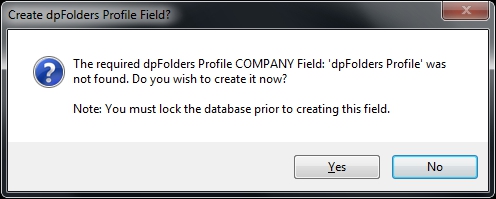
dpFolders Configuration
- Click Yes to create COMPANY field 'dpFolders Profile'
- Wait for next dialog box
|
 |
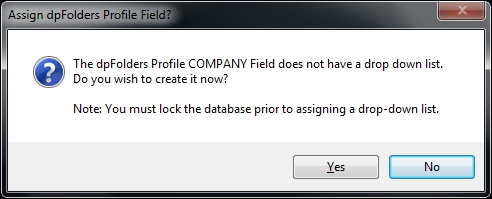
dpFolders Configuration
- Click Yes to create drop down list for COMPANY field 'dpFolders Profile'
- Wait for next dialog box
|
 |
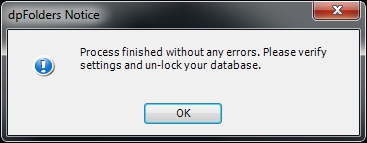
dpFolders Configuration
- Click OK
|
 |
dpFolders Manager
- Click Save
- Click Ok
- Click Close
|
|
dpFolders Manager
- If you are setting dpfolders on network, you should create the profile from ACT! on server.
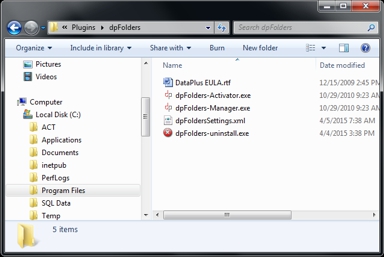
- Copy the dpFoldersSettings.xml to a shared folder on the server.
- Or copy the dpFoldersSettings.xml from workstation, to a shared folder on the server.
- File is located in C:\Program Files\ACT\Act for Windows\Plugins\dpFolders
|
 |
dpFolders Manager
- In ACT!, go to Tools/DataPlus Plugins/dpFolders Manager
- Check Use alternate settings file
- Click Browse
- Browse to your shared folder and choose dpFoldersSettings.xml file.
- Click Save
- Click Ok
- Click Close
- An ACT! Administrator can edit the profile by clicking on Edit Alternate
|
 |
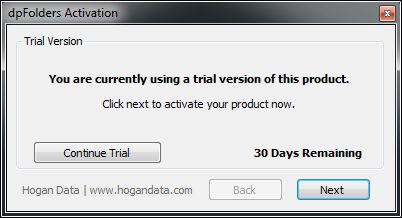
Activation
- From the windows Start menu
- Start/All Programs/Hogan Data/dpFolders/
- Right click dpFolders Activation and "Run as Administrator"
- Click Next
|
 |
Enter Serial Number
- Manually enter serial number or
- After copying serial number, click Paste Serial
- Click Next
|
 |
Automatic Activation |
 |
Activation Complete
- Click Finish
|
 |
Implementing dpFolders
- Open Act!
- Add dpFolders Profile to your current layout
|
 |
Implementing dpFolders
- Add Profile Name in Act! field
|
 |
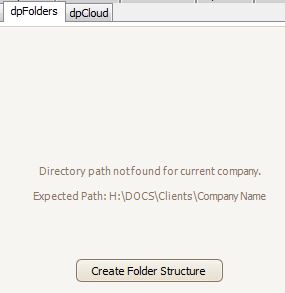
Implementing dpFolders
- Click on dpFolders tab
- Click on Create Folder Structure
|
 | |